January 02, 2021 0 Comments
Hi Dare 2B Artzy friends! I hope you all had an amazing Christmas and New Years! Like so many others, ours was much different from years past. However, we were still able to make some great memories.
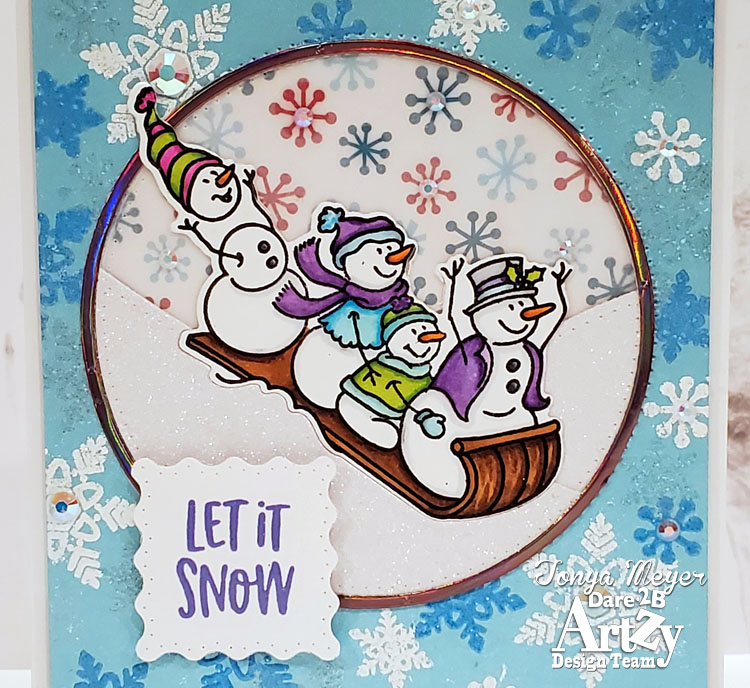
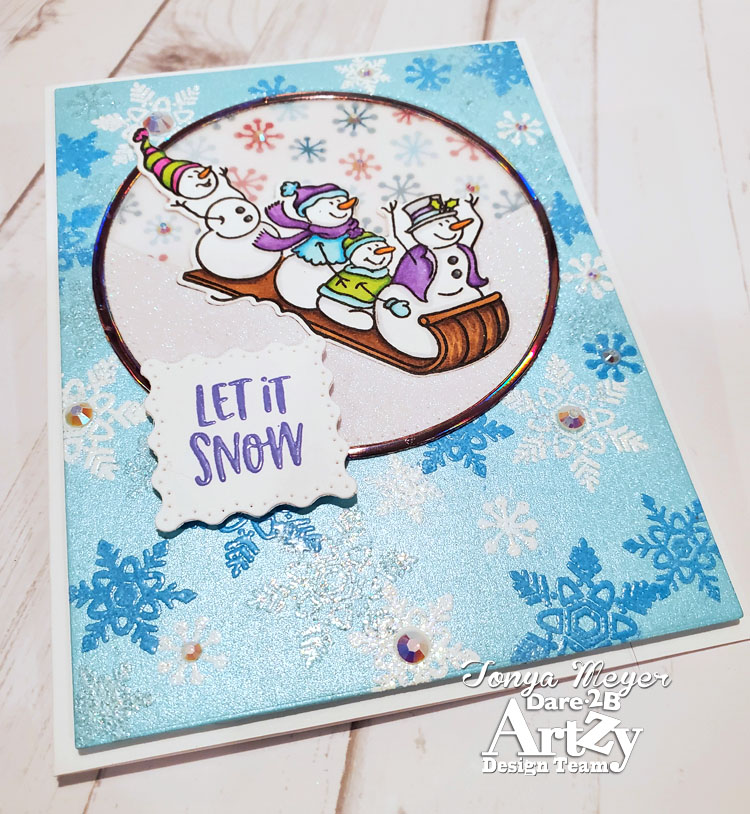
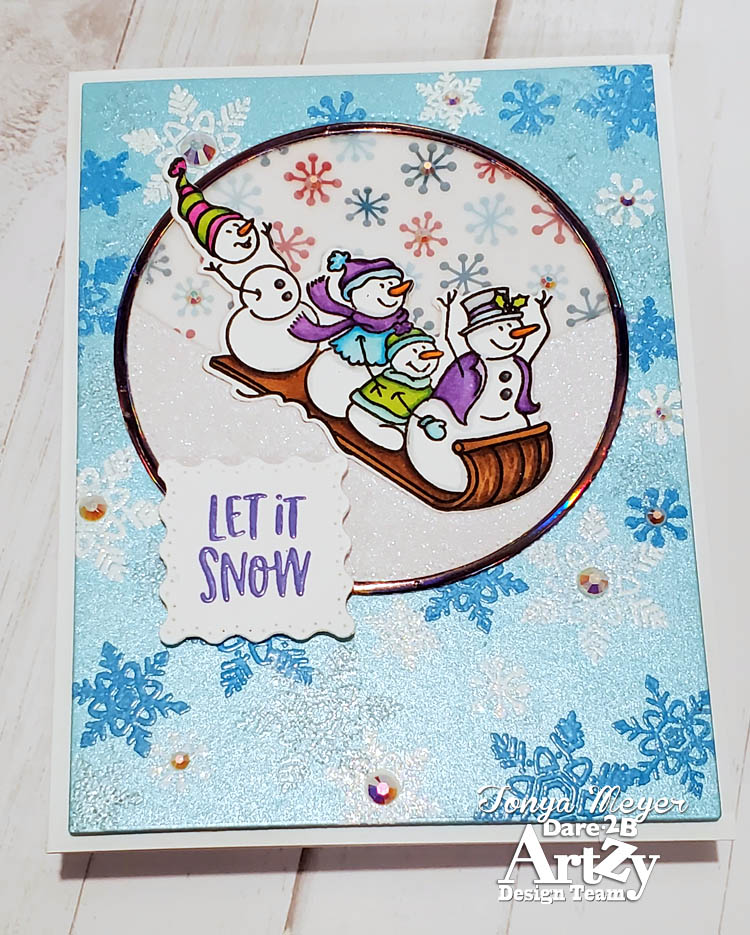
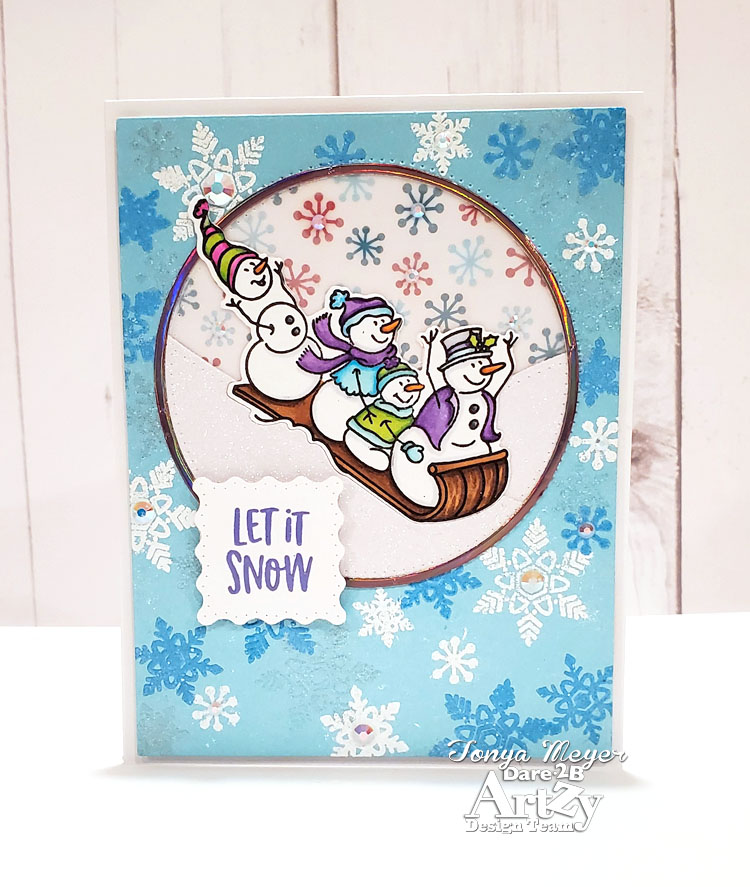
I’m popping in today to share a fun card featuring the adorable Toboggan Fun stamp set! I love this stamp set because it features a snowman family enjoying a fun ride on their toboggan. I’m embarrassed to say that not only have I never been on a toboggan, but I’ve never actually been sledding. I KNOW! I’d say it might be a good item for my Must Try list, but I also feel like I might be a bit old for sledding.
I colored the fun snowman family using some bright, fun colors with my Shin-han Touch Alcohol markers. When I was finished I die cut the snowman using the coordinating die. I was a bit worried about getting the die lined up, so I used a little trick that I’ve seen some other crafters do. I used the die to cut the outline of the snowmen. Next, I took the negative of the die cut and taped it with some removable tape to my colored image. Then I lined up the die until it sort of dropped into place on my negative die cut. Then I ran it through my die cutting machine and it cut out my snowmen perfectly.
To create my snowy background, I used a piece of shimmery blue cardstock from my stash that I cut to 5 ¼ by 4 inches. Using my MISTI, I stamped the snowflakes from the Toboggan Fun stamp set and the Just Chillin stamp set and heat embossed them with several different kinds of embossing powder. I used a white sparkle, clear sparkle and a light blue embossing powder. I stamped and heat embossed with each of the colors to create a layered snowflake background. This portion of the card took the most time, but I love the end result of the different layered snowflakes with different colors of embossing powder.
When my snowflake background was finished, I used the Dare 2B Artzy Double Stiitched Circle dies to cut a circle from the cardstock. I also cut a 2nd circle from some vellum as it would be used in the circle window on my card.
I cut a piece of the Dare 2B Artzy snowflake paper from the Chocolate Moose paper pack. I cut it to 5 ¼ x 4 inches so that I could place it behind my background and have the snowflakes peeking through underneath the circle of vellum.
Next, I used the Dare 2B Artzy Curve Slimline Border dies to cut some snowy hillsides from some white glitter cardstock. To make it easy, I cut a circle of my white glitter cardstock and then cut two pieces off with the Curve Slimline Border dies.
I wanted my Toboggoning Snowmen to be pretty flat on my card front so, I used the edge of the coordinating die again to cut the bottom edge of the snowmen die from the edge of the snowy hillside I created. This would allow me to inlay the snowmen into the glitter cardstock. I like the way the glittery snow comes up on the one side of the sled.
When all the pieces were cut, I adhered the snowy hillsides and the snowmen onto my vellum and then adhered that into the die cut circle in my card background. The snowman and the hillsides allow me to hide my adhesive so it doesn’t show through the vellum too much. I did add a few dots of glue into the center of the Dare 2B Artzy Snowflake Paper since I knew I would be adding embellishments that would hide the glue later.
I cut a thin circle frame to add around the outer edge of my circle using some pink foil cardstock. I used some liquid glue to add it to my card.
To add a sentiment, I stamped the Let it Snow sentiment from the Toboggon Fun stamp set and heat embossed with some violet embossing powder. I cut the sentiment out using the Dare 2B Artzy Wavy Squares Framelet Dies.
For the finishing touch I added some white rhinestone gems in a couple of different sizes to the centers of my snowflakes.
I think this card turned out so fun! I want to go tobogganing with this family don’t you? They look like they’re having a blast!
I hope you’ve enjoyed today’s card! I’ve provided links to all of the Dare 2B Artzy products that I’ve used below.
Have a great day!
Hugs
Tonya
May 12, 2023 0 Comments
May 05, 2023 0 Comments
March 11, 2023 0 Comments