May 09, 2022 0 Comments
Hello Crafty Friends!
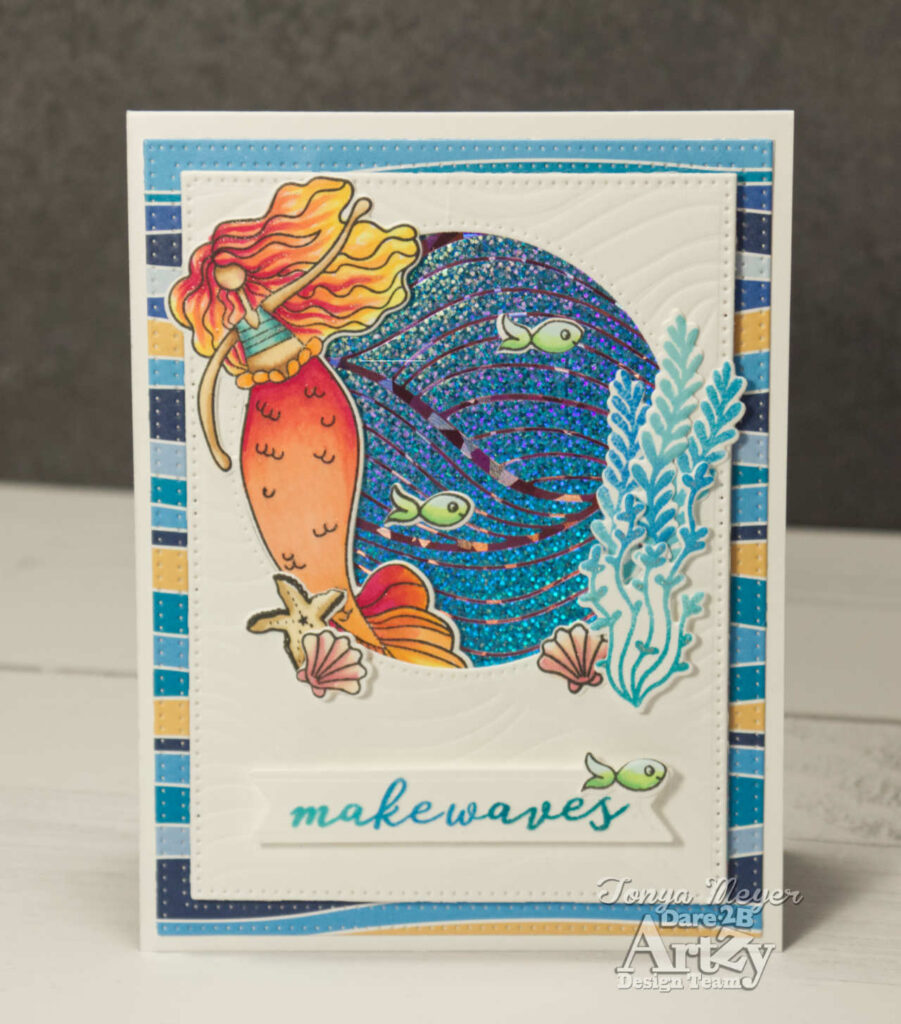
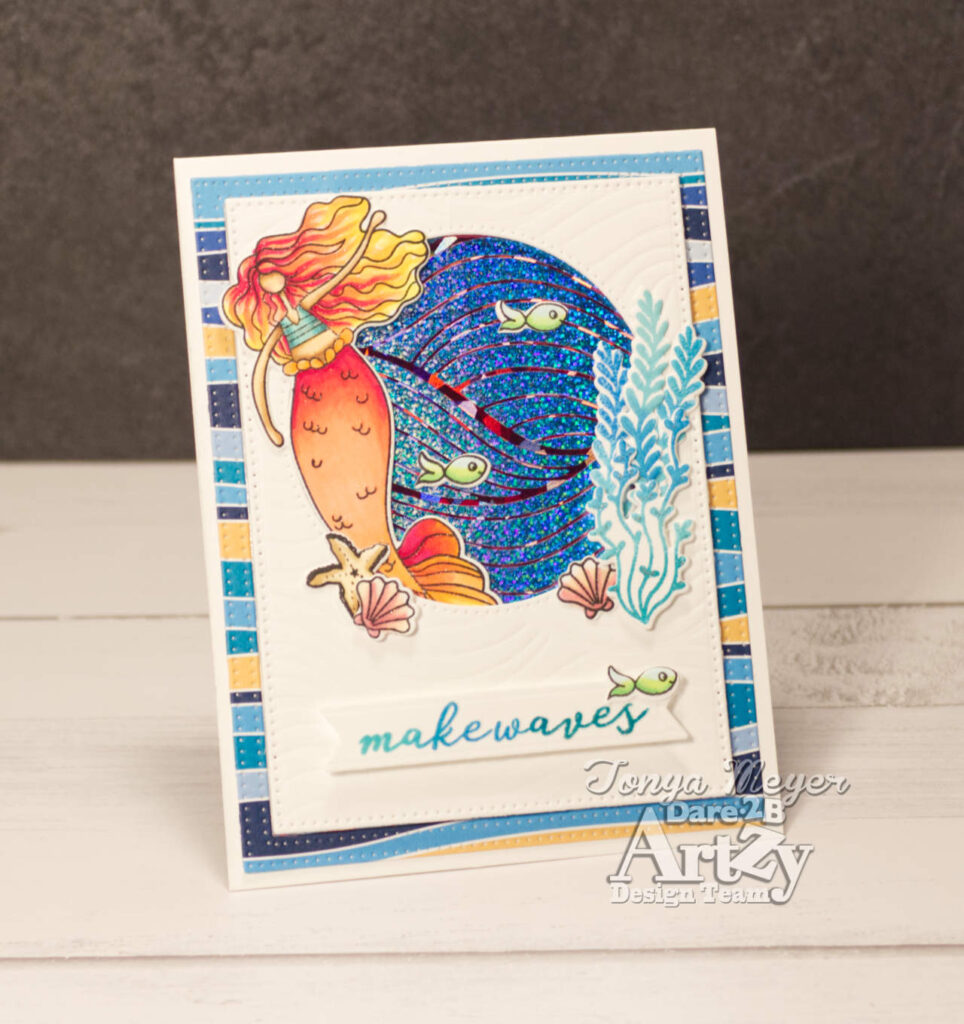
Hope you had a wonderful weekend. I am back today with a fun scene card created with a few new products and the Mermazing stamp set which was released a while ago.
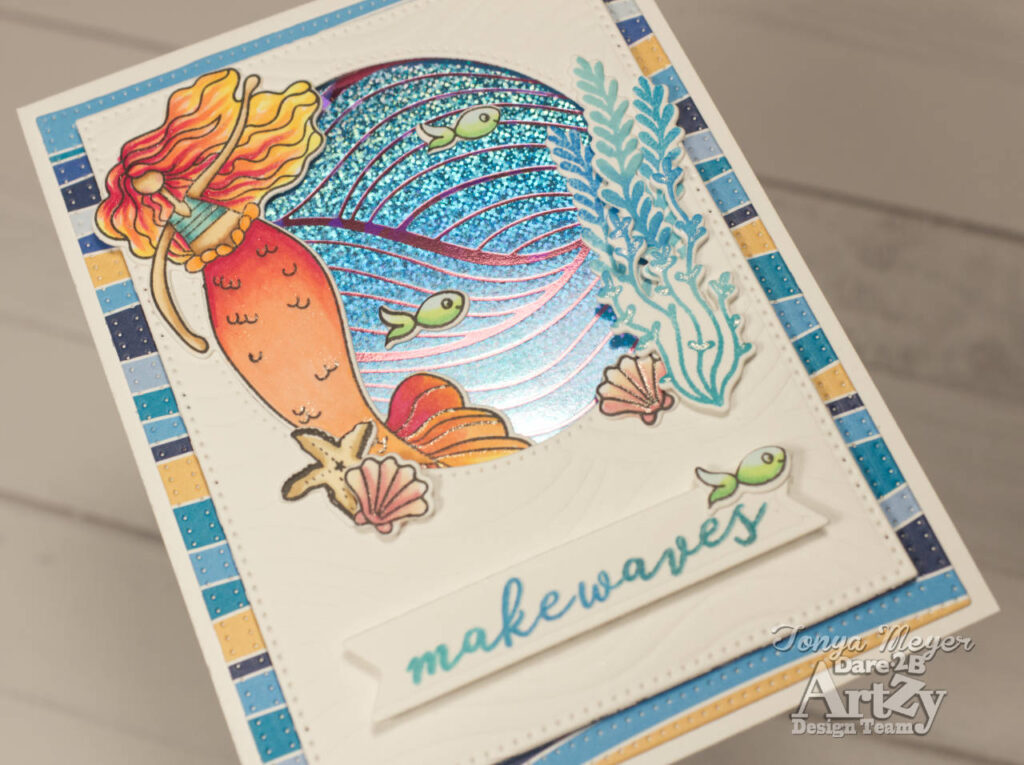
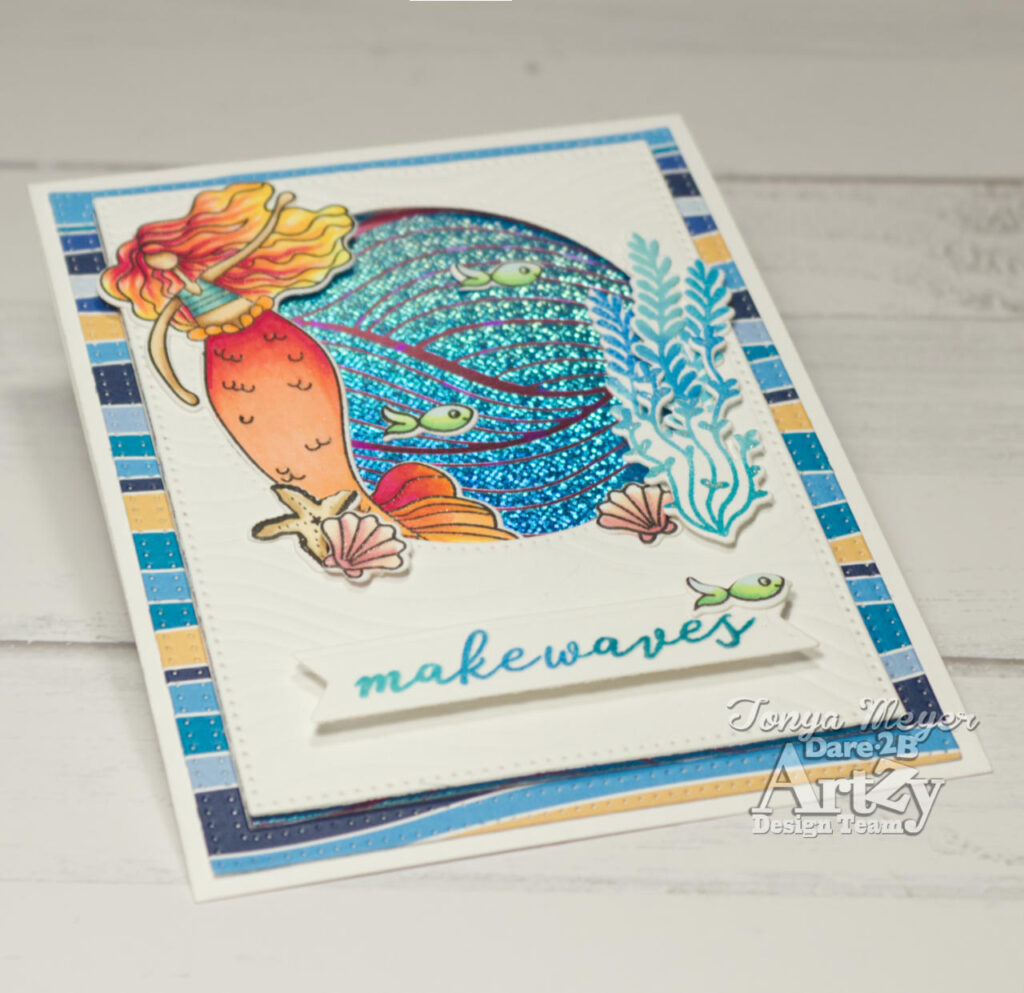
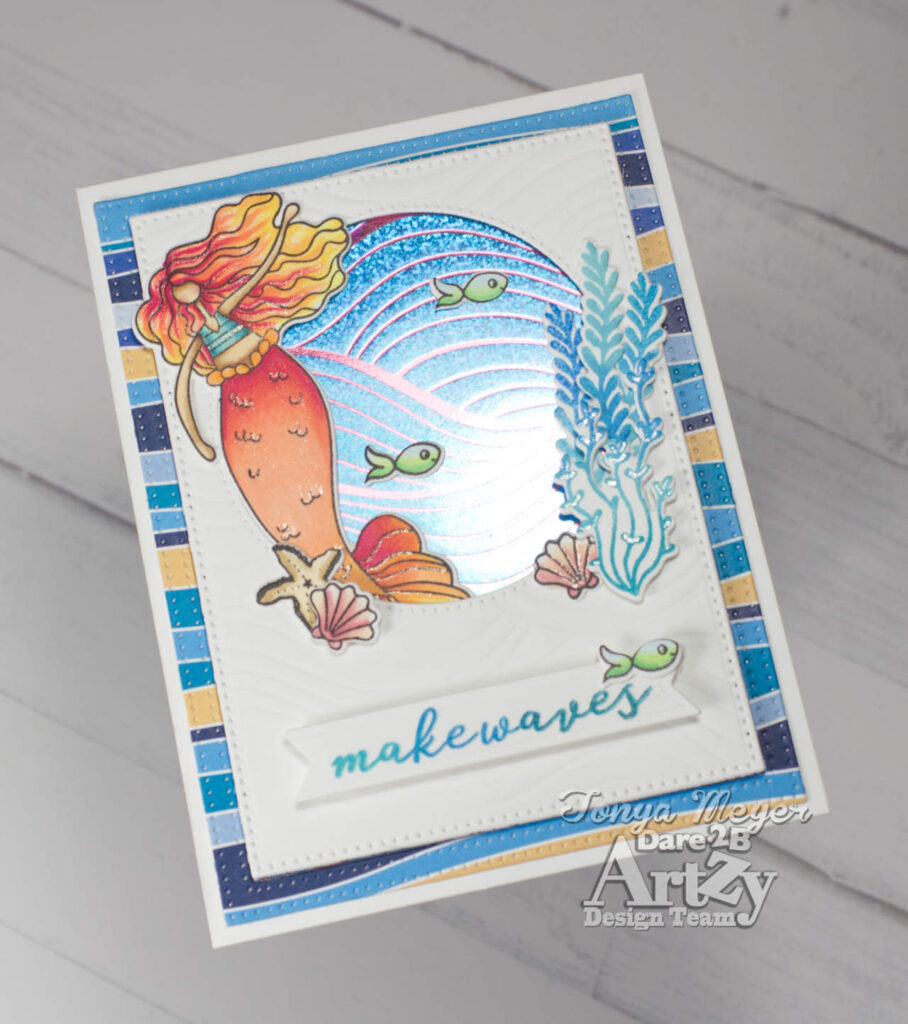
To start I created a double foiled background using the Make Waves hot foil plate. For the first pass, I used a solid hot foil plate and created a solid blue shimmery background using some foil I ordered from Bluebonnet Foil-RVG.
Next, I double foiled the original blue shimmery background by using the Dare 2B Artzy Make Waves hot foil plate and a piece of a pink shimmery foil also from Bluebonnet Foils. This second layer of foil picked up the wave design from the Dare 2B Arty plate and creates those fun pink waves against the blue foiled background. Photos really do not capture the beautiful shimmer and shine on the background.
I cut the foiled piece using the largest stitched rectangle dies from Dare 2B Artzy. This gave me a panel that measured 3 ½ x 4 ¾.
Using the Make Waves foil plate again, I used an embossing mat and ran it through my die cutting machine with Neenah 110lb cardstock cut to A2 size. The result is a fun textured background of waves. I love being able to use products for multiple techniques as that gives them more value in the craft room.
Once my cardstock was embossed, I used the Stitched Rectangle die again and die cut it out. I also used the Double Dot Circle Framelet die that measured 2 ¾ inches to cut a circle in the embossed cardstock.
To create my scene, I stamped several images from the Mermazing stamp set. I really love this set as it is so much fun to color and get creative. Mermaid coloring offers endless color schemes. Today, I colored my little mermaid using red-violets, orange and even a touch of yellow with my Copic markers. For her hair I wanted to make it look like a sunset. To get this look, I used the following colors: RV09, R22, R21, YR02, Y35 and Y02. I also used the RV09, R22, R21, YR02 on her tail. I think she turned out cool. I added a bit of Jelly Roll Stardust pen to her scales and in her hair for a bit of sparkle.
I also stamped and colored a few fish, seashells, and a starfish. I did also stamp a few of the kelp and seaweed using distress inks and an ink blending brush to get that two toned look.
I cut everything out with the coordinating dies.
To assemble my card, I used a frame that I had cut from the Dare 2B Artzy Sea Garden paper pack and I used a scrap piece of paper to adhere a center to the frame as it made it easier to get it lined up straight on my card panel. I used score tape to add it to my card base.
Next, I added my foiled waves background to the card base and layered the embossed panel onto that with dimensional foam. I had my mermaid follow the curve of the circle and secured her tail to the back of the embossed panel with a bit of score tape and layered the rest of her with dimensional foam.
I tucked in the seashells, starfish and the sea-greenery using a combination of score tape and dimensional foam. I added the little fish directly to the foiled background with a small amount of 1/8 inch width score tape.
For the sentiment, I stamped the makewaves with a mix of Distress Inks in Salvaged Patina, Salty Ocean and Peacock Feather using a blending brush to create an ombre look to the stamped word. I stamped over the entire word again with embossing ink and heat set it with clear embossing powder.
I die cut my sentiment using the fish-tail flag die that comes in the Center Step die. I shortened mine a bit when I ran it through my die cut machine so that it would better fit on the front of my card panel. I added the sentiment with dimensional foam and placed the final little fish at the end of the sentiment flag.
Hope you’ve enjoyed today’s scene card featuring the Make Waves foil plate paired with the Mermazing stamp set from Dare 2B Artzy. I’ve linked these products and others that were used to make today’s card below for your convenience.
Have a wonderful day!
Hugs,
Tonya
May 12, 2023 0 Comments
May 05, 2023 0 Comments
March 11, 2023 0 Comments