September 12, 2022 0 Comments
Hello and welcome! Hope you are having a great day!
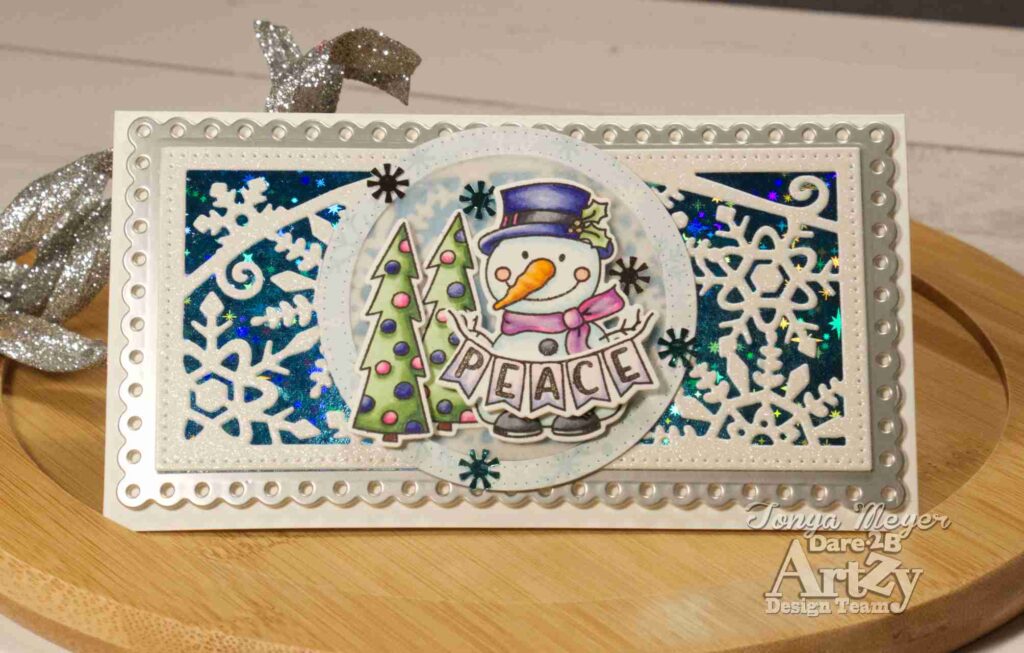
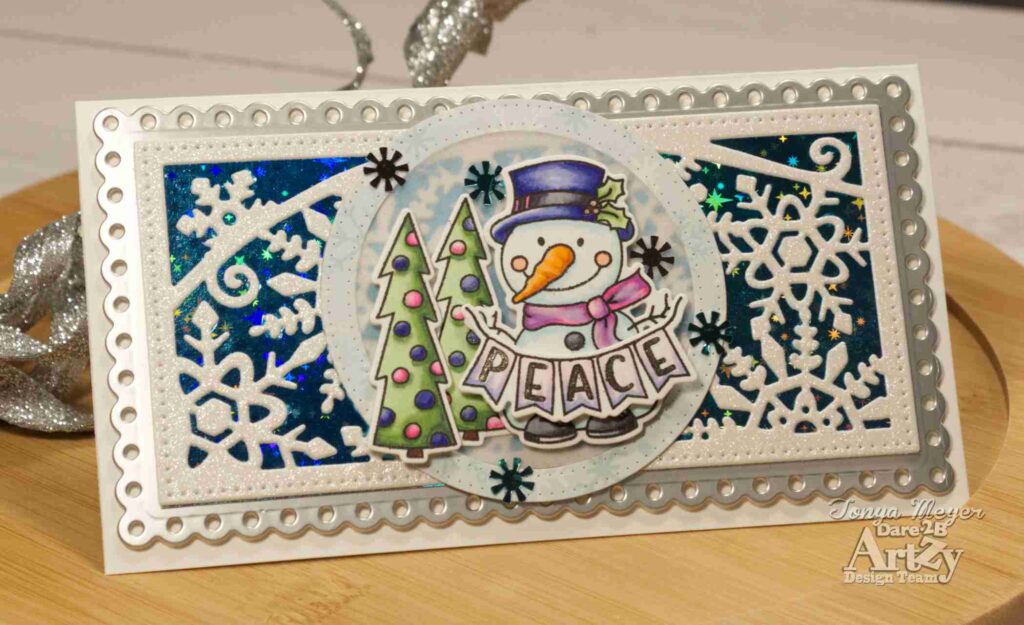
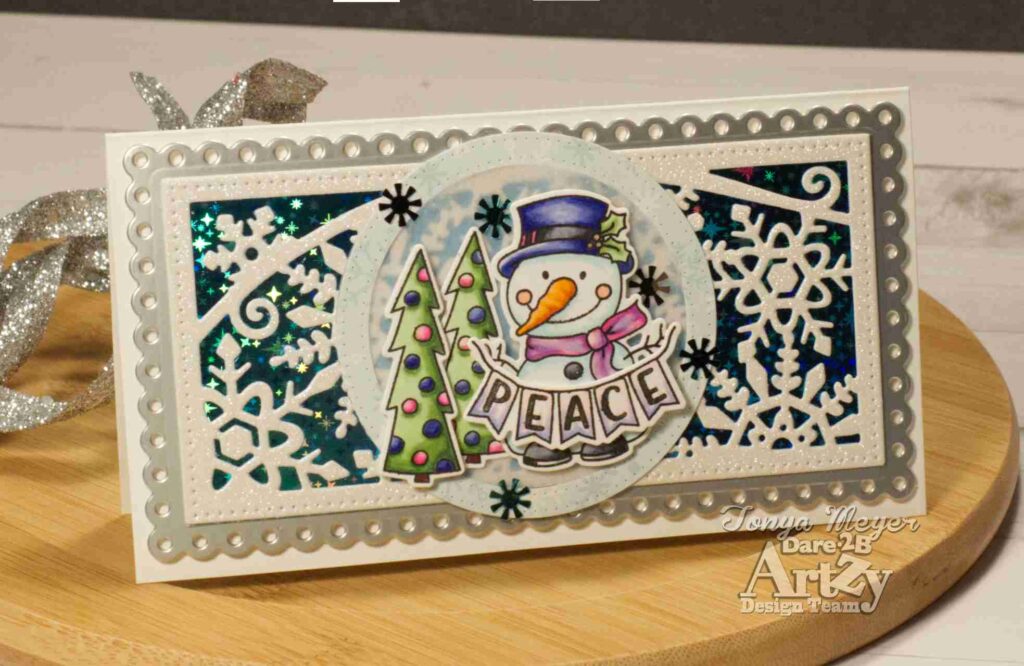
I am back today with another card featuring a new Dare 2B Artzy stamp and die set. Today’s card features the new Frosty Hello stamp and die set. This set has two adorable snow people along with two cute banners and holiday images to create some fun Winter or Christmas cards.
There is a YouTube video of this card over on the Dare 2B Artzy YouTube channel. You can click the link below to check it out: https://youtu.be/u_lf59B7Gco
To create my card today, I started by using a solid hot foil plate to create a solid hot foiled image. My hot foil has a sort of starry background but I thought it sort of resembled snowflakes since they come in all shapes plus it’s a beautiful shade of teal.
I hot foiled onto some Hammermill 100 lb cover weight cardstock and it takes the foil beautifully due to the super smooth surface.
Next, I cut the Slim Mini Snowflake Die from some white glitter cardstock. It can be a bit tricky to cut glitter cardstock with such intricate dies. One tip that I’ve found that helps me is to build your sandwich to include a layer of plain printer paper between your glitter paper and the die plate. Wax paper can also work with intricate dies also. Sometimes you have to play around with your sandwich to get it just right but so worth it when your die pops right out.
Once my snowflake was cut out and all the negative pieces removed, I trimmed down my hot foiled background to fit behind all of the sparkling snowflakes.
I used the scalloped outer border die from the Slim Mini Snowflake die to cut the background from some matte silver cardstock.
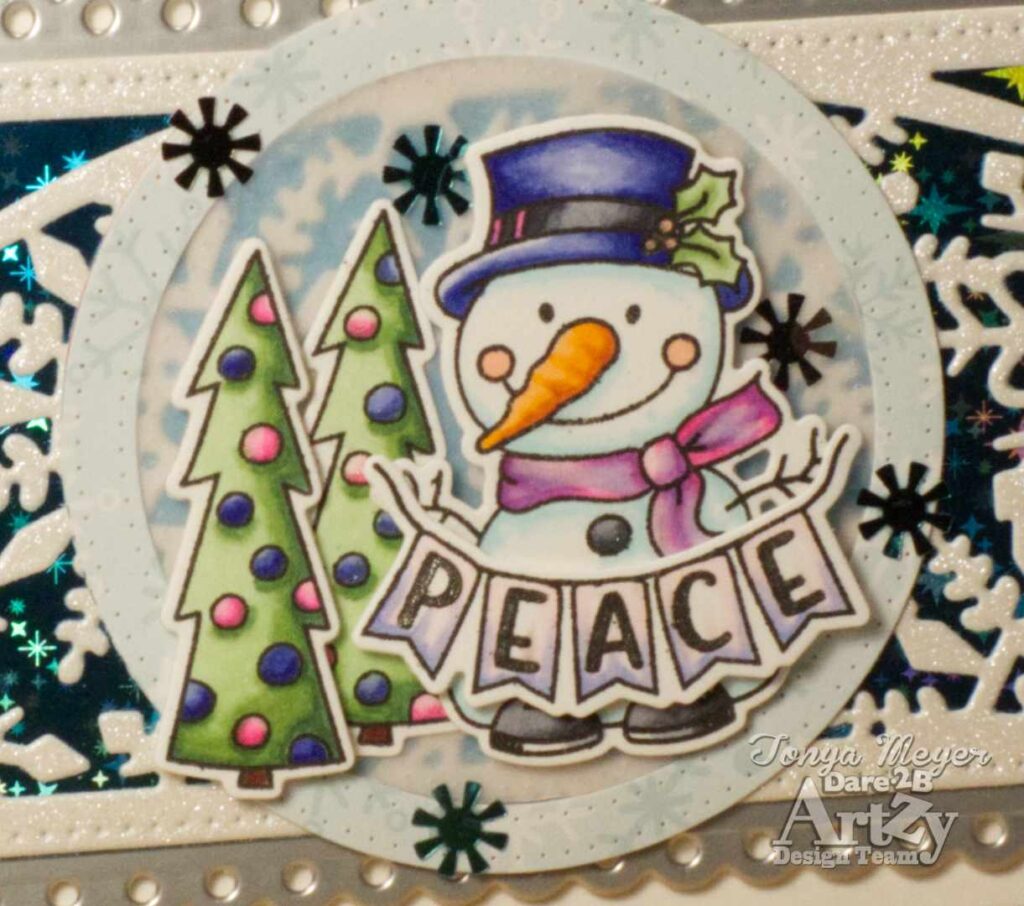
Finally, I stamped the adorable snow person with the top hat along with a tree and the banner that reads, “Peace”.
I colored each of the images with my Copic markers.
These images are very easy to color, but you can make them as detailed or simple as you want. I always add a little B0000 and B000 to any snow images to give them some depth and the sense of “cold”. I kept the rest of my coloring pretty simple
When I finished coloring, I die cut all of the images using the coordinating die set and set them aside.
To create a softer focal point for the card and my stamped images, I cut a piece of vellum using the Double Dot Circle Framelets dies that measured 2 5/16.
Next, I created a frame for that circle using the same size die and placed it inside of the the next size up Double Dot Circle die that measured 2 7/8. I cut a piece of the Snowflake paper from the new 6×6 paper pack. The pattern for this paper is called Christmas Joy which is also available in the 12 x 12 paper. I added a second layer to my frame to give it a bit more stability and then adhered it with some liquid glue. This gave me a nice 1/4 inch frame around my vellum center.
My snowflake background was added to a mini-slimline card front that measures 3 1/4 x 6. I added the vellum circle and frame over the snowflake background with some liquid glue around the frame and some Score-Tape behind my colored images.
I added the snowman and one tree to my image along with the Peace banner using some liquid glue and dimensional foam.
My images were a little off-center when I applied them to my vellum circle. To fix this, I stamped, colored and die cut another tree to add to the scene with some dimensional foam. The second tree really helped balance things out.
For a finishing touch I had some snowflake sequins in my stash and I glued a few of those around the center scene.
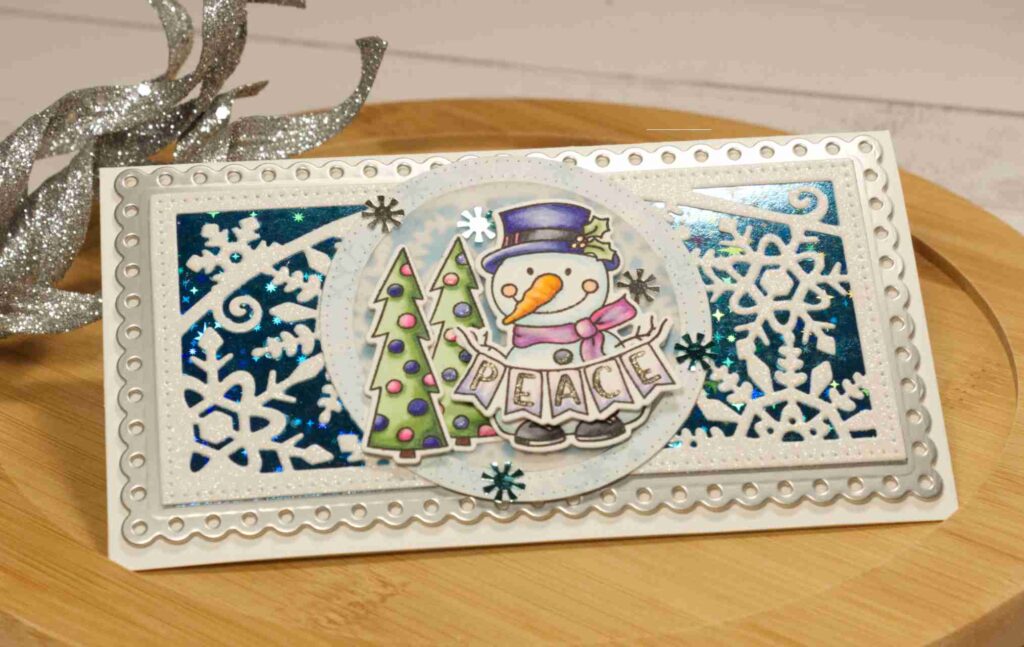
That finishes of my wintry card featuring the new Frosty Hello stamp and die set from the new holiday release over at Dare 2B Artzy.
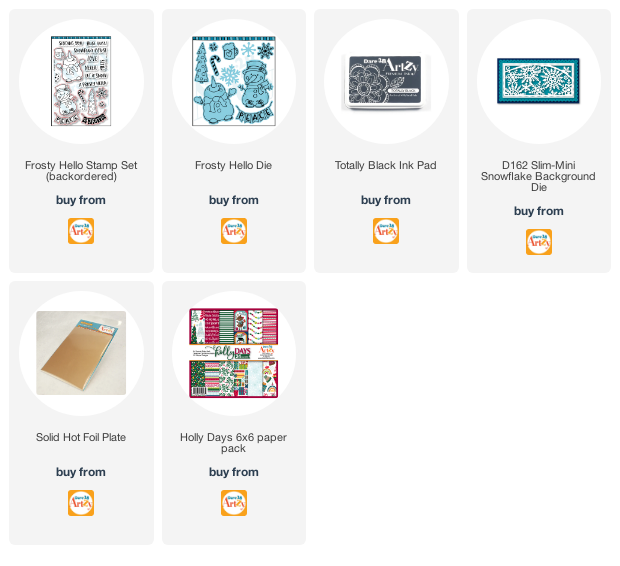
I have linked all of the Dare 2B Artzy products used in today’s card below for your convenience.
Thanks so much for stopping by today. Hope you are inspired to create some cards or holiday tags with this fun new Frosty Hello stamp set.
Have a crafty day!
Hugs,
Tonya
May 12, 2023 0 Comments
May 05, 2023 0 Comments
March 11, 2023 0 Comments