April 11, 2022 0 Comments
Hello and happy Monday crafty friends!
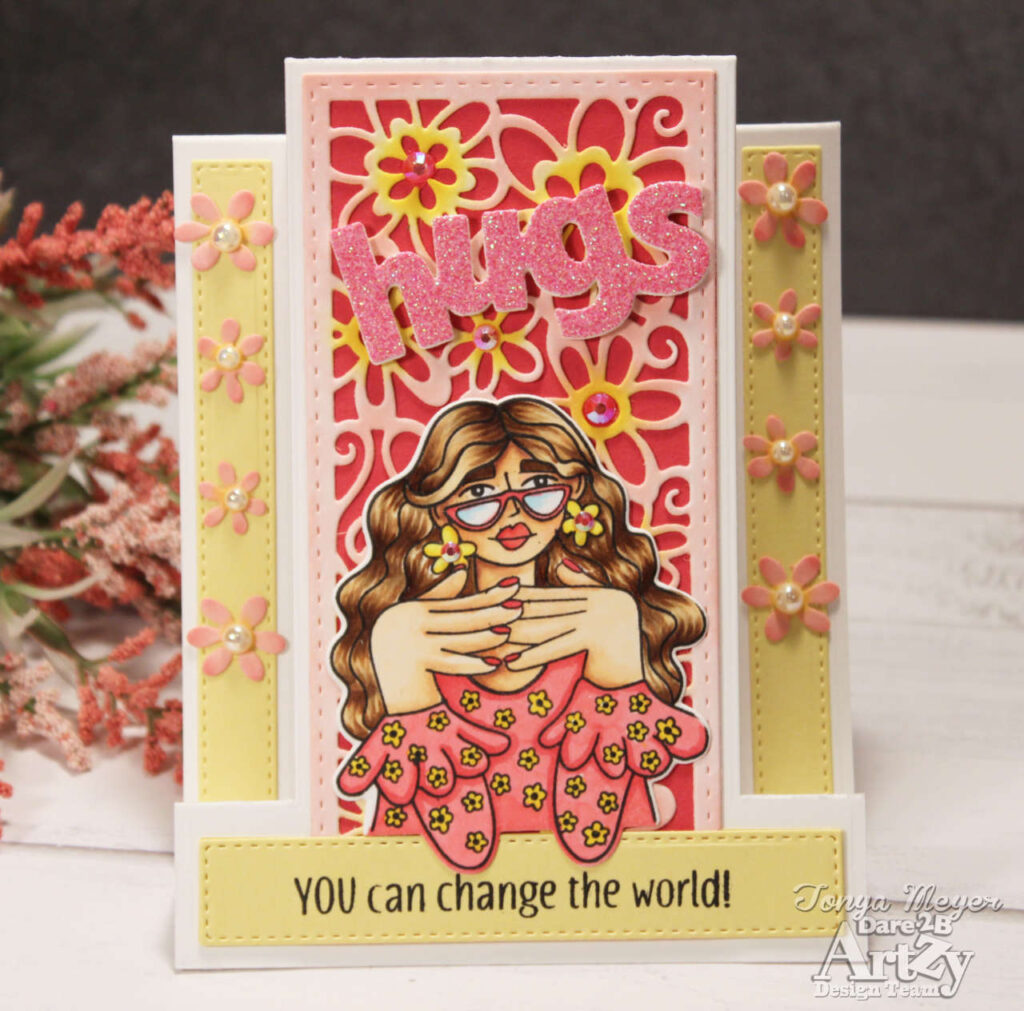
I am back today with another card featuring the Good Vibes stamp set. I cannot get enough of this fun stamp set. I think it is because I enjoy coloring people images with my Copics. This stamp provides me with lots of practice in coloring skin and hair. I colored the image and die cut her with the coordinating die.
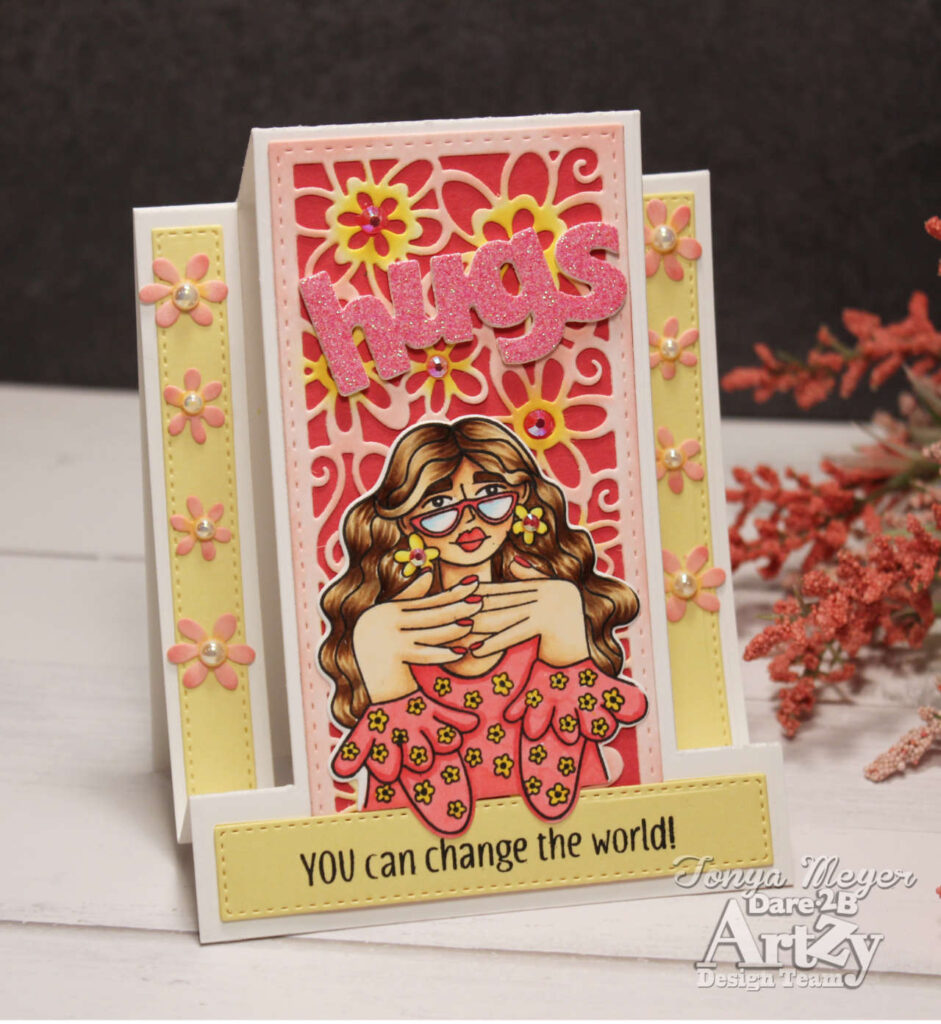
I thought it would be fun to create a bright, cheery card using the new Center Step Die paired with the Good Vibes stamp set.
The Center Step Die features six dies to use for adding layers to the side and bottom panels of your card. This die set is an excellent value considering there are multiple ways in which you can use the coordinating dies for your other card projects.
Today, I have paired my Center Step Die with the Slim Mini Flower Patch die set. I started by cutting the Slim Mini Flower Patch die from white cardstock. Next, I grabbed some coral-pink and yellow inks from my stash and used a detail blending brush to add some color to the flowers in my mini-slimline background. The detail blending brushes really make coloring this delicate floral background a breeze.
Next, I cut the Center Step die from 110lb cardstock. The die has both cut lines and crease lines, so it makes it quite easy to fold it into the shape of the Center Step card base. I used a bone folder to reinforce all my crease lines. I love that the finish size is A2 which makes it easy to send through the mail.
On the bottom portion of the Center Step Die, there is a section with a die that is perfect for stamping your sentiment. I cut a piece of light-yellow cardstock and stamped the sentiment, “YOU can change the world!” from the Good Vibes stamp set using Dare 2B Artzy’s Totally Black Ink.
I added my inked Slim Mini Flower Patch die to the center section in the Center Step Die. I love that it fits perfectly within that space. I think ALL the Mini Slimline dies for Dare 2B Artzy will work well with this Center Step Die set so there are lots of creative options for your cardmaking.
In order to layer my sentiment at the bottom, I cut a second piece of yellow cardstock and then trimmed the ends and glue them to the back of the stamped sentiment strip. This made the sentiment strip level at the ends when I placed it over my Flower Patch die.
For the side panels, I cut two additional strips from the same yellow cardstock and glued them in place on each side. I had cut two of the Slim Mini Flower Patch dies and there are some mini flowers that pop out of the center of some of the flowers. I though those would work perfectly on the side panels of the Center Step Die. To color them, I put some repositionable tape runner on a scrap piece of cardstock and added my die cut flowers to the tape. Next, I used my detail blending brushes again and blended on some of the coral-pink and yellow to the flowers. I kept the color pretty soft. Once finished, I glued them onto the yellow side panels on the Center Step card base and added some off-white pearls to the center of the flowers with some liquid glue.
Finally, I used the HUGS word die from the new Mini HUGS Tag set. I love that this word die is nice and bold and cuts in one piece. It makes it easy to layer up the die cut pieces to add dimension. I cut the hugs from some scrap white cardstock three times and then cut the final layer from some pink glitter cardstock. After all my layers were adhered together, I placed it onto the center of the card panel above my Good Vibes girl, who is resting her elbows on the sentiment strip at the bottom of the panel.
I added a few little gems to three of the flower centers on the background and to the earrings on my main image.
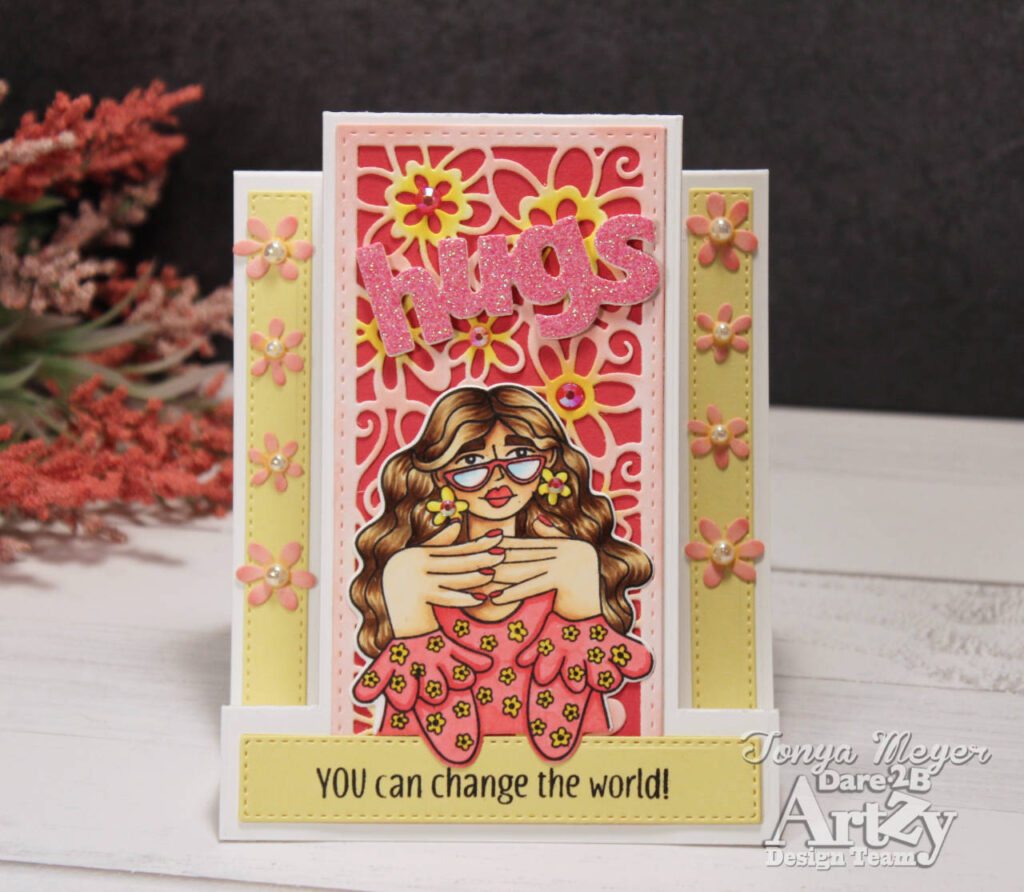
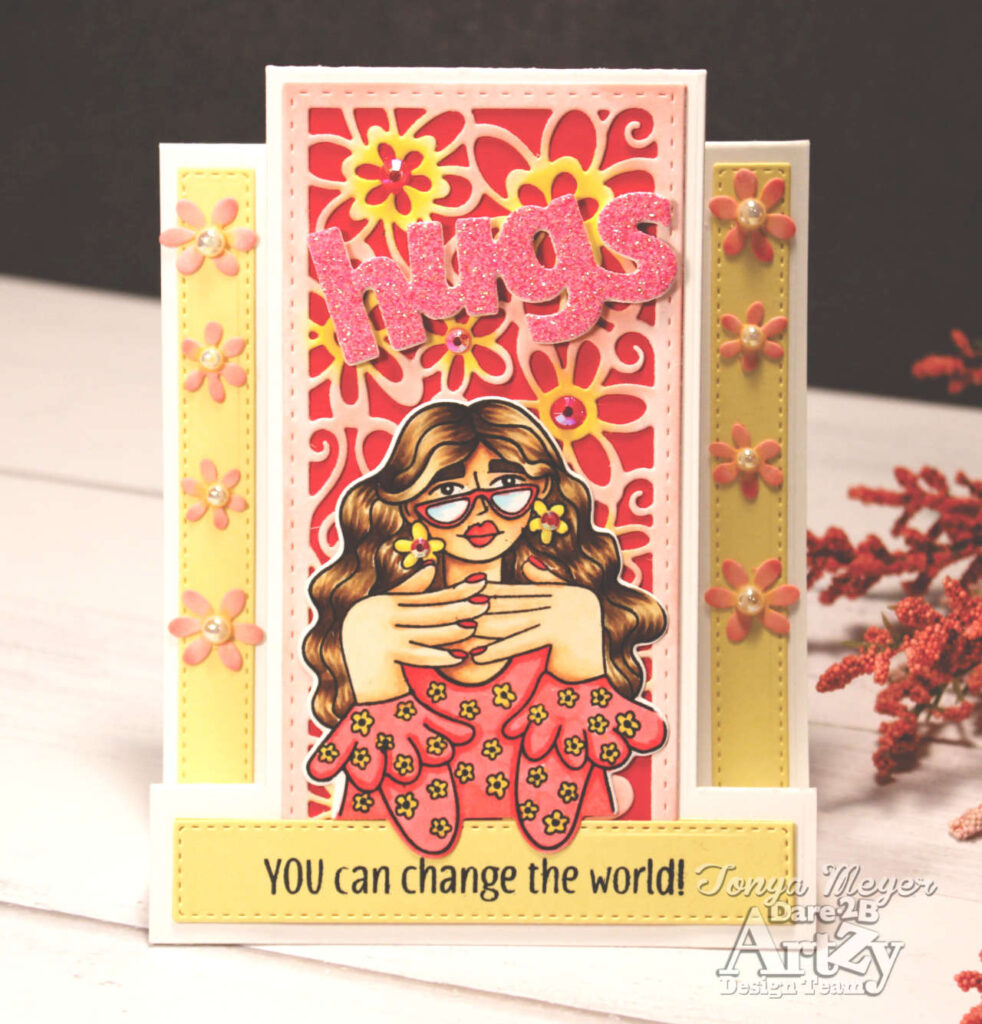
This card turned out so bright and cheery! I love how it looks and it came together easily with the Center Step Die Set.
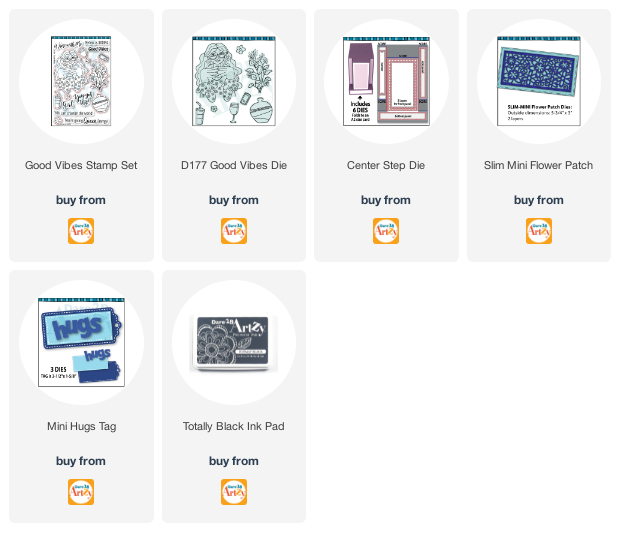
Thanks for stopping by! I have linked all of the products used in today’s card below for your convenience.
Have a wonderful day!
Hugs,
Tonya
May 12, 2023 0 Comments
May 05, 2023 0 Comments
March 11, 2023 0 Comments