April 12, 2019 0 Comments
How do I love thee, Swirl and Stripes Background Die? Let me count the ways.
(Apologies to Elizabeth Barrett Browning from Melody!)
Here are just a few of the ways! I have more ideas that I will try for a future blog post!
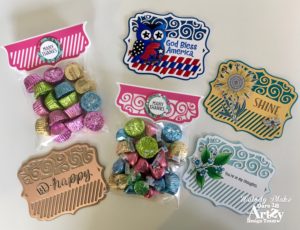
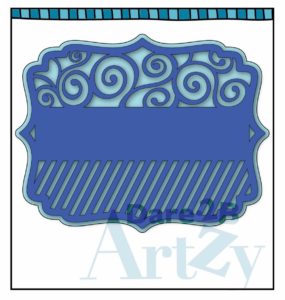
This Swirl and Stripes Background Die set is absolutely perfect for creating shaped cards.
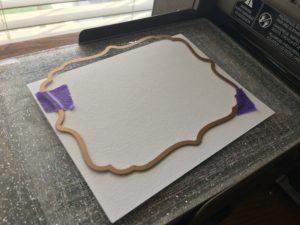
After folding my card base in half, I placed one of the dies just above the fold and ran it through the die cutting machine. I then cut another paper with the same die and adhered it to the front of the card in the color that I wanted the front to be. I followed this same procedure for all of the shaped cards in today’s post!
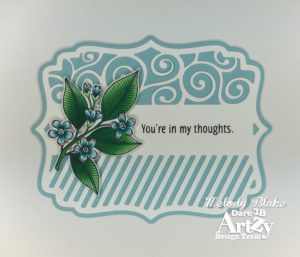
The first card has an image and sentiment from the Friends Stamp Set. The image was colored with the following Copic Marker combinations: (RV10, RV02, RV13), (BG000, BG57, BG09), and (YG11, G14, G17). After die cutting the swirls and stripes from white card stock and adhering it to the card front, the sentiment was stamped. The image was die cut using the Lemon Bouquet Die and popped up on the card with foam tape.
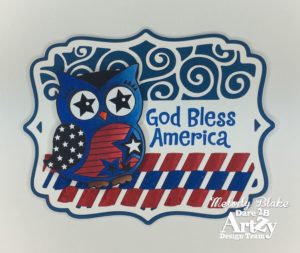
For the second card, I wove ribbon through the stripes to get yet another look from the die. The owl and the sentiment are both from the Patriotic Owl Stamp Set. The Copic combinations used were (YR04, YR09, R08), (R14, R29, R46), (B24, B26, B28), and (E25, E37, E29).
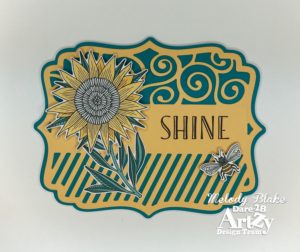
This quick card was made by stamping the sentiment from the Shine Stamp Set and then die cutting flowers and a bee from the BEE-utiful Blooms patterned paper! I combined two die cuts from the patterned paper to make this flower. The Shine Flower Die Set matches both the stamped images and those already printed on the beautiful D2BA paper!
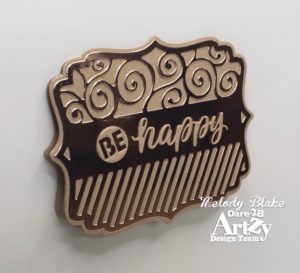
The fourth card was another super quick card to create! The swirls and stripes part was die cut from Tonic Rose Platinum Mirror Card. The words were cut from both brown and kraft card stock using the Be Happy Word Die. It doesn’t get any easier than this!
I thought this die set would make fun treat toppers, too!
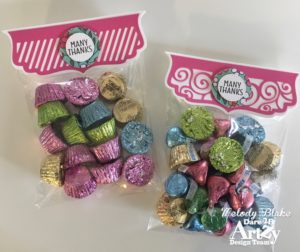
I die cut two pieces of white card stock using the larger outside die in the set and folded them in half. I then die cut one pink from the swirls and stripes.
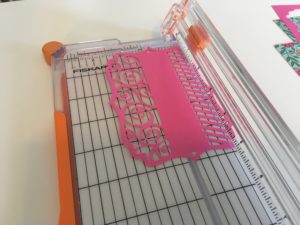
I trimmed the swirls side and the stripes side using a paper trimmer. Each was adhered to one of the white card stock die cuts. The sentiments were stamped from the Lotus in Bloom Stamp Set and die cut with a Double Dot Circle Framelit Die. Two more circles were die cut from the Pretty in Pink patterned paper. The treat bag was sandwiched in the middle of the die cut and the circles were added. I sure hope my friends like their thank you treats!
Thanks for sticking with me through this long post! You can tell I was pretty excited to get this die set!
Please remember to enter the April Challenge at Dare 2B Artzy for a chance to win a gift card!
Happy stamping!
Melody
May 12, 2023 0 Comments
May 05, 2023 0 Comments
March 11, 2023 0 Comments