May 10, 2021 0 Comments
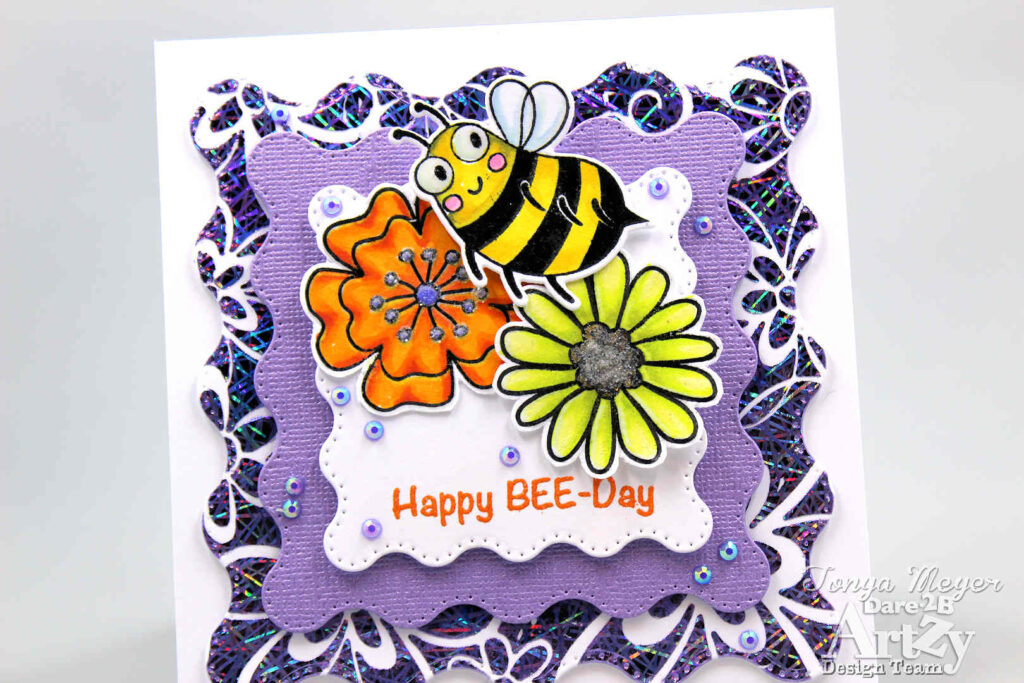
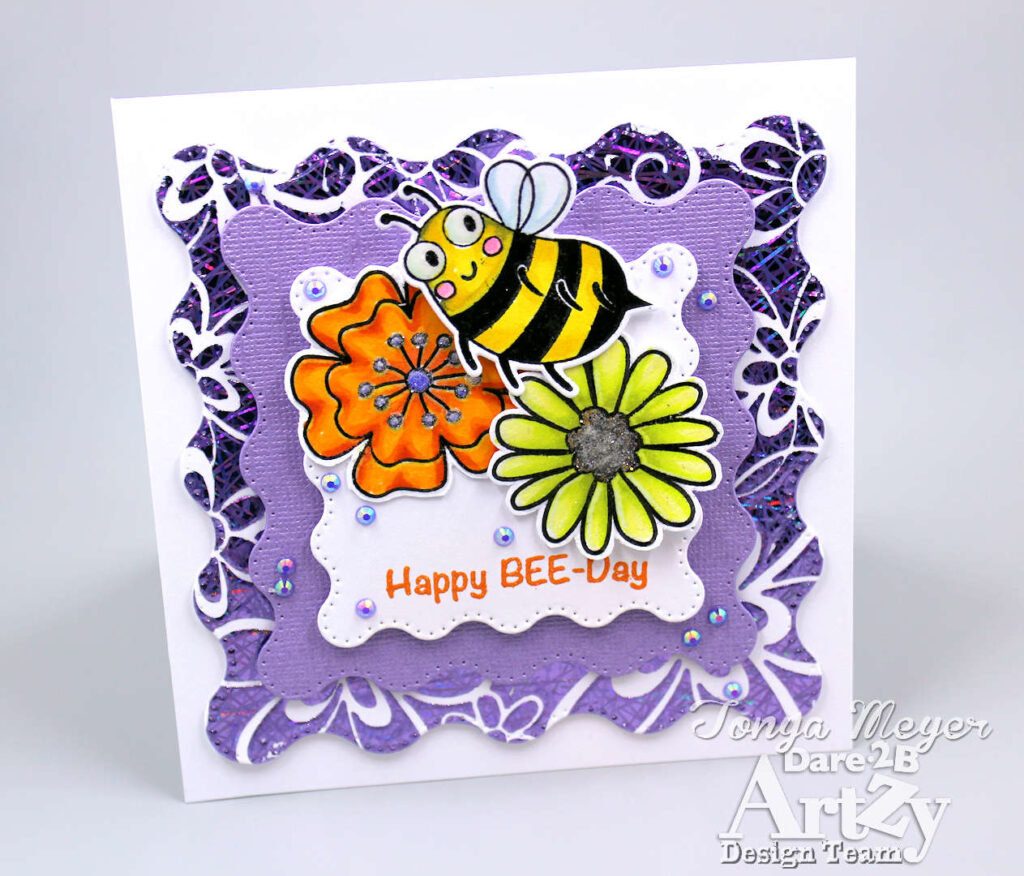
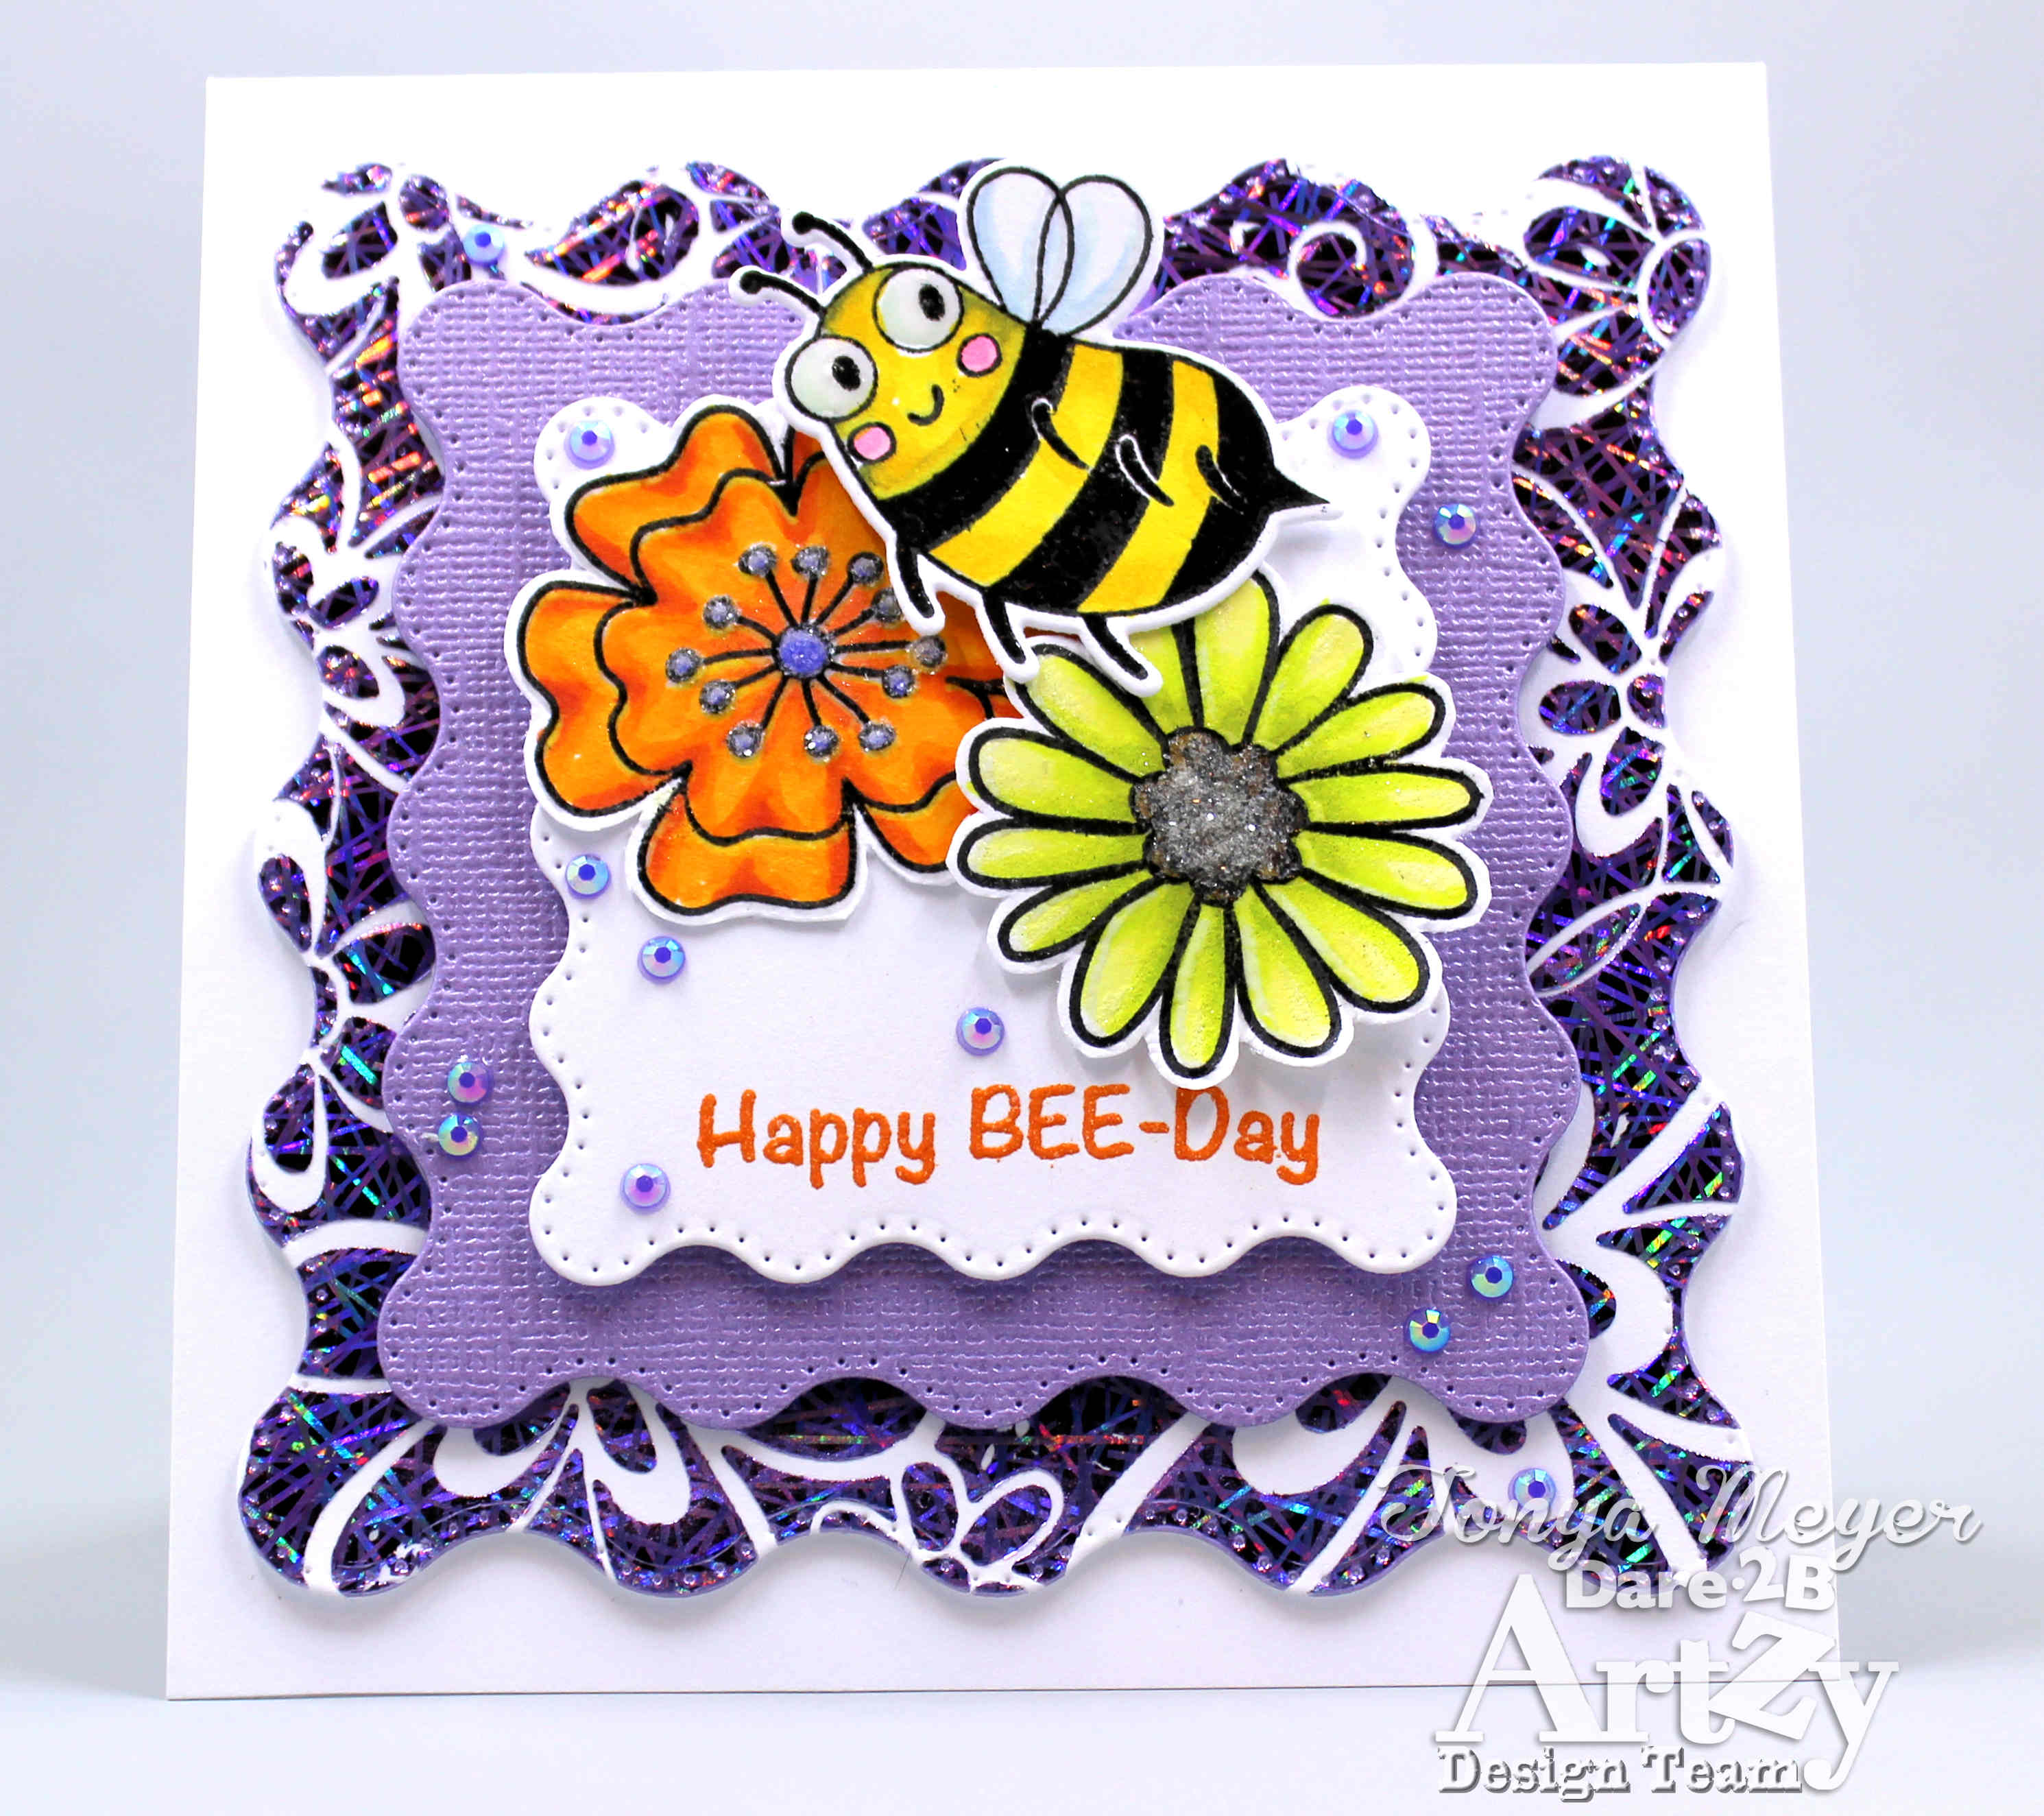
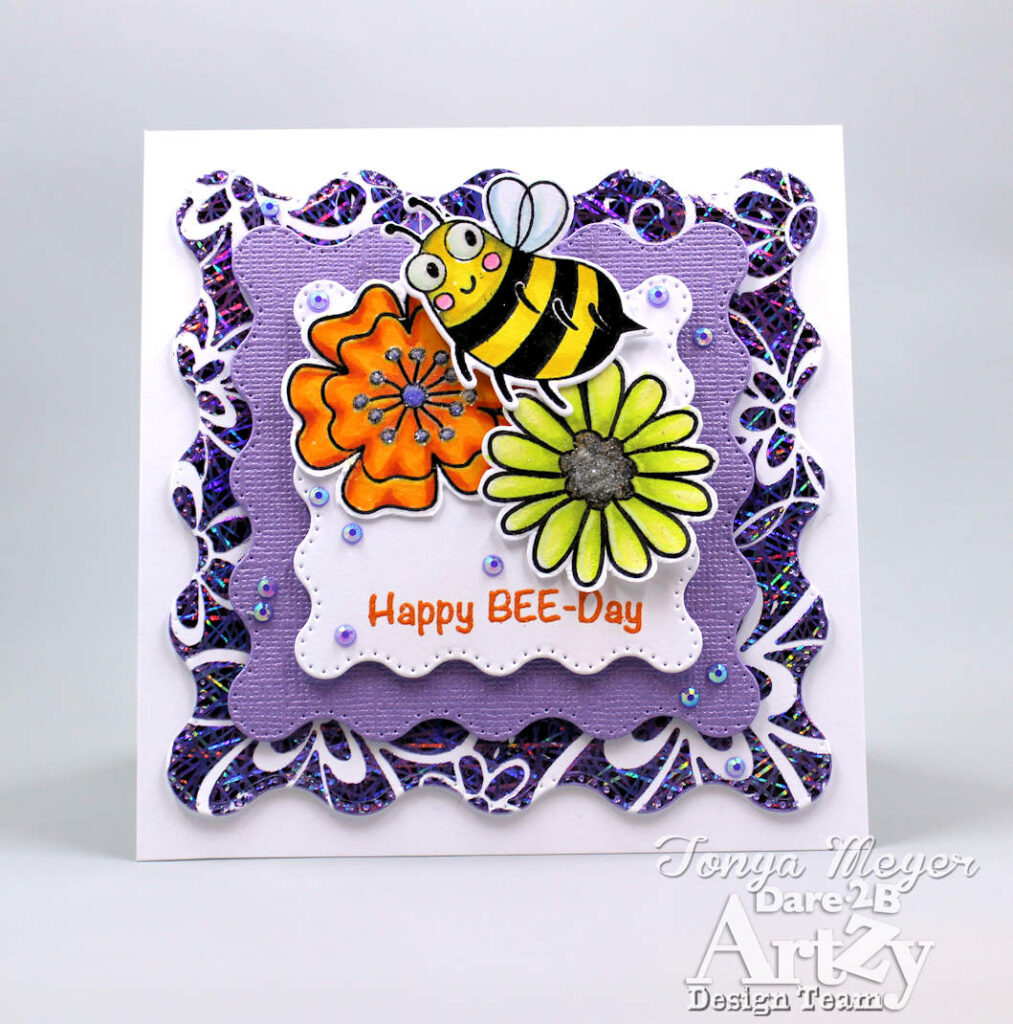
Hello Artzy friends! It’s Tonya from Krafty Enchantments. I’m back today to share a fun birthday card that features a fun foiled element that adds a lot of sparkle to the card.
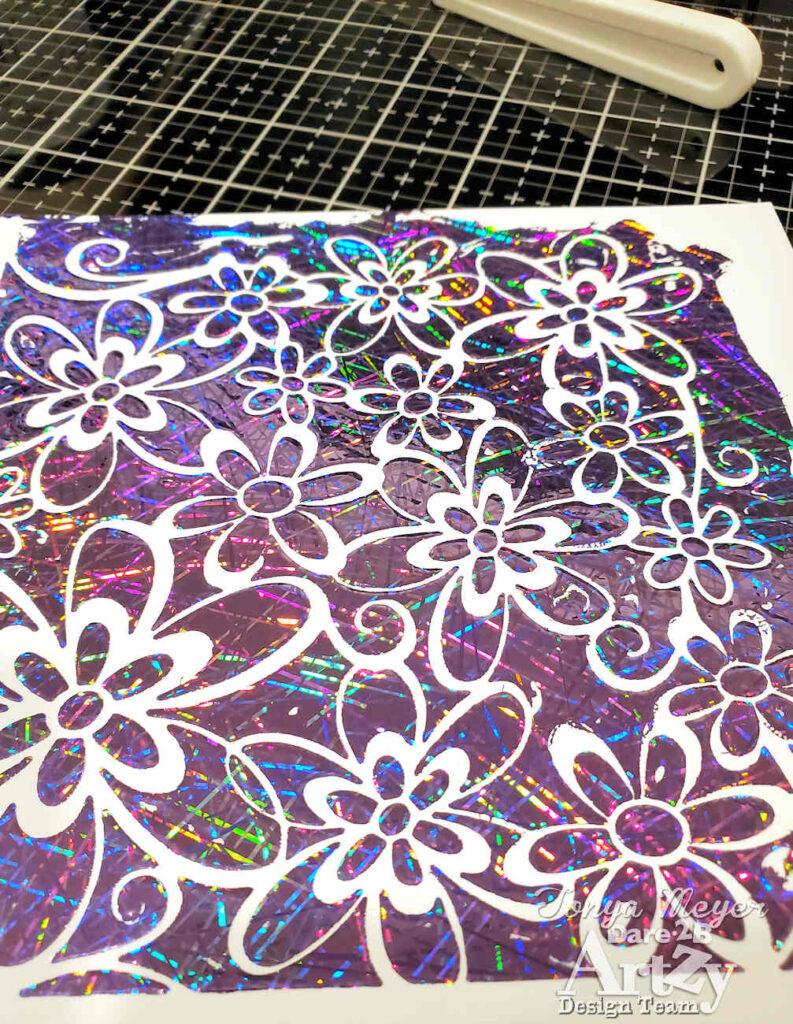
I started today’s card by creating a foiled background using one of my favorite Dare 2B Artzy stencils, The Flower Corner.
Everyone knows that you can utilize stencils to create a fun background with ink blending or even mixed media with glittery gels and colored paste.
Did you know that you can also use stencils to foil? It’s true and there are a couple of different products that you can use and you can either foil it with or without the use of heat.
To create my background, I used some Post-it Tape to hold my stencil down to a piece of 110lb cardstock cut down to approximately 7×7.
Next, I grabbed my palette knife, a scraper and my Deco Foil Transfer Gel Duo. An alternative product is Smart Craft Glue which is made by Scrapbook.com.
Using my palette knife I took a small amount of Transfer Gel out of the bottle and began to spread it out over my stencil. The key is to get a nice even coating over the entire stencil surface. You don’t want areas that are too thick. A good tool to use once you have good coverage is a scraper. If you don’t have a scraper, an old gift card from Starbucks or your other favorite coffee shop will work also.
Once I had a nice even coating, I carefully removed the Post-it Tape and stencil and set the cardstock aside to drive overnight. You’ll want to wash your stencil, palette knives and scrapers right away as it will ruin them to leave it too long.
When your stenciled cardstock is dry-ish and looks clear (it may feel a little tacky to the touch), it is ready to be foiled.
I used a heat transfer foil named Fairy Godmother. I ordered this a long time ago for no other reason than because it was purple, which happens to be my favorite color, LOL! For this type of foiling you can use any brand of foil as long as it’s made for HEAT TRANSFER. That’s the key.
To foil the background, I turned my MINC Laminating Machine to a setting of 4 and let it warm up. In the meantime, I cut a piece of foil to cover my background. A good thing about this foil is that it’s 6 ½ inches tall so it pretty much fits my entire background.
I placed background with foil (shiny side up) and a piece of copy paper on top of the sandwich and into a clear heat transfer folder (or you can use parchment paper) and ran it through my MINC.
Once it’s run though the MINC, I carefully peeled back the foil to reveal the beautiful Dare 2B Artzy floral background. It’s so pretty in person!! Not sure that pictures really show all the shimmer and unique design of the foil. Here’s a look at the foiled background.
With the Deco Foil Transfer Gel Duo, you can also foil without heat by following the same process, except you run the piece through a manual die cut machine rather than a laminator.
Once my foiled background was complete, I used the large Wavy Squares Framelet die to cut it down. I have to say, it was hard to do that because the foiled background was so pretty.
I cut two additional Wavy Squares for my card; one from some shimmery lavender cardstock and another from some white cardstock to layer them over the foiled background panel with dimensional foam.
Finally, I was ready to color some flowers and a cute bee from my card.
I pulled out the Playful Posies Layered stamp and the Buzzy Bees stamp set. I stamped the outlines of the two largest flowers from Playful Posies and one of the Bees from Buzzy Bees with some Dare 2B Artzy Totally Black ink onto some 110lb cardstock.
I colored each of the images using my Art-n-Fly Alcohol markers in orange and green. Once I’d finished my coloring I used some Glossy Accents on the flower centers and sprinkled on some Distress Glitter and let it dry. This just gives a bit of texture to the flower centers. I also added some Glossy Accents to the Buzzy Bee eyes.
The Buzzy Bee was cut using the coordinating die set and I fussy cut the flowers from Playful Posies as there currently isn’t a coordinating die set for them.
For my smallest Wavy Square I stamped and heat embossed the sentiment, Happy BEE-Day with some Tiger Lilly embossing powder.
All of my Wavy Squares were added to a 4 ½ x 4 ½ inch card base of 110lb cardstock using some dimensional foam.
The flowers and bee were layered on the card with additional dimensional foam to make them pop a bit and give the card panel even more dimension.
For a finishing touch I added some small purple gems scattered around the card panel.
This card turned out so fun and I’m sure it will make a great Birthday card for someone special.
Thanks for stopping by! As always, I’ll have links to the Dare 2B Artzy products I used for today’s card below.
Hugs
Tonya
May 12, 2023 0 Comments
May 05, 2023 0 Comments
March 11, 2023 0 Comments