June 14, 2021 0 Comments
Hello! Hope everyone is having a wonderful day! I have a super fun card for you today and a little bonus project that I created as well. WARNING: this is a long post as there’s lots of details that went into these projects.
Many of you will remember Shrinky Dinks from your childhood. Remember how much fun you had with them? I have become an adult fan of Shrinky Dinks. I never had them as a kid, not sure why but I’m definitely having a second childhood playing with them now.
I discovered Shrinky Dinks when I ordered a kit from another craft company where they were using basic shapes and colored Shrinky Dink type paper (except much thicker) to create the shaker elements.
The kit got me to thinking about whether I could stamp and color on actual Shrinky Dink material and create my own shaker elements with stamped images. That led me down the rabbit hole of procuring some Shrinky Dink kits. There are lots of generic brands on Amazon but I located actual Shrinky Dink kits at Michaels. They ended up being on clearance which was a great score!! I bought a few of each type they had to begin my experiment.
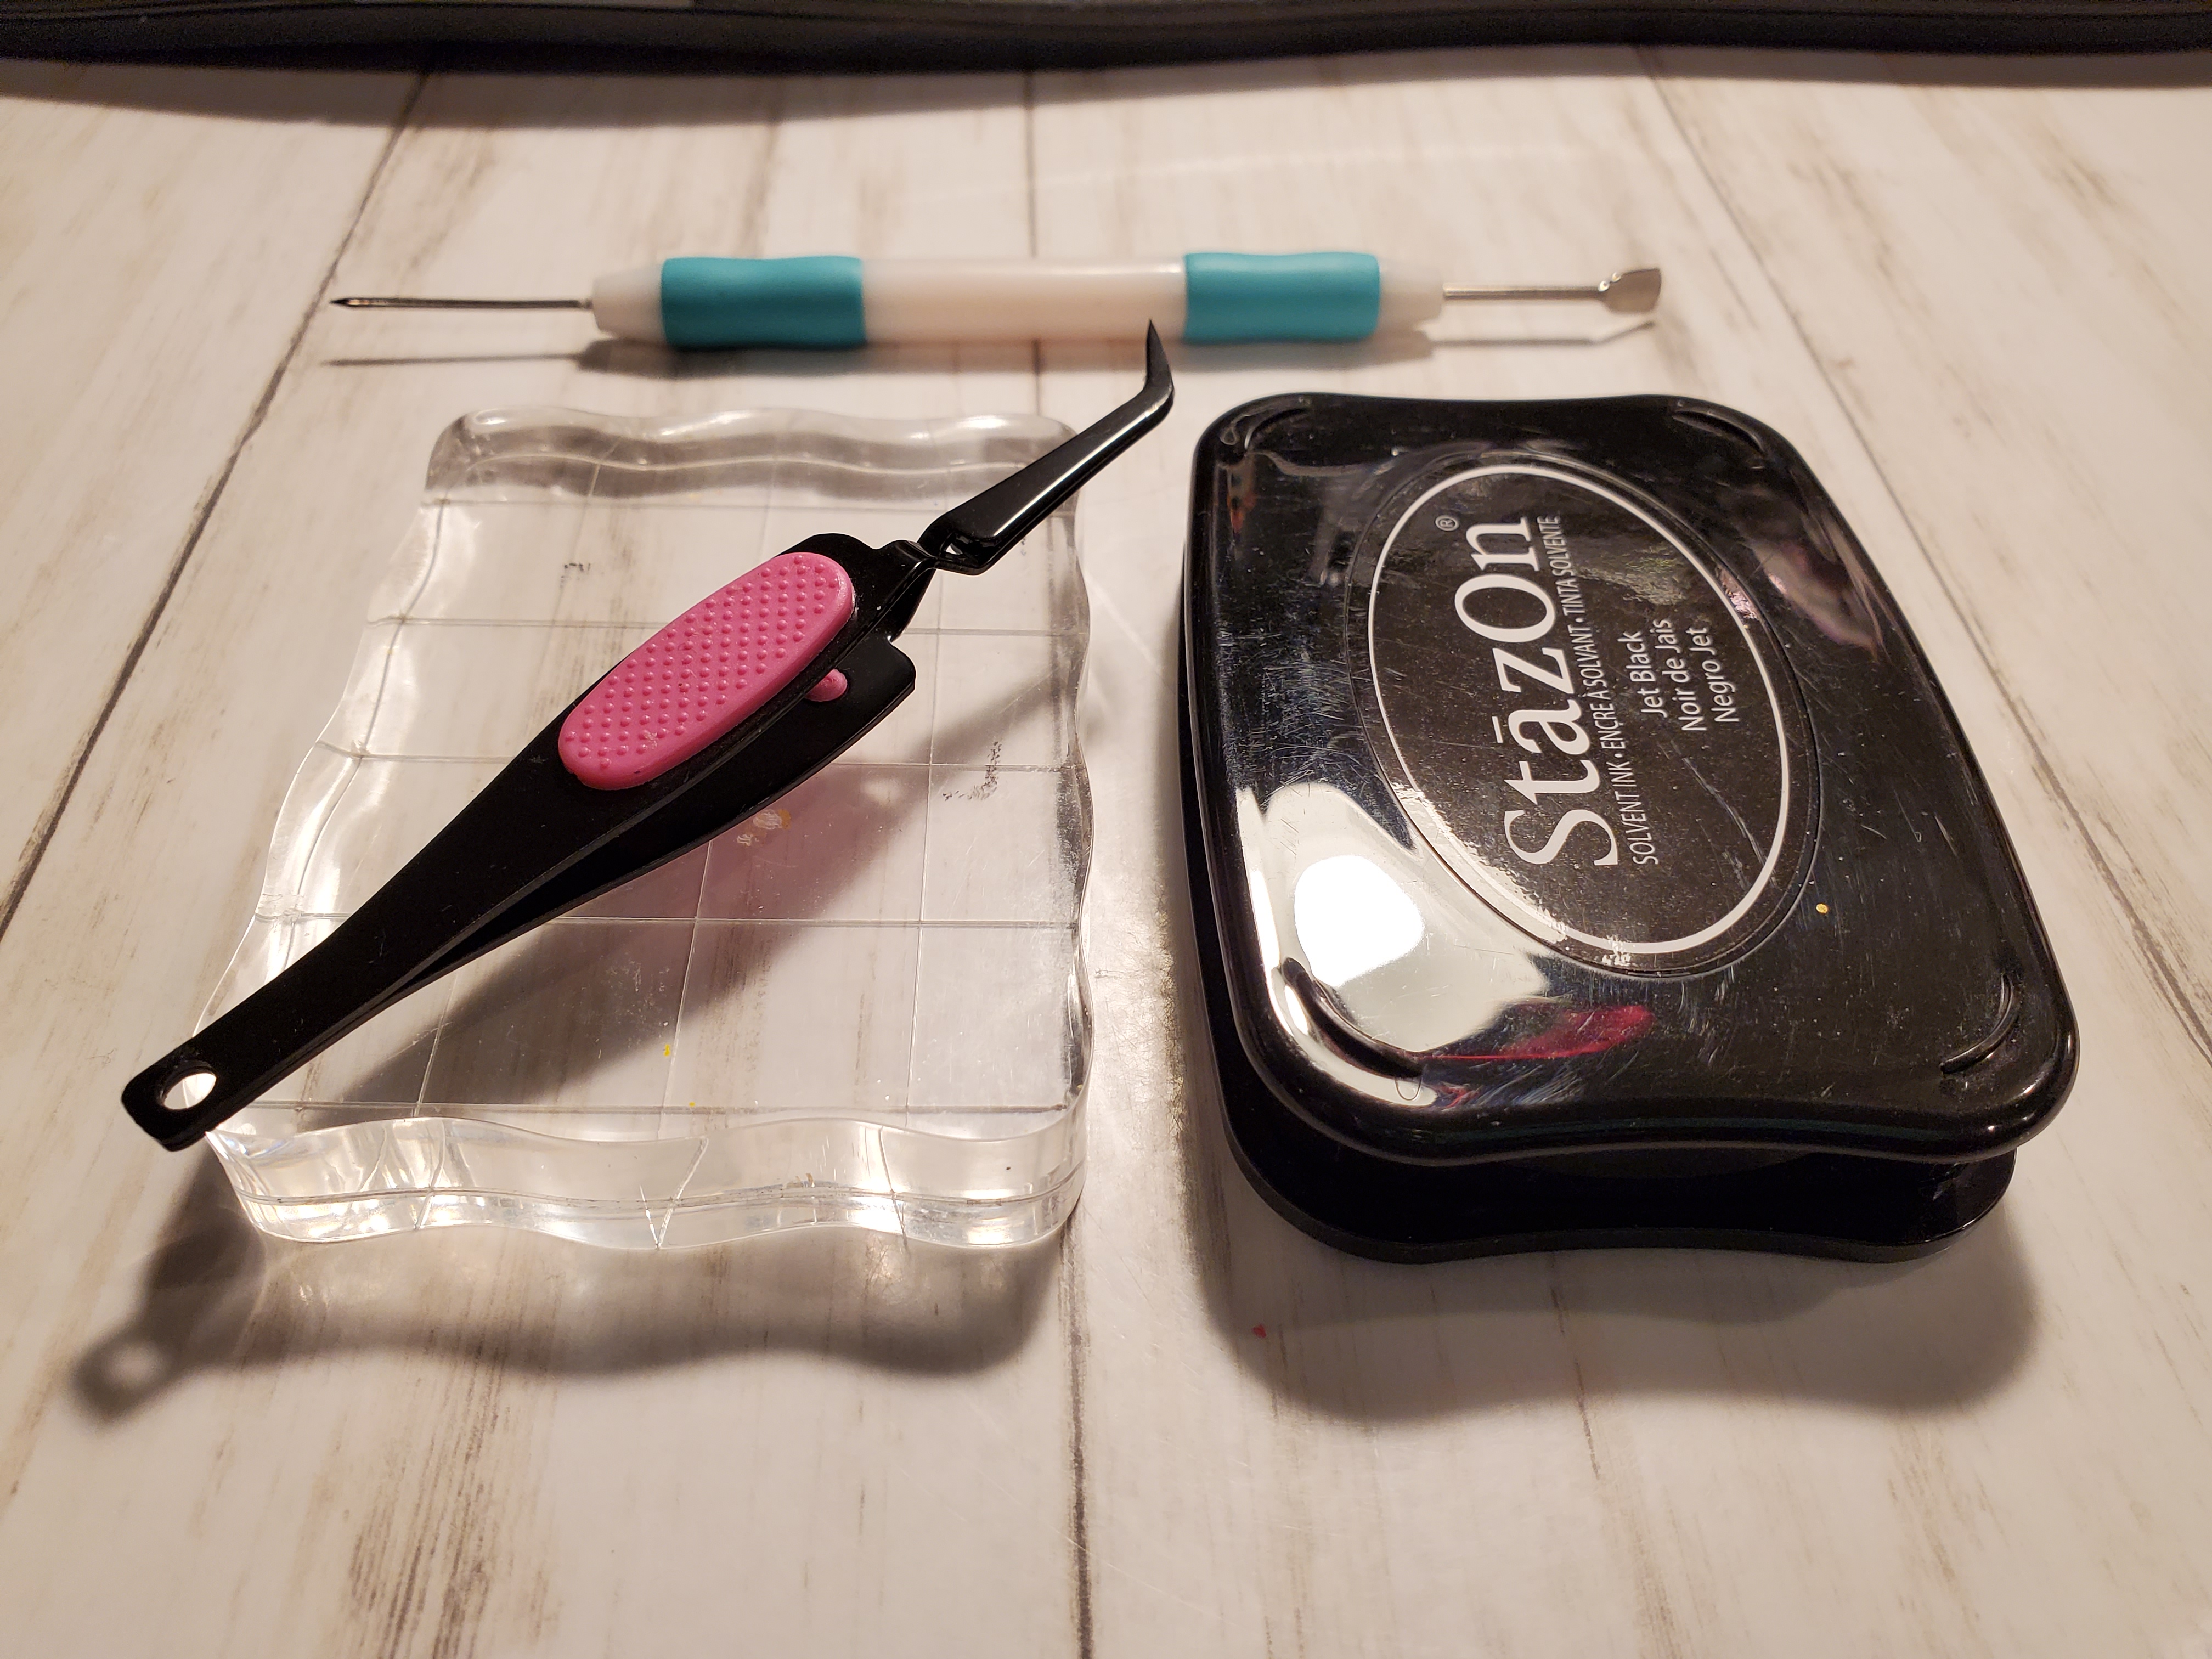
To stamp and color on Shrinky Dink material, you’ll need some StazOn Ink or some other type of Solvent Ink. You’ll also need a set of colored pencils or some alcohol markers. I wouldn’t recommend using your Copics for this project. A set of cheap alcohol markers works fine. A few other handy tools are a pokey tool or something with a sharp end, crafting tweezers that will pinch to hold something in place and lastly a heat tool. Your tweezers and pokey took should have some rubber grips on them as they could potentially get very hot. Warning: I did burn myself accidently in this process so I would also recommend a set of heat resistant gloves to protect your fingers as your tools, glass mat (or other work surface) and heat gun will be extremely hot. You can still use the oven method to shrink them as well so that’s certainly an option especially if you have small children.
To create the little bees for my shaker card, I stamped a bunch of the Dare 2B Artzy Buzzy Beez onto Shrinky Dink Ruff & Ready Frosted Sheets. Note, I also tried the white Shrinky Dink film but I didn’t like the results.
Once stamped, I let the stamped images sit for a few seconds to let the StazOn ink dry. Next, I colored each image using either the alcohol markers or the colored pencils to test both mediums. The coloring on the Shrinky Dink material does look very muted. It almost looks like there’s no color on there at all even using brightly colored inks.
When I finished coloring everything I used the coordinating Buzzy Beez dies and die cut the images.
To heat and shrink the images, I used my Wagner heat gun, in combination with my reverse crafting tweezers. I let my heat gun heat up and then took it to the shrink plastic. I moved it constantly to keep it evenly heating.
Warning, once it starts to warp and shrink, you’ll have a moment of panic because it will start to curl up onto itself. If it does that, you just quickly heat from the back side of the shrink plastic which will reverse the direction that it curls a bit. (NOTE: I did have a few that folded into themselves and I couldn’t get them to flatten back out. It’s a trial and error process so you may lose a few.)
It will get smaller as it heats and shrinks. When it was close to done, I would set the shrink plastic into my glass work surface and switch to a pokey tool to hold it in place to finish the shrinking process. Once it was done shrinking I set one of my stamping blocks on top to let it cool and keep it flattened out.
In my experiments, I ended up liking the bees that I colored with my colored pencils better than the alcohol markers. The coloring looks much smoother and brighter. Unfortunately, the combination of the StazOn ink with Alcohol markers caused the StazOn to blend in with the alcohol markers making it look grungy where the StazOn mixed with the alcohol markers.
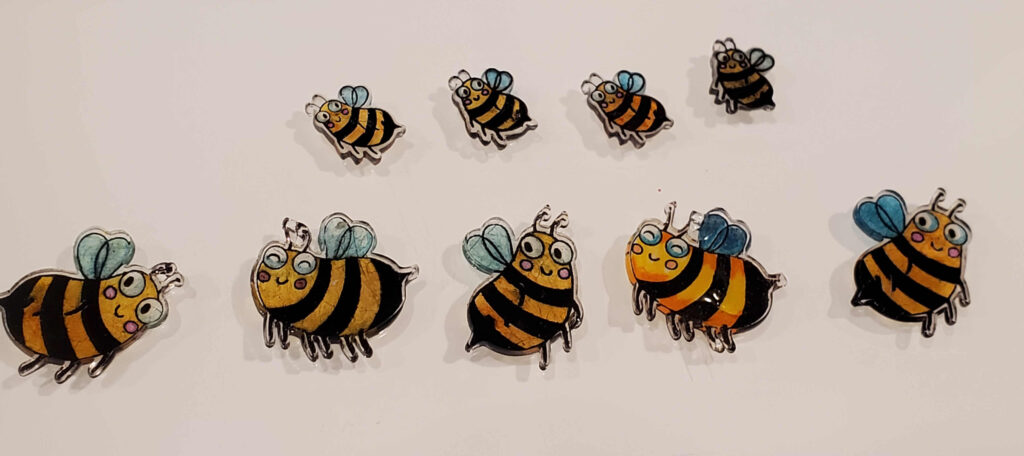
I ended up restamping and coloring new bees with some oil based colored pencils. I created 9 more of the Buzzy Beez from the Shrinky Dink materials. The Shrinky Dink material will shrink any stamped images to 30% of their original size so that’s something to keep in mind as you create your own shrink images. As you can see I have the two larger Buzzy Beez, but I also used one of the smaller bees from the Dare 2B Artzy Honey Bears sets. The smaller bees turned out super tiny, but they are absolutely adorable.
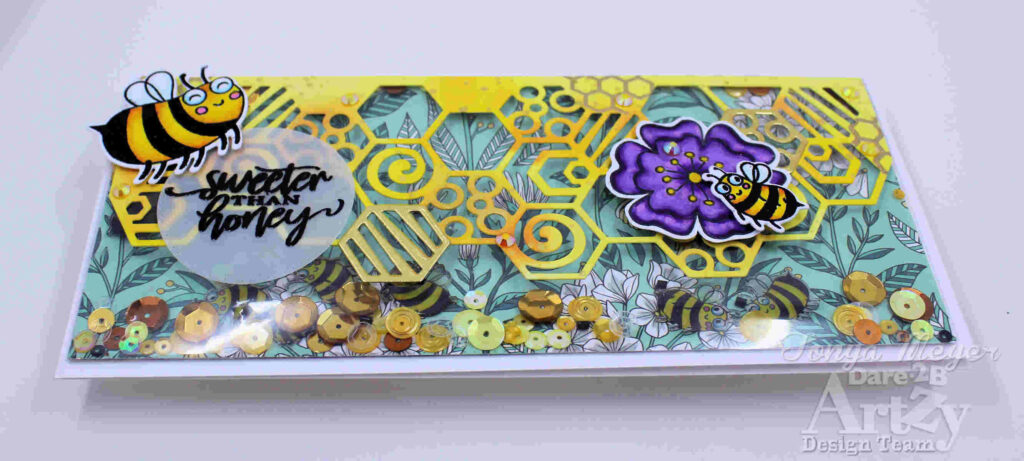
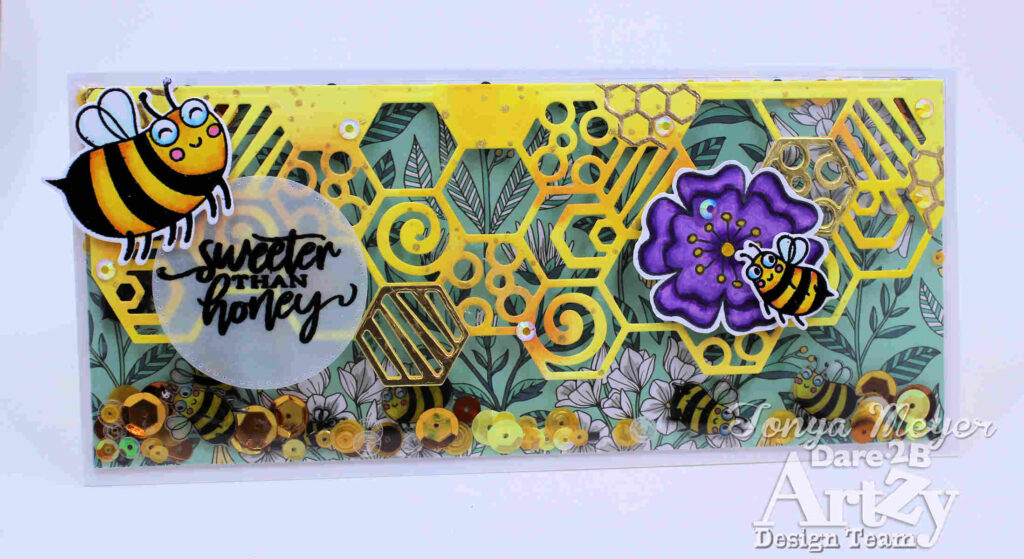
Once I had my shaker elements created, I could work on the rest of my card. I die cut the Dare 2B Artzy Honeycomb Slimline die from some 110lb cardstock. I ink blended a few shades of yellow and a touch of orange ink across different sections of the die cut background.
I added a bit of gold splatter to the ink blended background using some gold liquid spray from Jen Hadfield. I sprayed a bit onto my craft mat and then picked it up with a paint brush to splatter my background. I really like the gold splatter on the panel; it is just such a pretty color of gold.
For more interest, I used the honeycomb stamp from the Dare 2B Artzy Buzzy Beez stamp and stamped a couple areas and heat embossed with some gold embossing powder.
The Honeycomb Slimline die also comes with some additional decorative honeycomb dies. I die cut a couple of those from some gold foil cardstock and layered them in place over my background using some liquid glue.
All of the extra gold splatters, heat embossing and gold cardstock really give lots of visual interest to the background and create such a fun look.
Next, I stamped a large Buzzy Bee and one of the smaller bees from the Honey Bears stamp set with some Versamark Ink and heat embossed with some Super Fine Detail Black Embossing powder.
I colored each bee with my Copic Markers and die cut them with the coordinating dies.
I wanted to add a flower to the foreground of the card so I used one of the outline flowers from the Playful Posies stamp set. I colored it my favorite color of Purple so that it would stand out against the yellow bees and honeycomb background. Once I finished coloring I cut it out and set it aside.
My next task was to create a shaker card. I wanted to be able to show off all of the fun miniature bees in my shaker elements. To do that, I needed to create a clear card base shaker.
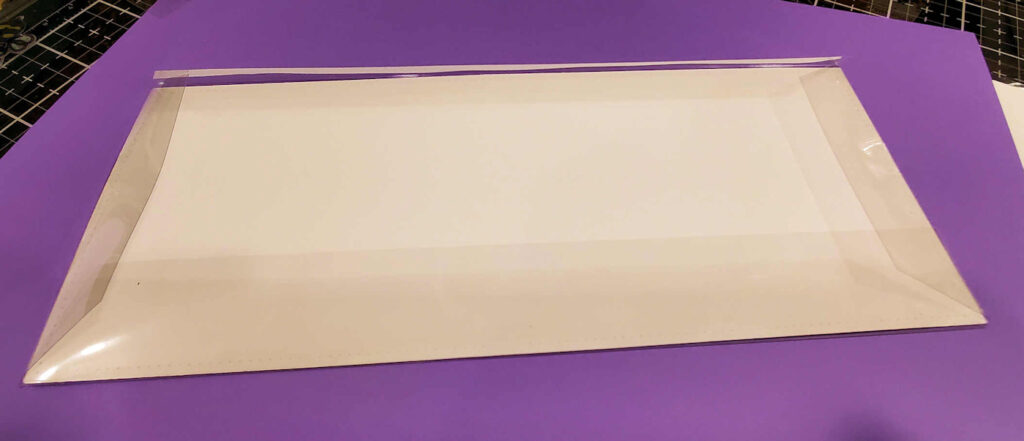
To start, I used a piece of embossable window acetate I had in my craft stash. I cut the acetate to be 5 ½ wide x 10 long. This size would allow for approximately a 1 inch overhang all the way around my background insert.
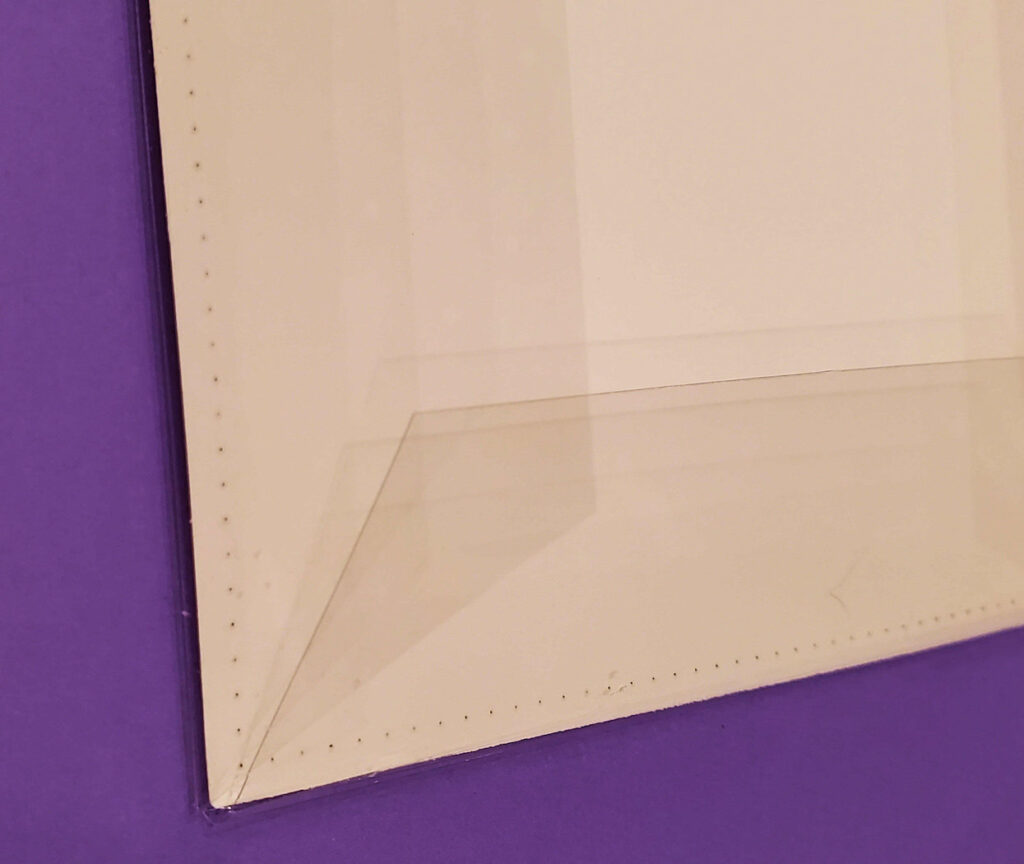
I measured my die cut background which I had die cut from some Dare 2B Artzy English Garden paper and it was 3 3/8 x 8 inches. Using the acetate I’d cut, I took my scoring board and scored approximately 1 inch in from all sides of the acetate. You want a wide enough flap on each side to make it easy to score and make sure that the flap will stay secured to the card background, so you might not need a 1 inch border on all sides. The heat resistant acetate is a bit thicker so it is a challenge to score it and I had to press pretty hard with my scoring tool. Some other brands of acetate that are not heat resistant might not be as difficult to score.
Once my acetate was scored I cut into the corners where the score lines intersect to create an L-shaped cut on each of the 4 corners. I also cut a wedge out of the end of each flap to make folding and securing easier.
I folded and flattened out each fold line with my bone folder. I added some double sided Score Tape to each flap to secure it to my piece of English Garden cardstock that I’d be putting on the inside of my shaker. I folded 3 of the 4 flaps down and adhered it securely to the back of the English Garden paper. NOTE: I did forget to use my powder tool on the inside of the acetate. This helps the shaker elements move around better, but I forgot to do that step.
Next, I added my Buzzy Beez, dropping them in face up; along with a few sequins and other shaker bits. Once I was satisfied with the amount of my shaker elements, I removed the backing to the score tape on the final flap and sealed the background shut.
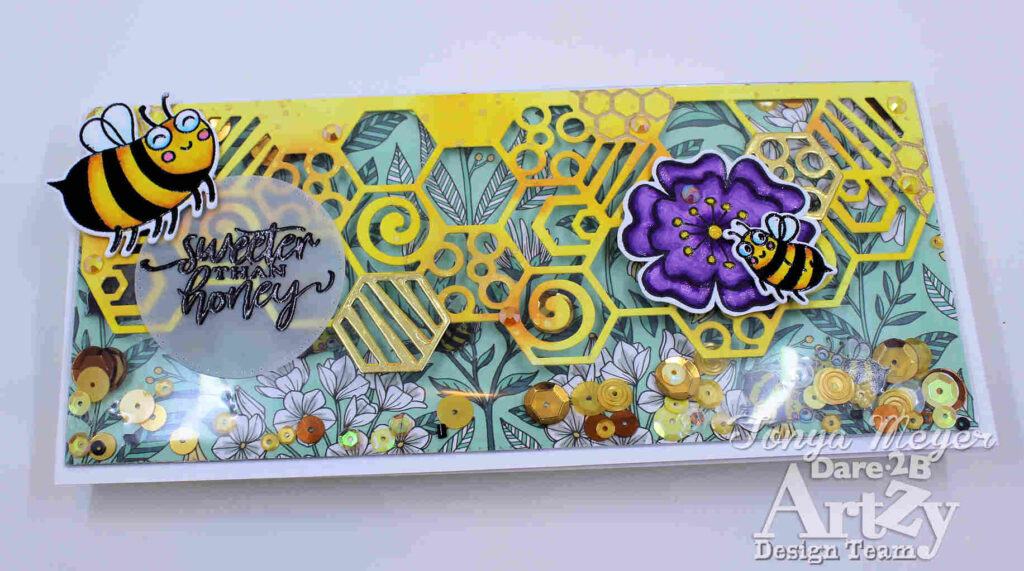
Finally I added the Slimline Honeycomb background to the front of the shaker with some liquid glue. I held the panel in place with some heavy stamping blocks until it was dry. Then I was able to add my additional colored and cut bees and flower to the front of the honeycomb panel with some dimensional foam.
I didn’t want the sentiment to take away or obscure the background to much. To avoid that, I stamped the Sweeter than Honey sentiment from the Buzzy Beez stamp set onto some vellum and heat embossed it. I die cut the circle using one of the smaller double stitched circles dies from Dare 2B Artzy. This turned out perfect as you can still see the card background through the vellum. I don’t think it distracts from the rest of the card.
The entire shaker panel was added to a slimline card base that measured 3 ¾ x 8 ¼. I added a few yellow gems to the card front as an extra element of sparkle.
I had so much fun with the Shrinky Dinks, I decided to make a quick bonus project of earrings.
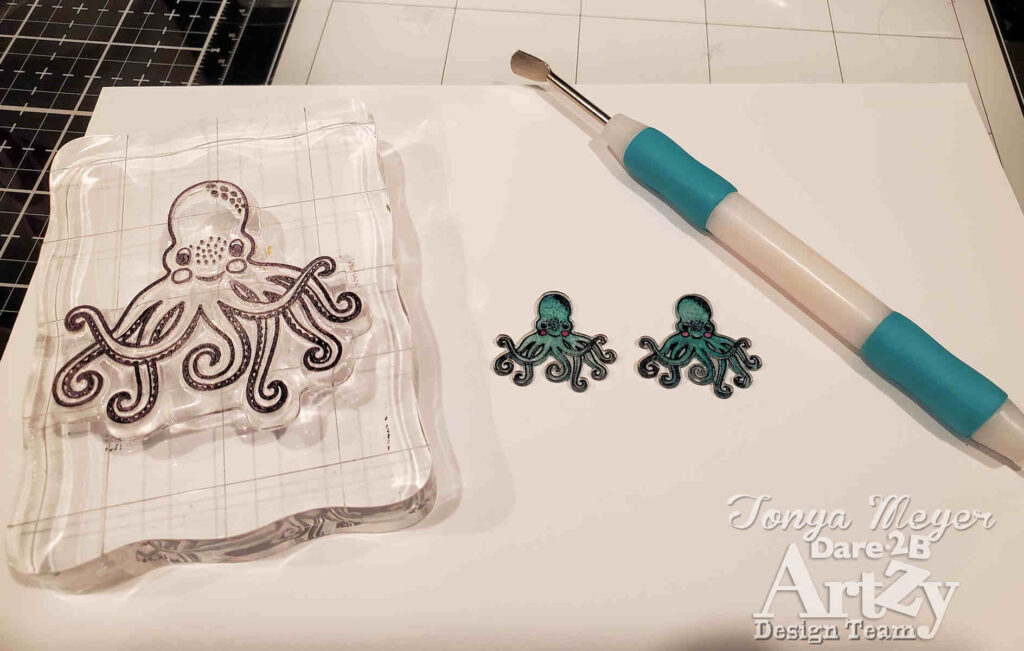
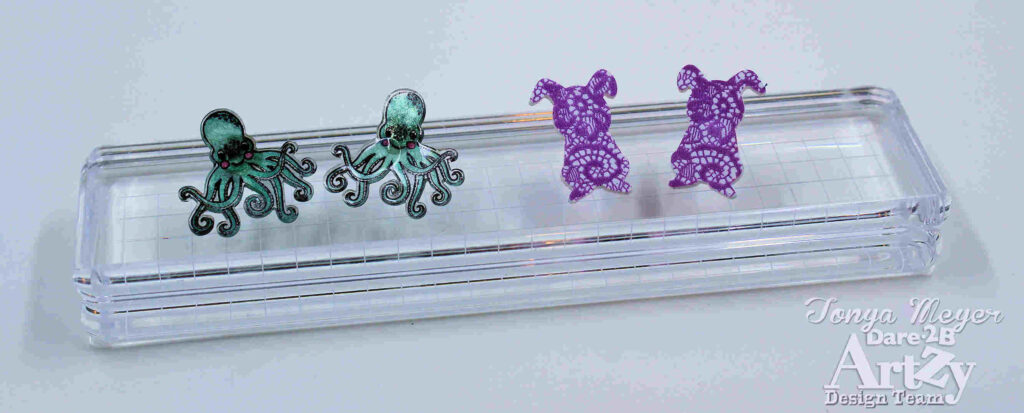
I stamped, colored and cut the adorable Octopus from the Seas the Day stamp set. I couldn’t resist how cute he was. Following the same process I colored it with alcohol markers and heat shrunk the octopus image and flattened it out with my stamping block.
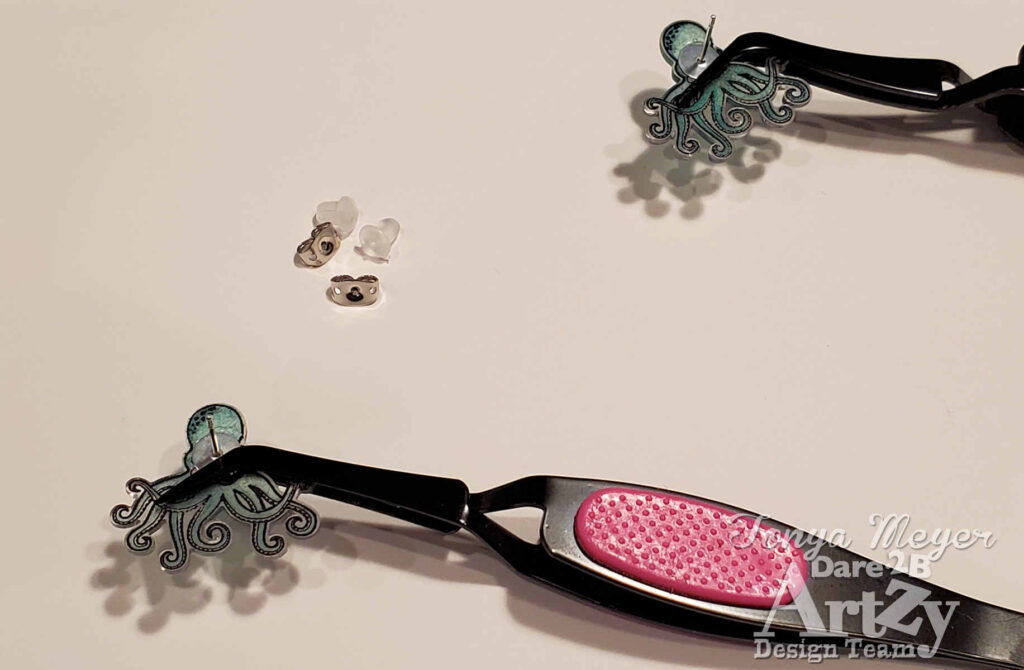
Once dry and cool, I added a touch of Gorilla Glue to the back of an earring post and stuck it to the back of my mini octopus. I held the post in place with my reverse crafting tweezers again until the glue was completely dry which took about 2 hours. Gorilla Glue was all I had on hand that would work to hold the posts in place. None of my craft glues seemed to hold. I plan to try using some Super Glue in the future.
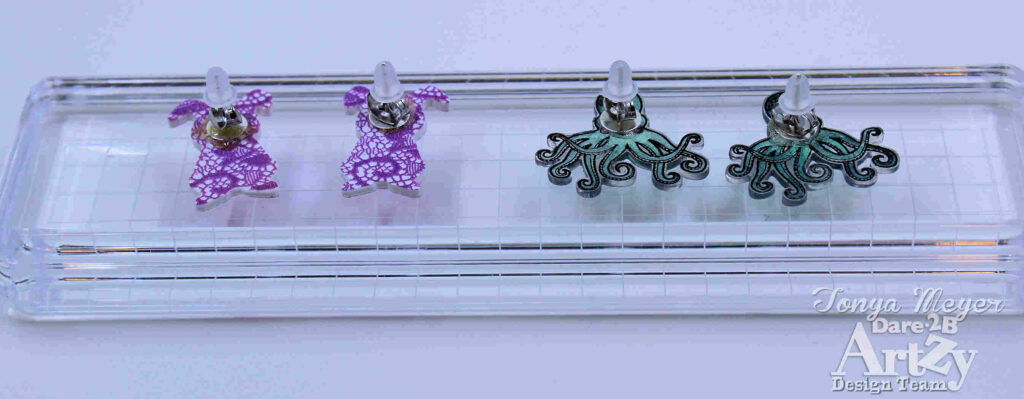
I popped on the earring back and a little rubber back and voila, adorable octopus earrings made from another Dare 2B Artzy stamp set.
If you prefer an option for no stamping and coloring, I created a second set of earrings using the bunny die from the Honey Bunny Stamp set.
For this set of earrings, I used the Printed Pattern Shrinky Dink film. This package has 6 different patterns to choose from. I die cut the bunny from some pink lace pattern and shrunk it with the same process then added the earring backs.
The only limitation with the earrings and the patterned Shrinky Dink film is that you can’t color on it, so the die outline needs to be pretty easily identifiable as to what the outline is supposed to be. Basic Shape dies would work well for this as well.
That’s it for me today! Whew, that was a super long post, but I hope you enjoyed my card and fun little earrings! They were certainly fun to create and I hope you got some inspiration from today’s post.
I have added links for all of the Dare 2B Artzy products I’ve used in creating today’s projects below. If you have questions about anything, please let me know in the comments below.
Thank you so very much for stopping by and hanging out with me today!
Hugs,
Tonya
Dare 2B Artzy Products:
May 12, 2023 0 Comments
May 05, 2023 0 Comments
March 11, 2023 0 Comments