November 21, 2022 0 Comments
Hello Artzy friends! Hope you had a wonderful weekend and that you’re all prepped and ready to celebrate Thanksgiving this week.
I am back with a new card today for Dare 2B Artzy. This one had me digging out all of my snowflake stamps from various stamp sets.
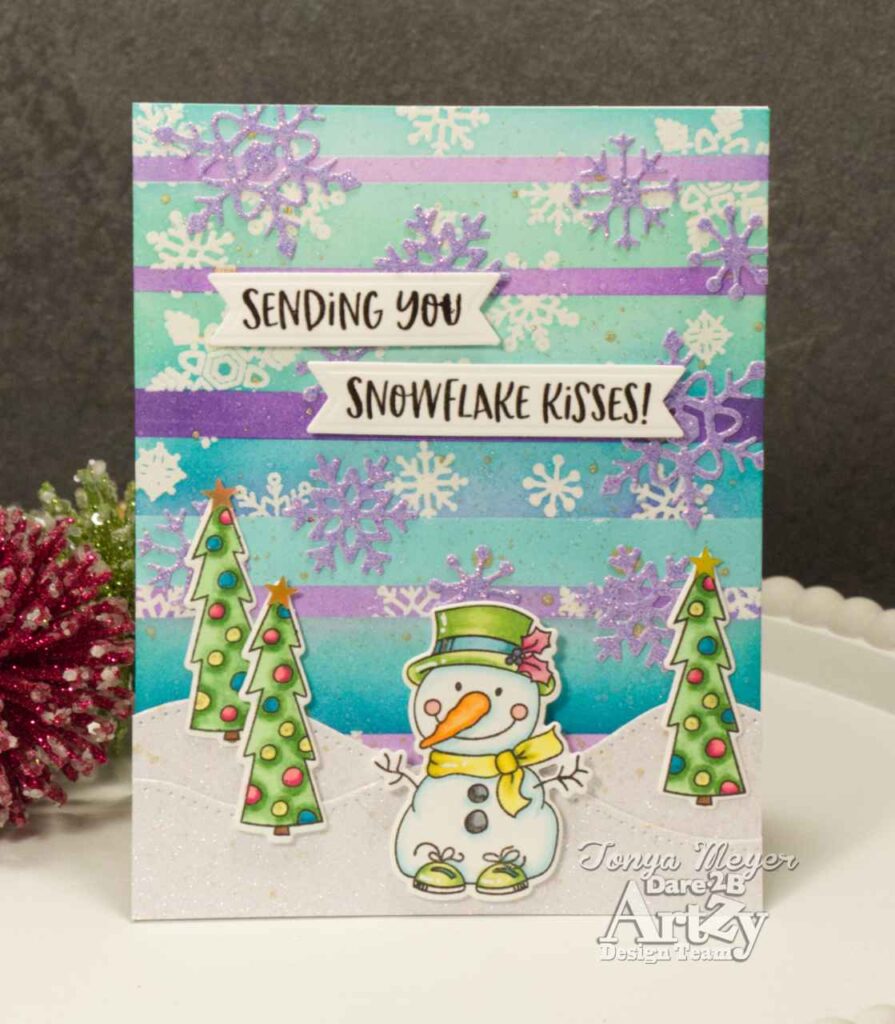
This card was actually inspired by an electronic sign at the top of an apartment complex that I can see from my office. It snowed here in Denver on Thursday and Friday and I noticed the electronic sign which normally just changes colors, actually had pretty digital snowflakes falling all across the screen. Once they got to the bottom of the screen they would just fade away.
I decided to try and mimic the digital snow with today’s card.
To start, I used a MISTI sticky mat and placed a piece of cardstock that was 4 1/4 x 5 1/2 within the grid lines of the sticky mat. NOTE: you might want to use a sticky mat that is well loved in case it gets warped. I’ll explain in a bit.
Next, I cut some removable masking paper into strips that were about 5 to 6 inches in length and all different widths from 1/4 inch, 3/4 inch and 1 inch.
With all the strips cut, I removed the backing paper and placed them over the A2 cardstock adhered to my sticky mat. I made sure the masking paper had a good seal as I would be doing some ink blending.
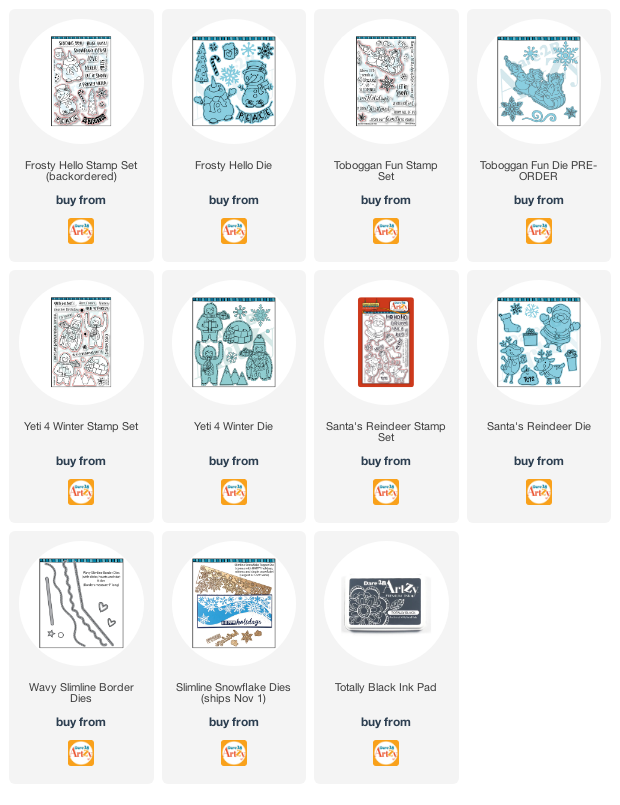
I sorted through all of my Dare 2B Artzy stamps that had snowflakes in them and pulled out several sets to use. I used the snowflakes from Frosty Hello, Santa’s Reindeer, Yeti 4 Winter and Toboggan Fun.
I placed the snowflake stamps between and crossing over some of the masked areas on the card panel and stamped them with clear embossing powder and heat set them. I repeated this step several times until I had a full background of heat embossed snowflakes. Since I kept the card panel adhered to my sticky mat, it did get warped and melted just a bit on one side from the heat tool so that’s why you’ll want to use an older mat that you’re ok with sacrificing.
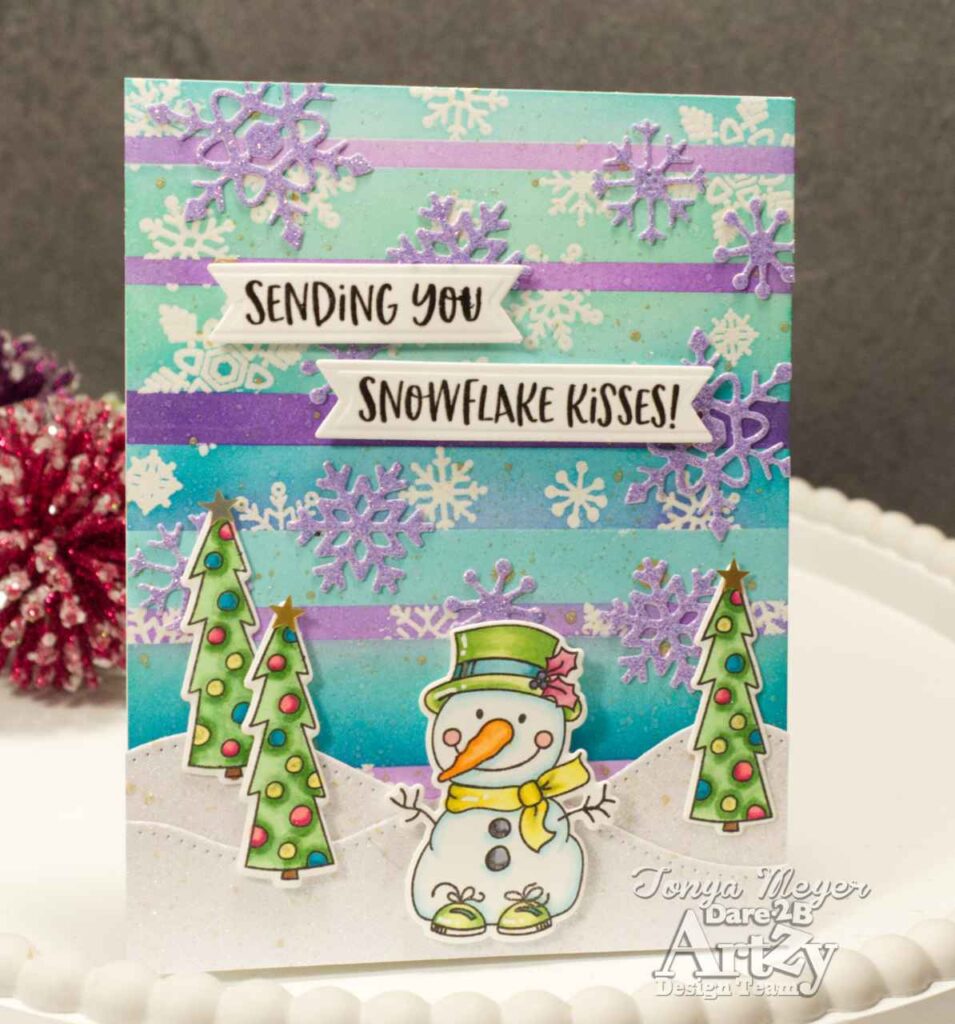
Before I removed the strips of masking paper, I used some Distress Inks to blend onto my background. Starting at the top I used Salvaged Patina, Cracked Pistachio and Peacock Feathers. I buffed away any excess ink and that let the clear heat embossed snowflakes shine.
Next, I removed the strips of masking paper to reveal the white stripes against the snowy ink blended sections.
I cut some additional strips of masking paper and then masked over the ink blended areas and proceeded to blend ink onto the white areas using some Wilted Violet and a bit of Villainous Potion and then more Salvaged Patina, Cracked Pistachio and Peacock features as I got to the bottom of the panel.
I liked that the snowflakes look like they were vanishing into and between the different ink blended lines.
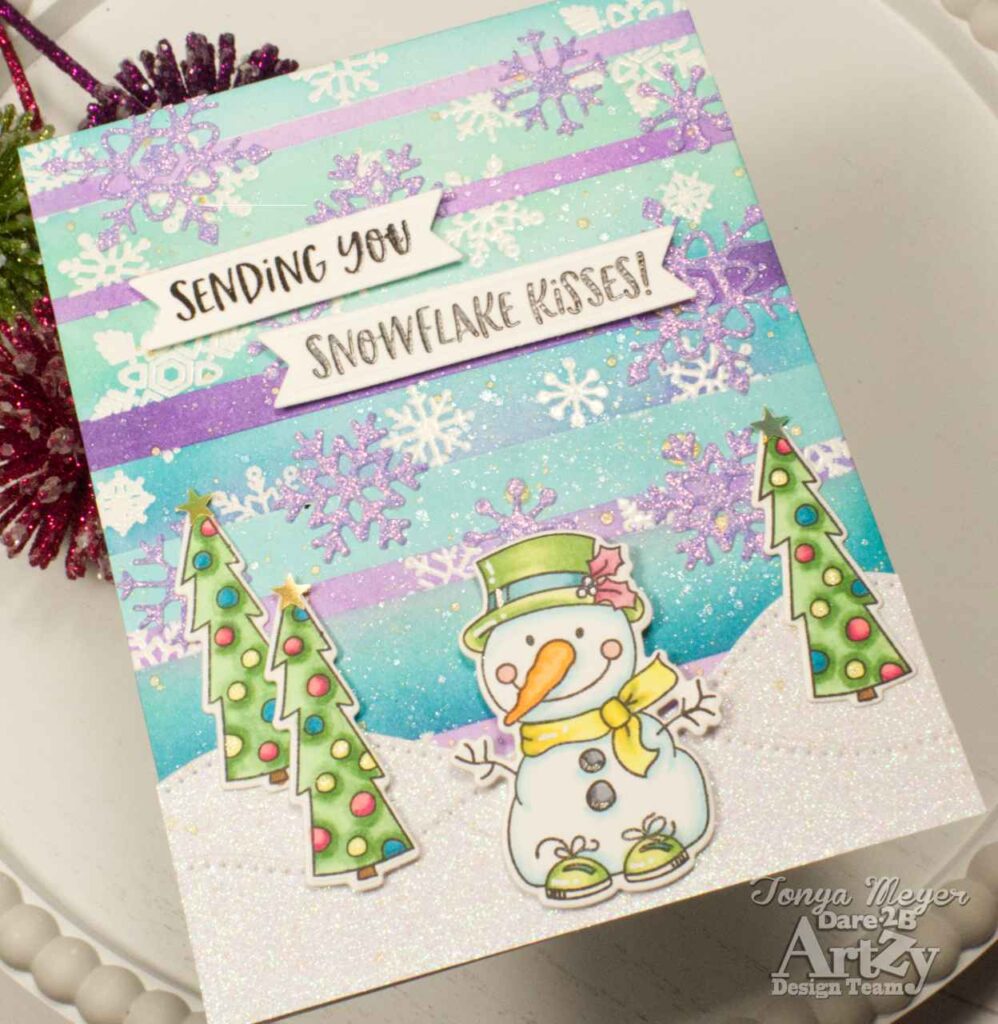
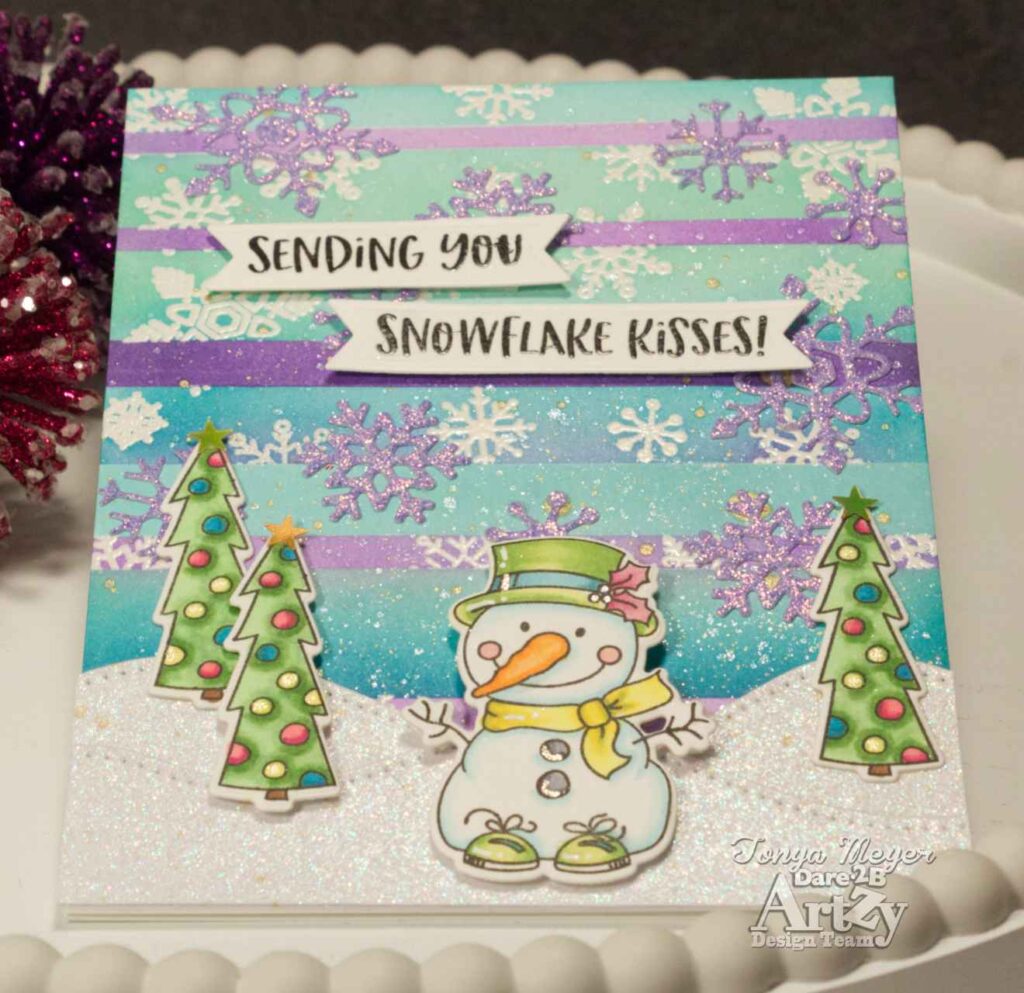
I felt that the card panel needed a touch more sparkle so I used some Liquid Glitter from Brea Reese and splattered the background with a fan paint brush. I was being fancy and decided to add some gold splatters too however some of the drops were a bit bigger that I would have liked.
To cover up some of the blobs of gold splatter, I dug out some snowflake dies from several of my Dare 2B Artzy die sets; Santa’s Reindeer, Toboggan Fun, and Yeti 4 Winter. I die cut quite a few of the snowflakes from some light purple glitter paper. I used some Bearly Arts glue to adhere the snowflakes to the background. These strategically covered up the blobs I didn’t like, LOL!
Next, I stamped and colored the snowman in the top hat from the Frosty Hello stamp set. I wanted him to pop against my purple and teal colored background so I colored him with some greens and yellow to make him stand out.
I also stamped and colored 3 of the trees from the Frosty Hello stamp set. I colored them a slightly different shade of green and added ornaments that were pink, teal and yellow. I really like these trees, they’re so fun and a bit wonky.
To create some ground for my snowman to stand on, I die cut some snowy hills from some white glitter paper using the Wavy Slimline Border die set and added them near the bottom of the card panel with a bit of liquid glue.
I added my trees and snowman to the background with some liquid glue and some dimensional foam.
Finally, I stamped and heat embossed the Sending You and Snowflake Kisses sentiments. I die cut the sentiments with the flag banner die from the Curved Slimline Border die set. I added both sentiment strips to my card panel with a bit of dimensional foam.
I didn’t add much in the way of embellishments. This card has a ton of sparkle with the snowflakes, snowy hills and the liquid glitter that I splattered onto the background. The only little detail I added was a little gold irridescent star to the top of each of my trees.
That completes my card for today. I hope you found some inspiration in today’s card and that you find inspiration for your cards and crafts around you everyday.
Thanks for stopping by! I have linked all of the products used in today’s card for your convenience.
Have a wonderful day and a Happy Thanksgiving!
Hugs,
Tonya
May 12, 2023 0 Comments
May 05, 2023 0 Comments
March 11, 2023 0 Comments