November 22, 2021 0 Comments
Hello Artzy friends! Hopefully you’re having a great Monday and ready for the upcoming Thanksgiving week. I’m taking some much needed time off of work and plan to get very crafty this week and maybe get a bit of shopping in.
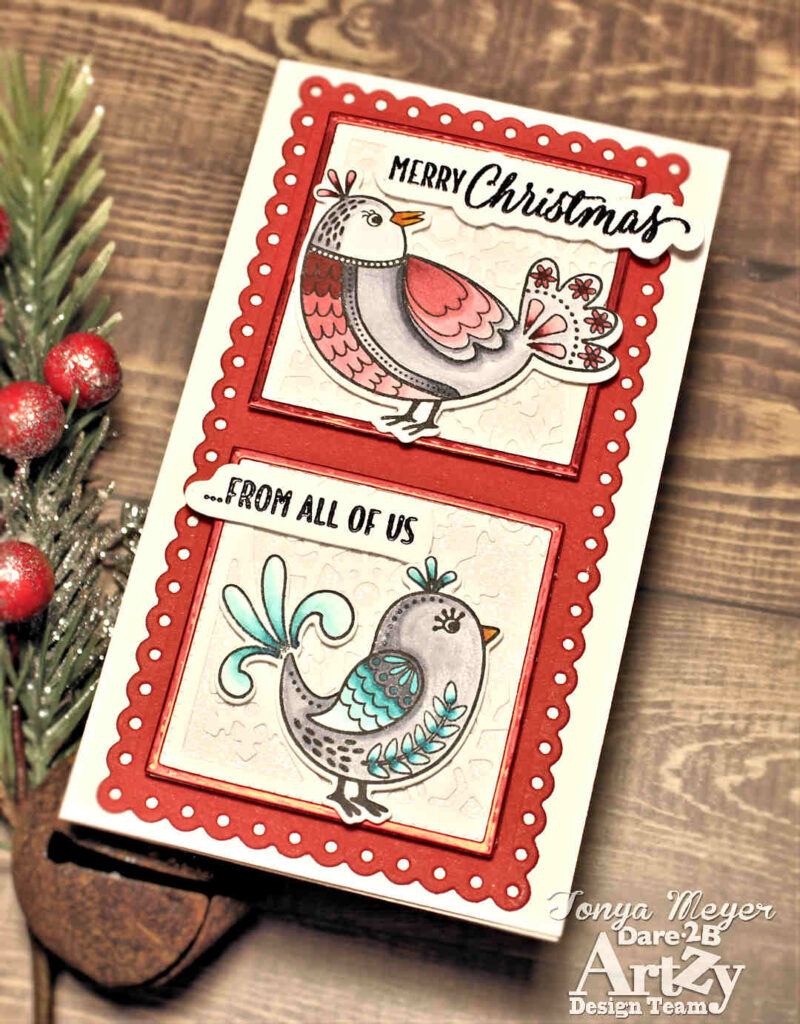
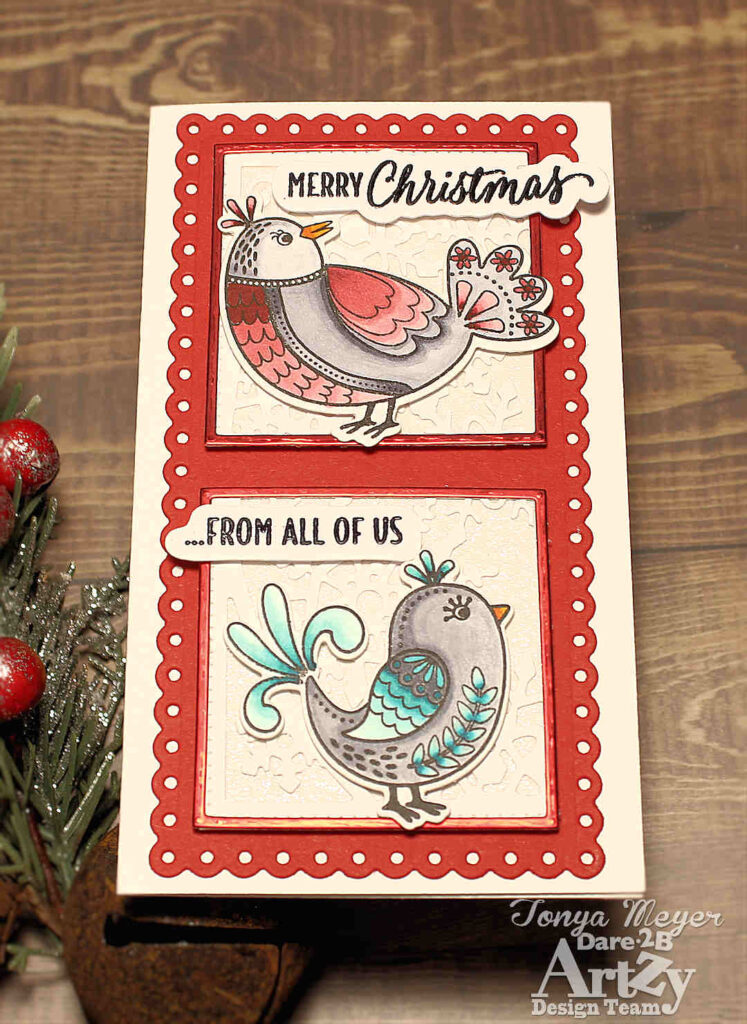
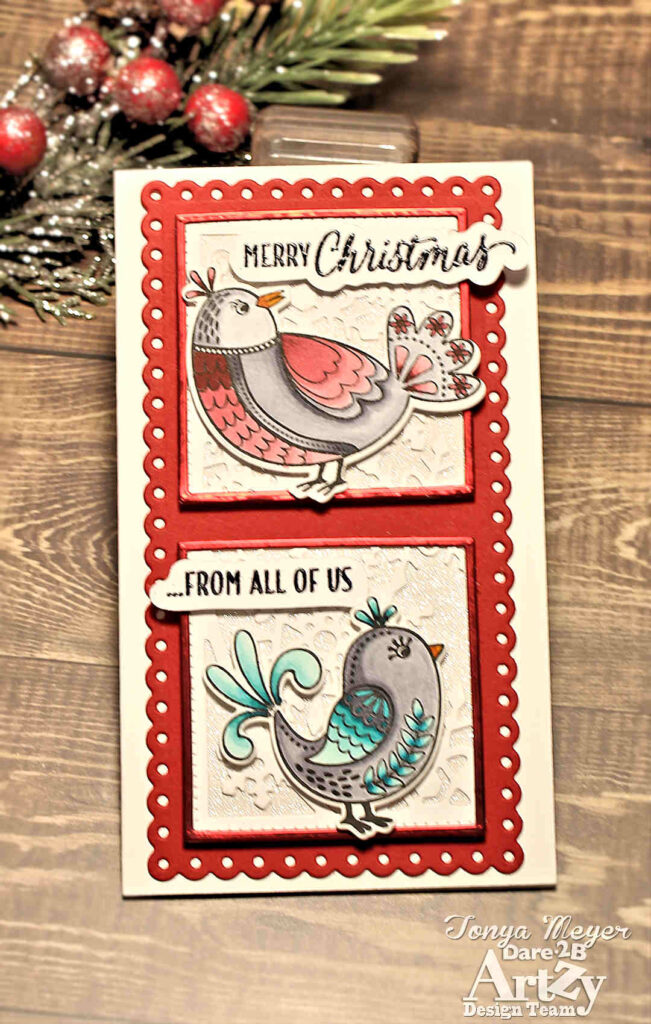
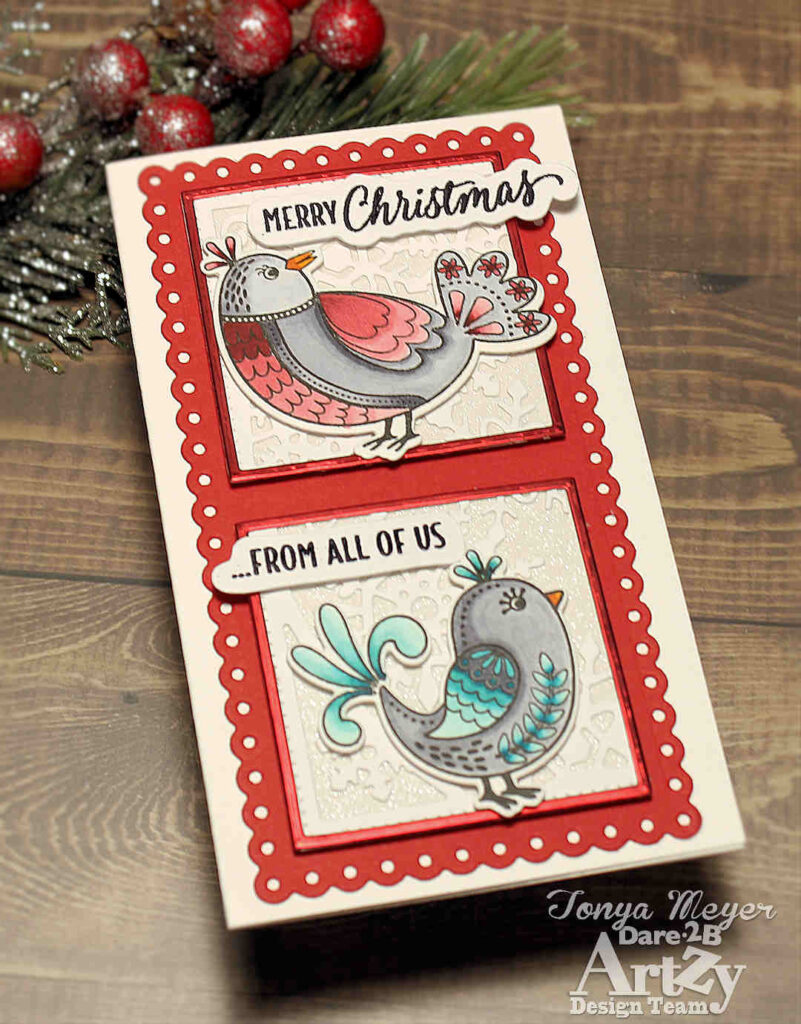
My card for today features the beautiful Scandinavian Songbirds set. I really love these little birds. They are so much fun to color. The stamp features two birds, a large floral corner and some other floral elements as well as 6 sentiments.
I recently purchased the Slim-mini Snowflake die set and it came in just in time to create this card. I love, love this die set. I am definitely a sucker for snowflakes.
I was playing around with the die and thought that it looked a bit like a window frame covered in frost. You know when it’s very cold the frost can take on the shape of snowflakes on the outside of the window. That’s what I wanted to create.
To start I cut my Slim-mini Snowflake die set from some 110lb white cardstock. After I had poked out all of the little pieces from the snowflake, I actually cut the snowflake panel in half.
Using some scraps of matte red cardstock, I cut some thin frames from some square nesting dies I have in my stash. This created some thin frames that were about 2 3/8 inches wide.
I added a bit of liquid glue to the back of the frames and glued each frame to the front of my half of the snowflake background. The snowflake background was not a perfect square when I cut it in half so once the frame was glued to it; I used my scissors to snip off a small amount of excess that was sticking out from under the red frame.
Since I’d cut my snowflakes from plain white cardstock, I wanted a bit of sparkle. I used some white glitter cardstock scraps to cut some squares to add behind the snowflake frames with some liquid glue.
For the scalloped background die that comes with the Slim-min Snowflake die set, I cut it from a piece of dark red cardstock to add to my background on my card base.
I stamped and colored the two little birds from the Scandinavian Songbirds stamp set with my Copic markers. I opted to color them in some non-traditional Christmas colors such as reds with pink and blue-green colors paired with cool greys. I really like how they turned out.
Each of the birds was cutout using the coordinating dies for the Scandinavian Songbirds set.
For my sentiments, I stamped and heat embossed the Merry Christmas sentiment from the Toboggan Fun stamp set with some fine detail black embossing powder. I don’t trust myself to fussy cut sentiments out so I decided to cut out the sentiments using my Brother Scan-n-cut machine. To do that, I drew a pencil line around the sentiments. I didn’t draw the line too close to the sentiment so I could leave a nice white border around the sentiment when it was cut out.
I placed the cardstock with the sentiment onto my mat for my Scan-n-cut machine and ran it through the machine to scan it. The machine picks up the image with the pencil outline when you scan it. I went ahead and cut it and added a .4 border as a safety net just in case it didn’t cut correctly. As it turns out, It cut the sentiment perfectly. It looks just as good as if there were coordinating dies for the sentiment. This is a great option if you happen to own a Brother Scan-n-cut machine or down own the coordinating dies.
I ended up stamping and cutting a 2nd sentiment from the Toboggan Fun stamp set that reads, “From all of us”. I felt that the card needed another sentiment for the bottom frame to kind of round out the look of the card since it felt a little off-balance to me.
Once I had finished with the coloring and cutting out of my sentiments, I added the snowflake window squares to red background mat with some dimensional foam and placed them onto a mini-slimline card base made from some 110lb cardstock.
I added my Scandinavian Songbirds and sentiments toe the card base with some dimensional foam as well.
The finished card looks so pretty, pictures don’t do it justice.
That finishes up my card for today. Thank you for stopping by. Be sure to check out my YouTube video for this card as well in the link below:
I have linked all of the products used for today’s card below for your convenience.
Have a crafty day! Happy Thanksgiving!
Hugs,
Tonya
May 12, 2023 0 Comments
May 05, 2023 0 Comments
March 11, 2023 0 Comments