Country

  • Log in
  • Cart (0)
  • Checkout
  • Home
  • Shop 
    • What's New
    • Collections 
      • Coastal Getaway Collection
      • Countryside Floral Collection
      • Everything is Blooming Collection
      • Feelin' Groovy Collection
      • Home Grown Collection
      • Home for the Holidays Collection
      • Holiday Magic Collection
      • Make Waves
      • Space Odyssey
      • Merry & Bright
      • North Pole Holidays
      • Snow Much Fun Collection
      • All the Buzz Collection
      • Fall Harvest Collection
      • Ice Cream Social
      • Seas the Day Collection
      • Totally Tracy Collection
    • Stamps 
      • Everyday Celebrations
      • Holidays
      • Totally Tracy
      • Florals
      • Seasonal
      • Animal Lovers
      • Backgrounds
      • Alphabets
      • Faith Based
      • Sports & School Activities
      • Stamps with Dies
      • Thank you
      • Thinking of You/Encouragement
    • Crafty Supplies
    • Artzy Dies 
      • Dies with Stamps
      • Word Dies
      • Framelits
      • Background Dies
      • Specialty Dies
      • Stand Alone Dies
      • Slimline Dies
    • Artzy Papers
    • Artzy Inks
    • Stencils & Mixed Media
    • Hot Foil Plates
    • OLO Markers
    • Card Kits and Bundles
    • Gift Card
    • Sale
    • Digital Stamps
  • About 
    • About Us
    • Contact Us
    • Design Team
  • Wholesale
  • Blog
  • Events 
    • Classes & Kits
    • Trade Shows
    • Virtual Trade Shows
    • Artzy Crafting Studio
  • Stamp & Die Club
  • Country

dare2bartzy.com/blog

Retro Slimline Sparkle

June 28, 2021 0 Comments

Hello! Thanks for stopping by today! Hope your week is off to a great start!

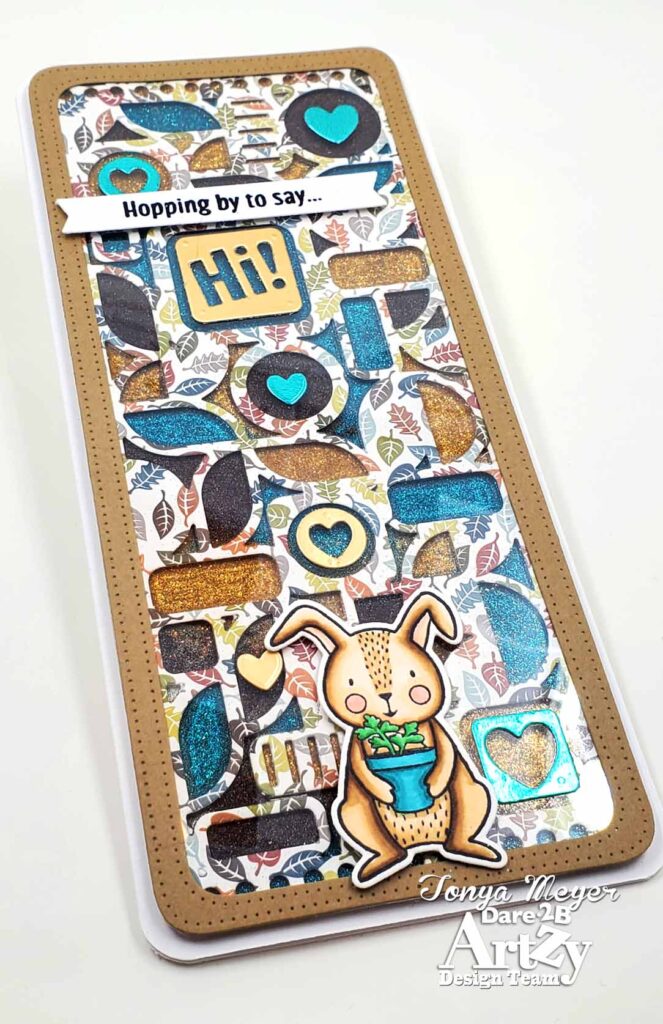
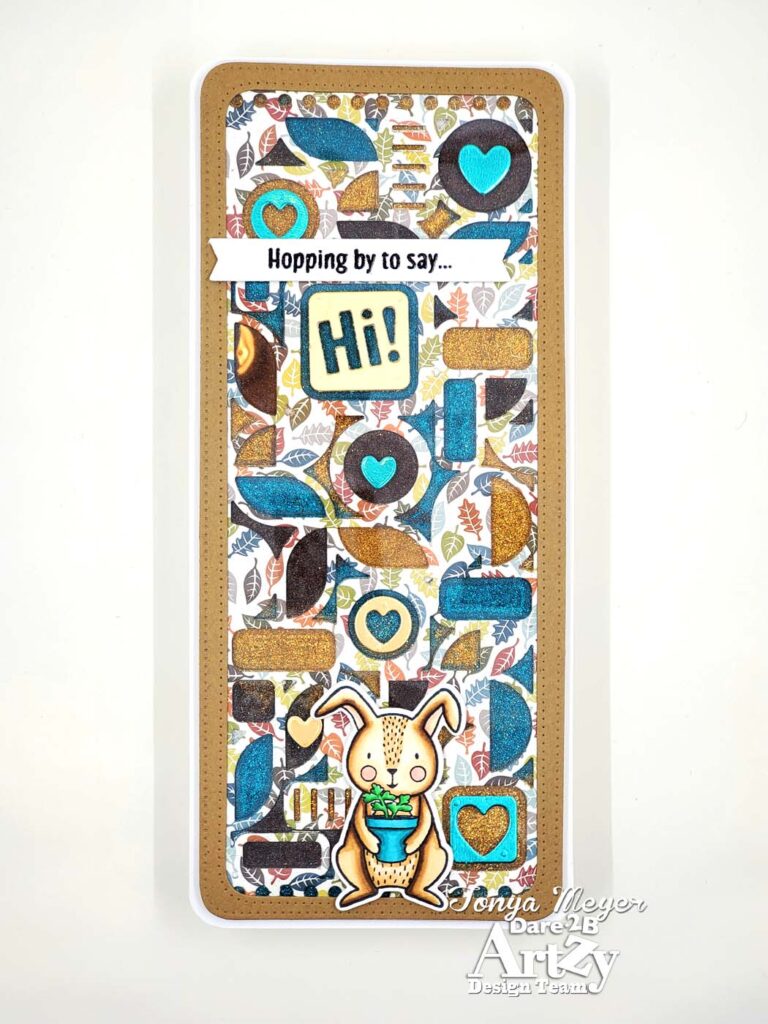
I have a fun slimline card today that was inspired by a recent Jennifer McGuire video. I have to say that when I started this card, I didn’t realize how much patience it would take, LOL

To start, I used 3 pieces of 85 lb. cardstock and covered half of one side with double sided tape. I used a 5 inch wide role of Score-tape but you can also use double sided adhesive sheets as well.

Once my cardstock covered with double sided adhesive, I used the Retro Slimline Background die and ran each piece of cardstock through my electronic die cutting machine. Note I did have to run it through the machine several times to get it to cut through the cardstock covered with the score tape due to the thickness. I’m sure that you could use a lighter weight of cardstock if you’re building up layers and it would be easier to cut.

Once cut, I popped out all of pieces and set some aside to be used for another project. Next, I removed the double sided adhesive cover sheet and stuck it to the back of another die cut Retro Slimline covers. I did this until I had the 3 die cut layers of cardstock all adhered together.  For the top layer of my background I die cut a piece of the Autumn Plaid paper. I placed this as the top layer of the background.

I layered another piece of 110lb cardstock with some more Score-tape and cut the largest die from the Wavy Slimline Background die set.

Once it was cut, I added my layers of Retro Slimline cover dies on top of the background.

Next, it was time to sparkle and shine. I had some ultra-fine glitter in my stash and I loved how the 3 color combination looked together. They are Teal, Moonbeam (gold) and Copper Bronze (dark brown)

I wanted each of the empty spaces to be a different color of glitter. I used a pokey tool in my stash that had a flat, spatula like end to scoop the glitter out of my jar and carefully drop it into each negative space with the sticky background. I used the rounded end of a small paintbrush to press down and burnish the glitter into the tacky cardstock. I used my finger in the larger spaces to burnish the area.

Because there are so many openings and I didn’t want to mix different glitter colors in the same spaces (though it was unavoidable in some places); I had to mask off the other areas of the card panel using a combination of sticky notes and washi tape.  There probably are better ways to mask it off. The Post-it notes lose their sticky qualities pretty quickly with the super fine glitter.

Admittedly, I was about ¼ of the way done filling in the holes with the glitter and I seriously considered that I might have lost my mind to create a project with glitter, LOL.

After each space was filled with glitter and burnished, I’d tip the card back onto a sheet of printer paper and dump the excess back into my container. Then I would brush off any additional loose glitter onto the cardstock with a small flat edge paintbrush and dump it back into the container before removing the Post-it or washi tape masks.

I followed this process for each hole in the Retro Background Slimline die. I used my paintbrush once again to brush away any excess glitter that might be loose or on the top layer and set it aside.

I created a border using the two largest Rectangle Slimline Framelets dies and cut a piece of tan cardstock from my stash.

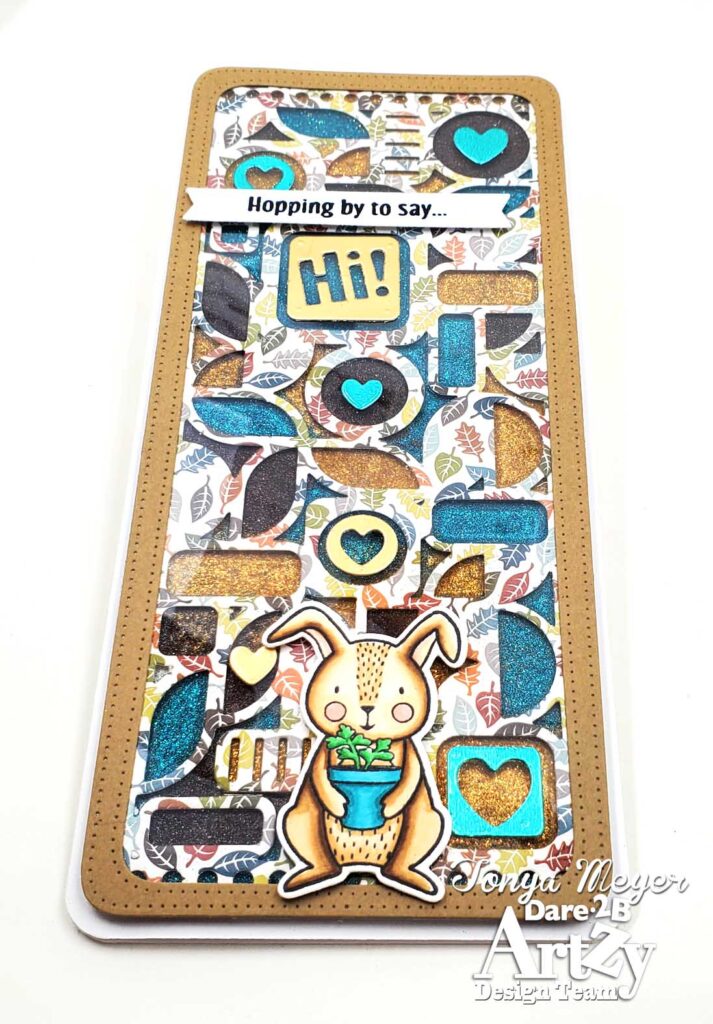
I also used the largest Rectangle Slimline Framelets die again to cut a piece of clear acetate to create a cover for the background. I added the border to the clear acetate with some 1/8 inch Score-Tape and then added additional Score-Tape to the acetate and adhered it to the background. You could also use this technique to create a shaker card.

I added some additional details using the additional little circle and square add-on dies that come with the Retro Slimline Background. I cut these from some teal and gold metallic cardstock and glued them in place on top of the acetate.

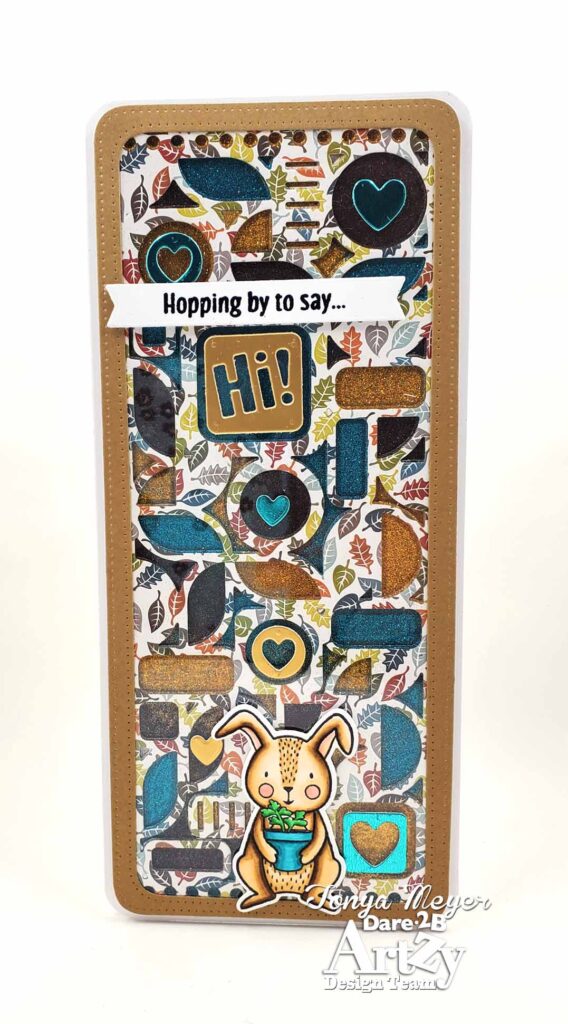
Finally, I colored a bunny from the Honey Bunny stamp set using some Copics and used the coordinating die to add it to my card front along with a heat embossed sentiment that read “Hopping by to say”. I die cut the sentiment with the smallest flag die from the Slim Mini Wavy Layers die set. I placed the sentiment strip right above the die cut “HI” on the card panel.

Everything was added to a 110lb Cardstock base cut and scored to slimline size. I used a corner chomper to round the corners.

I love how this card turned out. It was a labor of love with all of the glitter and YES, I had it everywhere. I used my little We R Memory Keepers mini desk vac to clean up all the excess but I had it on my clothes and everywhere. I made sure to give my hubby a great big hug afterwards so he could sparkle too!

Thanks so much for stopping by today!

Hope you’ve enjoyed the card!

Hugs,

Tonya


Tweet Share Pin It Email

Also in dare2bartzy.com/blog

2023 Spring/Summer Coffee Lovers Hop WINNER

May 12, 2023 0 Comments

Happy Friday!! Thanks to all those who hopped along with us this past week!! We have a WINNER to annouce!! Congrats….. Helene Huber E-mail us at dare2bartzy@yahoo.com to claim your $20 Gift Certificate!!  Have an ARTZY day!!

Continue Reading

2023 Spring/Summer Coffee Lovers Hop

May 05, 2023 0 Comments

Happy Friday!! Ready for another Coffee Lovers Hop? As always, we are super excited to be a Super Sponsor! You should have arrived here from Crackerbox Stamps, if not be sure to start out at the Coffee Loving Cardmakers Blog, so you don’t miss out on any of the fun!! We are offering a $20...

Continue Reading

Feb Challenge Winner/Challenges

March 11, 2023 0 Comments

Hello Artzy Friends! As a reminder, we are unfortunately stopping our challenges. We want to thank those who shared their lovely creations with us each month! We loved seeing your work!! Please be sure to be a part of our Artzy Community or Follow us on Instgram! Our Febuary Challenge Winner is… Link-Up 1 #20...

Continue Reading

Customer Service
  • Search
  • About Us
  • Angel Policy
  • Privacy Policy
  • Refund Policy
  • Publication Incentive/Affiliate Program
  • Studio Hours & Directions
Sign up for our newsletter

Sign up to get the latest on sales, new releases and more…

who we are

 Our family-owned business began out of a passion for designing little pieces of art. Our products are designed to help you unleash your creativity as you connect, commemorate, inspire and uplift. We encourage you to be "ARTZY". Thank you for being a part of our story.


  • Search
  • About Us
  • Angel Policy
  • Privacy Policy
  • Refund Policy
  • Publication Incentive/Affiliate Program
  • Studio Hours & Directions

Country

© 2025 Dare 2b Artzy. POS and Ecommerce by Shopify