January 10, 2022 0 Comments
Happy Monday! It’s Tonya from the Dare 2B Artzy Design Team. I hope you had a wonderful holiday and are exited for 2022. I hope this is going to be a great year for everyone! I know that there are lots of exciting things coming up with Dare 2B Artzy that I can’t wait to show you but you’ll have to be patient for a little bit longer. Eeek!!
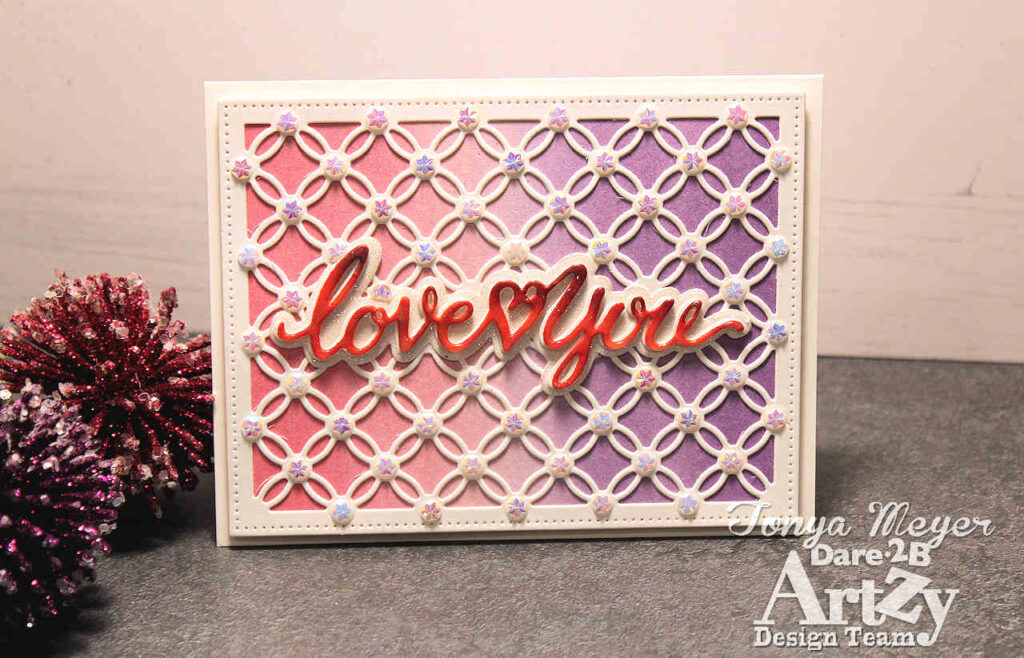
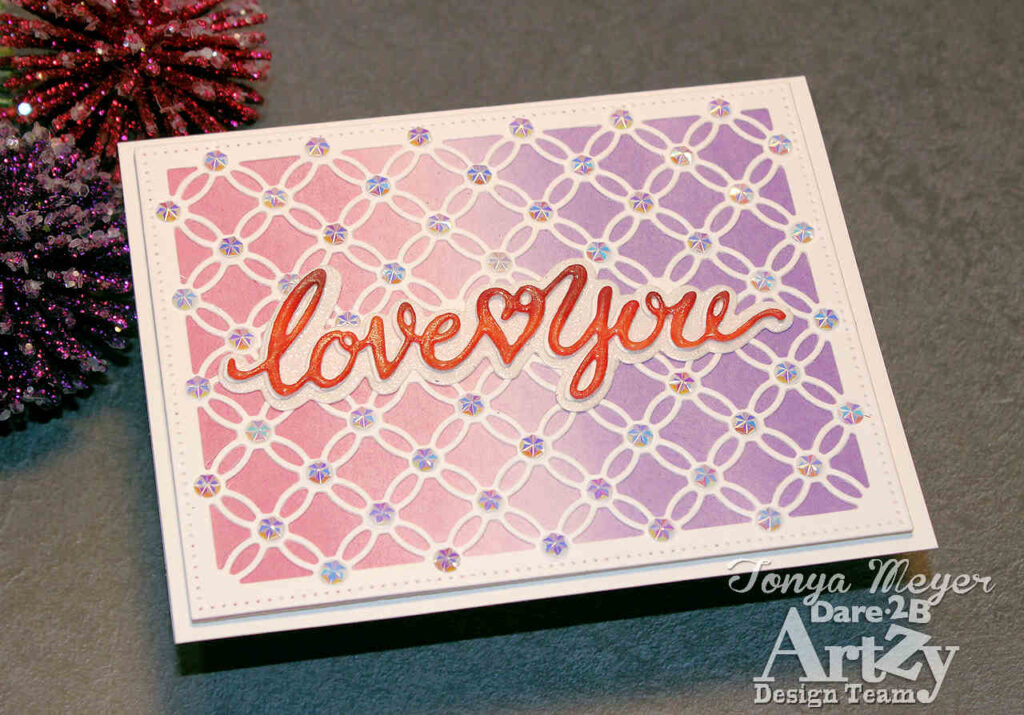
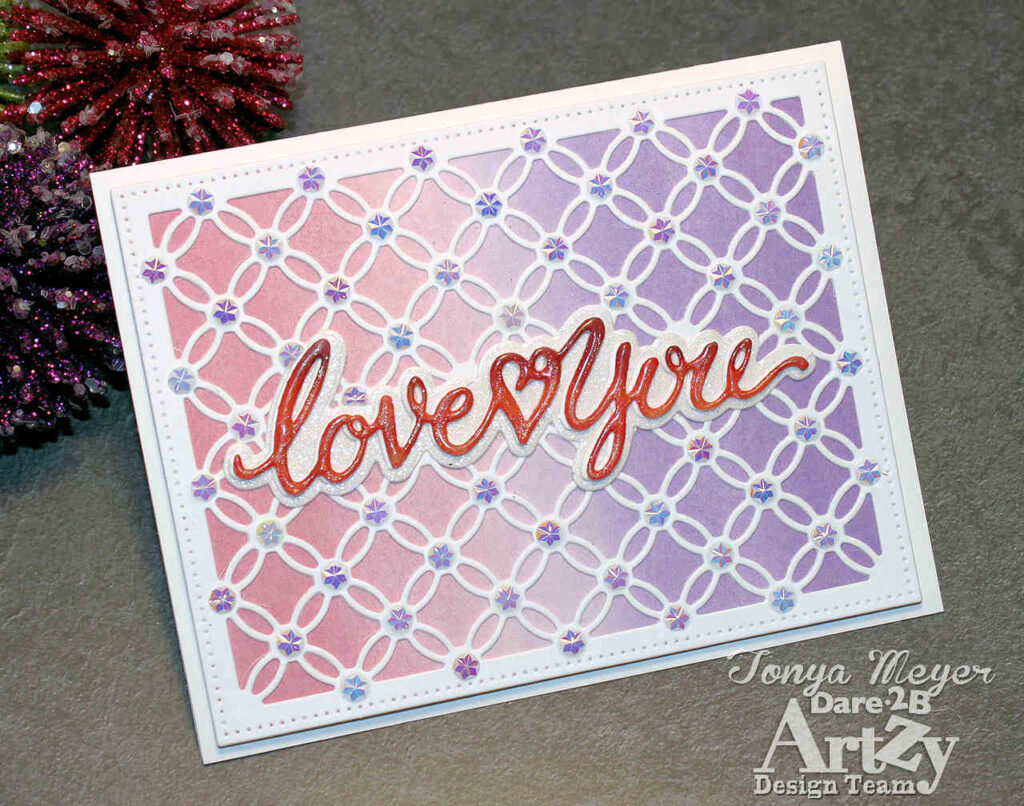
For now, I’m getting a jump start on Valentine’s Day with an easy to make blinged out card! Yay, my favorite kind of card!
I started off my card with some nice relaxing, easy to do watercolor. I wanted to create a simple ombre background for my card.
To start, I pulled out my Gansai Tambi watercolor set and my #12 watercolor brush. I am using some cheap 140 lb watercolor paper for this from Artist Loft that is a small block so the paper measures 6 x 9 inches.
To hold my watercolor paper in place, I’m using a metallic board with some strong magnets. The board is about 12 x 12. Normally I would tape my watercolor paper to the board, however I couldn’t locate my painters tape so I just used the magnets to hold it in place. They worked fine for this. Any warping of the water color paper will be smoothed out later as I will run the background through my die cutting machine. You can also run it through a laminator to smooth the watercolor paper if it warps.
I started by selecting the colors I wanted to use for the background from my Gansai Tambi pallet. For the Red I used #36 Rose Madder Deep and for the purple shade I used #38 Imperial Violet. I knew I wanted to make an ombre watercolor background where the red would fade into purple.
Initially I started by adding a lot of water to my paper to really saturate it. Then I water to my brush and picked up the Rose Madder color. I used a light stroke back and forth across the paper creating a bold red color and then slowly dragging the color down to a pretty pink color about the middle of the page. I flipped over my panel so that the red would stop flowing down the paper. On this side, I cleaned my brush and got some clean water and picked up some of the Imperial Purple color. I did the same process to add a very dark purple at the top and drag it down to a light purple at the middle of the paper.
I continued the back and forth adding red and purple and building up the color until I was happy with it.
I created 3 panels of watercolor as I wasn’t sure whether I wanted a bold, bright colored background or a light pastel colored background.
I set the panels aside to dry completely while I moved on to create the rest of my card.
First, I die cut the Love You Double Layered word die from some 110lb cardstock 3 times. Once I had them cut out, I wanted to make the Love You appear to be ombre as well with a fun technique I like to use.
Once the Love You was die cut, I chose several colors of red Copic Markers. I put the Love You die on a piece of scrap cardstock and colored it from darkest to lightest with the Copics. You can also do this with ink blending or taking inkpads directly to paper which is normally what I would do, but adding thee ombre color to the Love You die cut was an afterthought.
Once I had the color the way I liked it, I used a Spectrum Noir Sparkle Pen and went over the letters with it. For a bit more sparkle I used a Jelly Roll Stardust pen on the letters. Once the pen had dried, I used a sticky ink pad to stamp all over the colored words. I sprinked on clear embossing powder. When all of the area was covered, I picked it up with my reverse tweezers and heat set it with my heat gun. I repeated the process 2 more times. This gives the words a nice puffy look like you see with stickers. I love using this trick on word dies because you can create them in any color to match your project and add sparkle too.
Once I had finished creating my puffy Love You sentiment, I used the two additional sets I had die cut to glue them onto the background to give it a bit more stability and dimension.
Once everything was dry, I added the shadow layer for the Love You which I cut from some white glitter cardstock.
For my background die, I used the Trellis die from Dare 2B Artzy. I really love this die because it’s so intricate and it’s fun to decorate it or leave it plain depending on what kind of card you’re creating. Since it’s an intricate die, I cut it on my Empress electronic die cutting machine so that I could use my metal shim. I cut the Trellis background on some 110lb cardstock and it turned out perfect.
To remove all of the little pieces, I just used my Spellbinders Tool-n-one brush.
Now that my watercolored backgrounds were dry, I was able to cut them out with an A2 rectangle die.
I decided to use one of my softer colored backgrounds behind my Trellis. I thought the soft colors looked so pretty as the watercolors dry back a bit lighter.
To adhere the trellis piece I used some Bearly Art liquid glue and added it to the watercolor background. I put some heavy stamping blocks on it to hold it.
Next, I added my sentiment to the background with some liquid glue.
Initially, I thought that I wouldn’t add any embellishments to the background. Of course, I laughed at myself for thinking that, LOL! I was going to put some colored gems but then remembered I had some new embellishments that I’d ordered before Chrismas that I hadn’t used. I grabed them and was going to add a handful but when I realized how gorgeous they looked, I blinged the whole background. I LOVE IT! They pick up the colors so well and they’re so pretty!
Once all of my gems were dry, I added my panel to an A2 card base to finish off my card.
This was such an easy card to create and I am in love with how it turned out and I think the recipient will love it also.
I’ve created a YouTube video for this card if you’d like to watch the process you can click the link below to see the video over on the Dare 2B Artzy YouTube channel:
I’ve linked all of the products I’ve used in today’s card below for your convenience. Thank you so much for stopping by.
Hugs,
Tonya
May 12, 2023 0 Comments
May 05, 2023 0 Comments
March 11, 2023 0 Comments