December 17, 2020 0 Comments
Hello my Artzy friends, Carrie Rhoades here. I hope you are doing well and enjoying the holiday season. I am about to start wrapping gifts and that always gets me thinking about tags to go on top. This year I have been making some tags that could also be hung on the tree once removed from the gift. At least one can hope they might end up on the tree and not in the large black bag floating around the living room on Christmas morning. I also wanted my tags to be fairly easy to make. And that is how these Rosette Christmas tags came to be.
I really love the Snow Much fun paper pack from the Dare 2B Artzy Shop and wanted to use that to make my tags and felt it was the perfect paper to make rosettes from. Which by the way, are also called paper fans or paper lollies. Let me show you how I made mine.
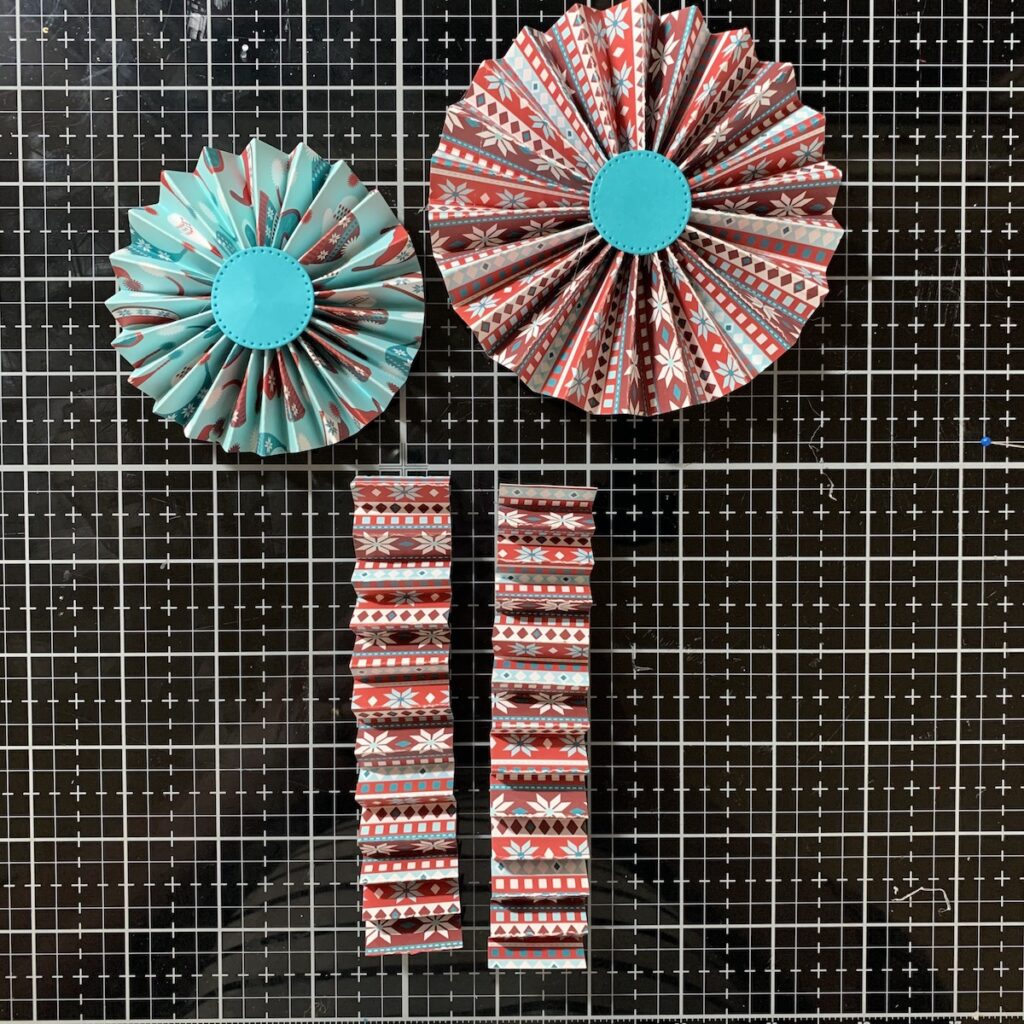
For the rosette I am showing how to make in this picture I used 2 strips of patterned paper that are 1″ x 12″. Scored these strips every 1/2″. Fold one strip accordion style. Then when you are ready to fold the other strip take notice of how you started the first one. If you started by folding down, start the second strip by folding up or vice versa. This makes it easy to glue the two strips together.
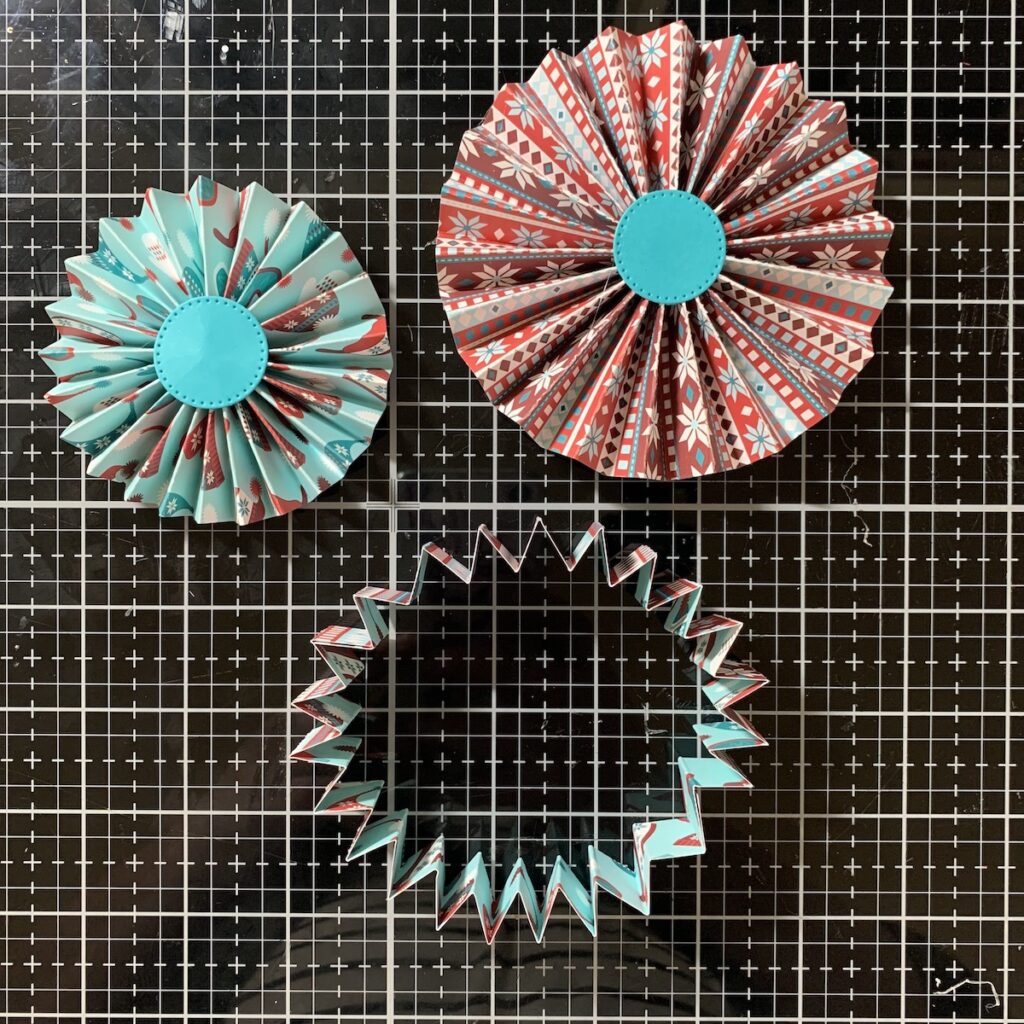
Now glue two ends together to make one long strip. You should have a peek that fits into a valley if you folded them opposite. If not, you will have to snip off one section of the rosette to make it fit. Then glue the other ends together the same way to make a circle, like this.
Before moving on you will need two small die cut circles. I used the smallest die in the Double Dotted Circles die set for this and die cut it from some coordinating paper as it will show.
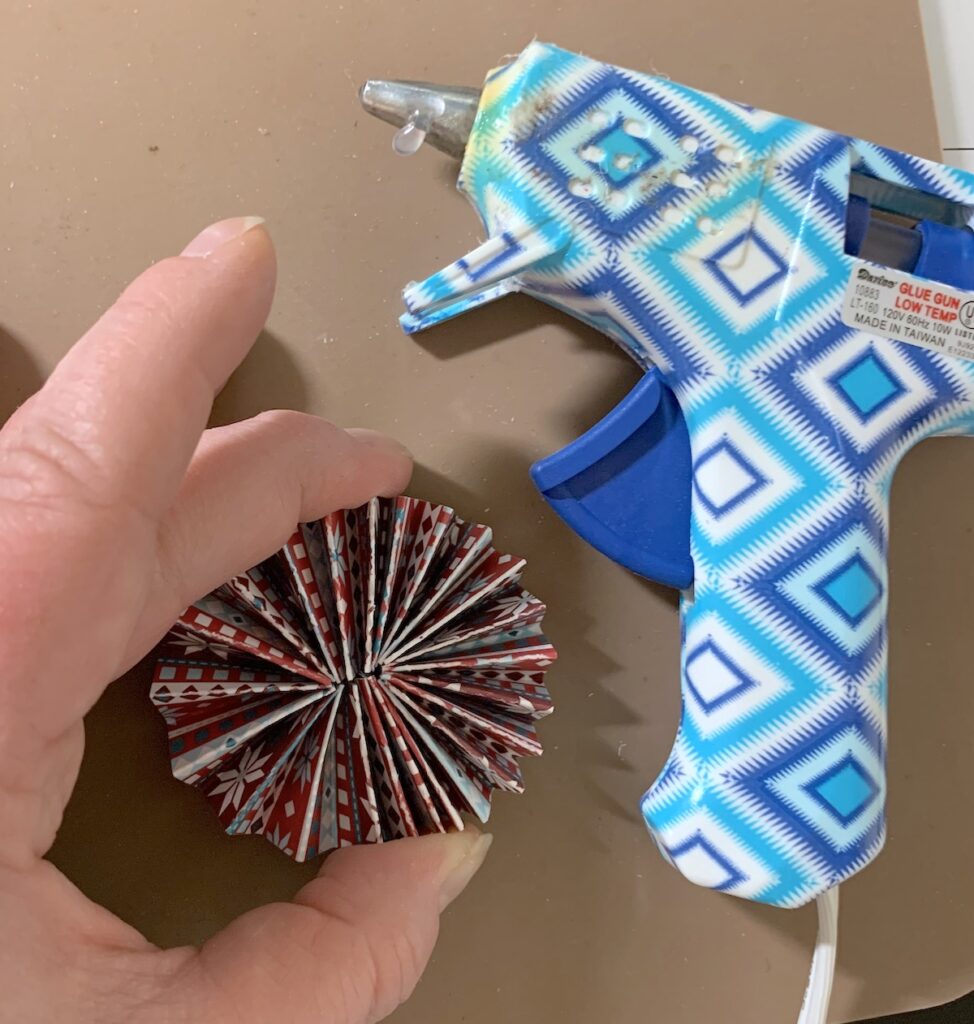
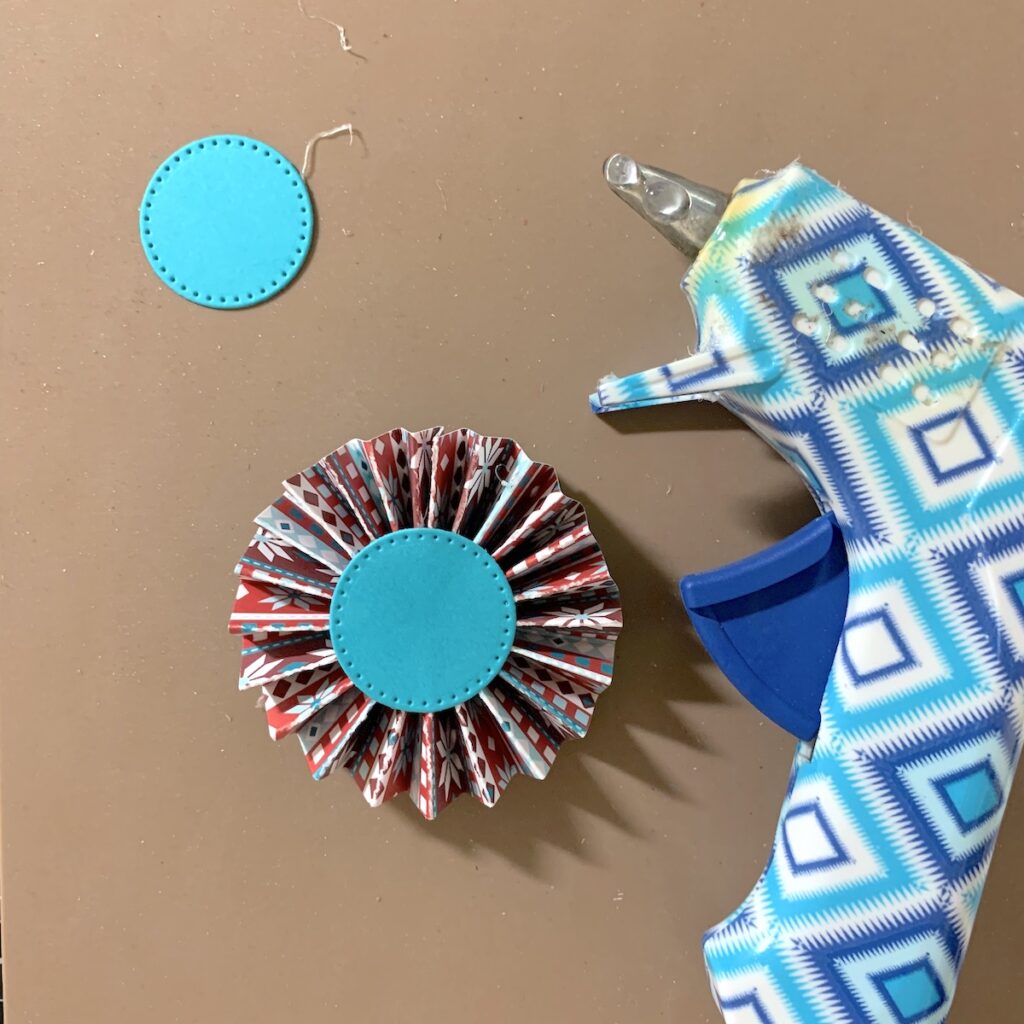
Now you want to gather this into one hand and press the center down to make it a flat circle. Once flat add hot glue to the center and press on one of the circles.
When this is set, flip it over and repeat the hot glue and circle step on the back side.
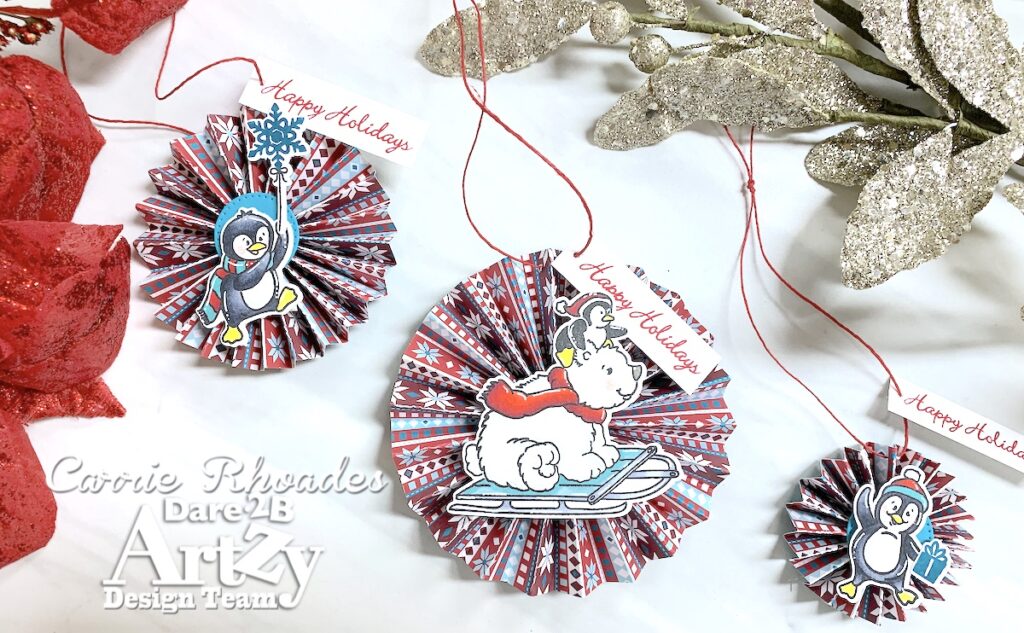
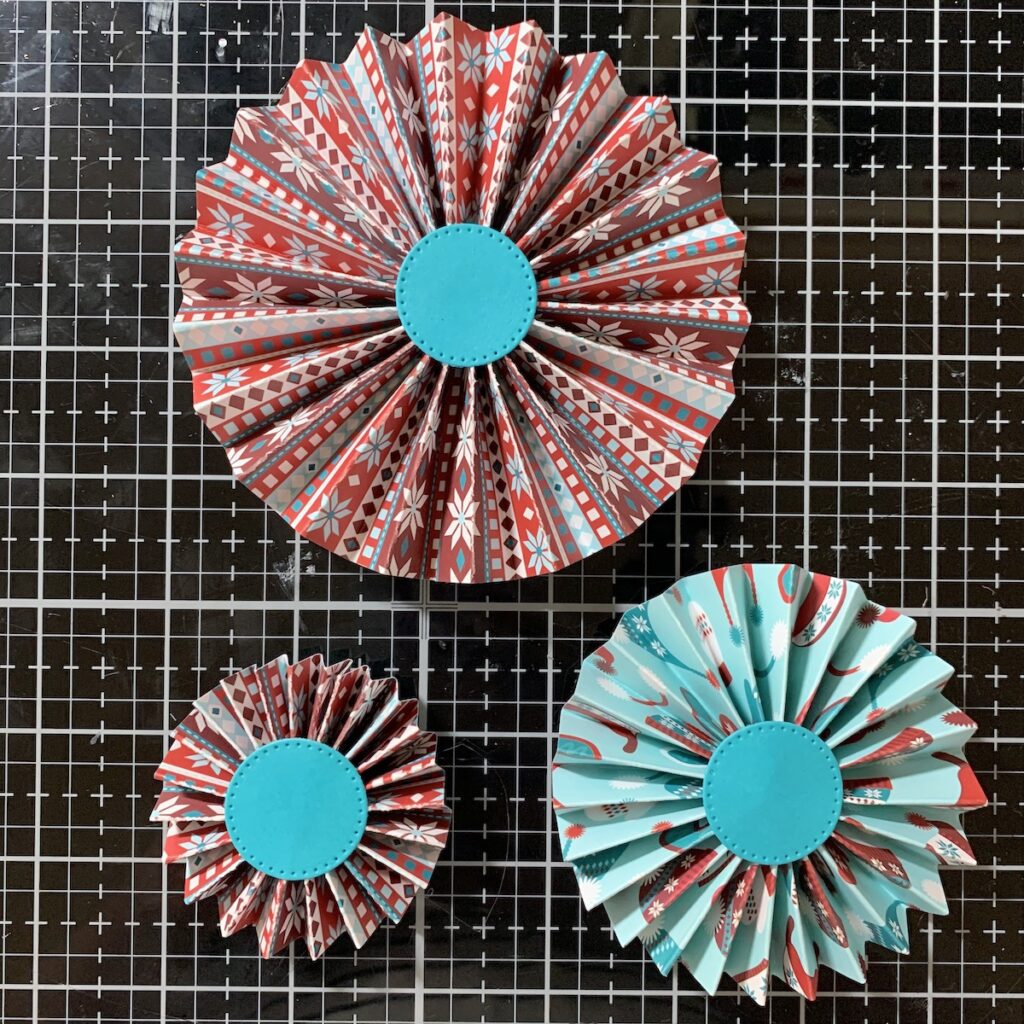
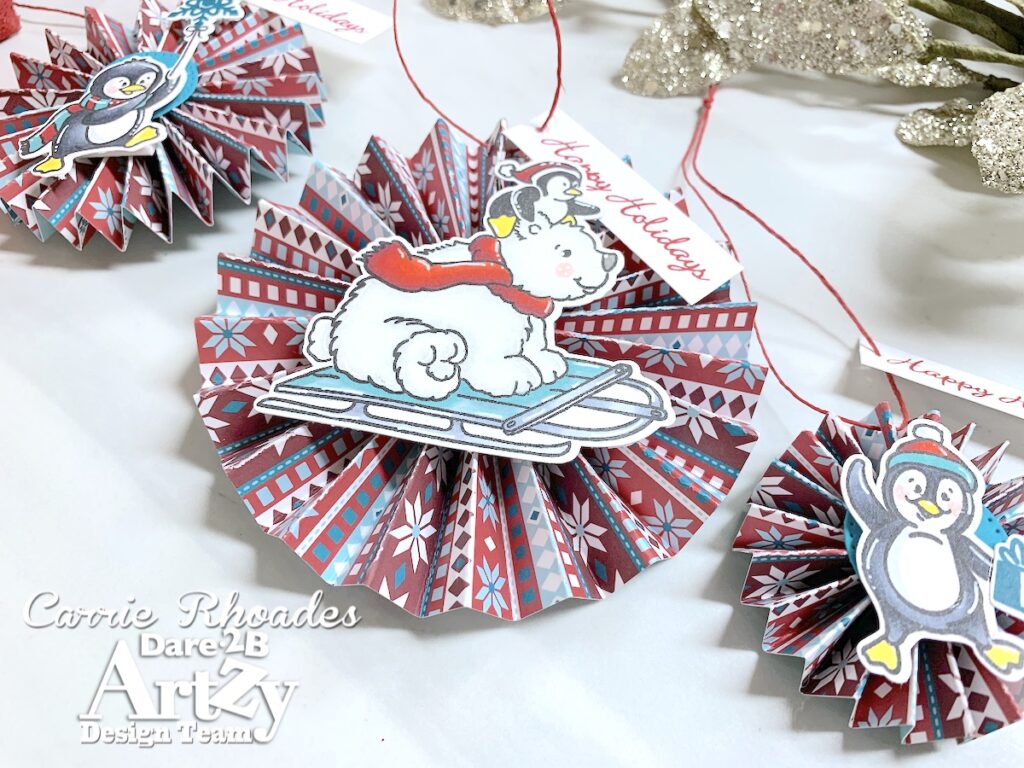
Here you can see all three of the follies I made, one of them is flipped over so you can see the back side. Both sides are presentable, which I love for the ornament factor, and you could make this a two sided ornament by decorating both sides.
To make different sized rosettes, you just start out with different sized strips of paper. My largest rosette was made with two strips of paper that measure 2″ x 12″. The medium rosette was made with two strips of paper that measure 1-1/2″ x 12″. You can also play with the score lines. For a tighter rosette try scoring every 1/4″.
To make there rosettes into tags I need a bit of twine at the top, especially if these are going to have a chance of making it on to the tree!
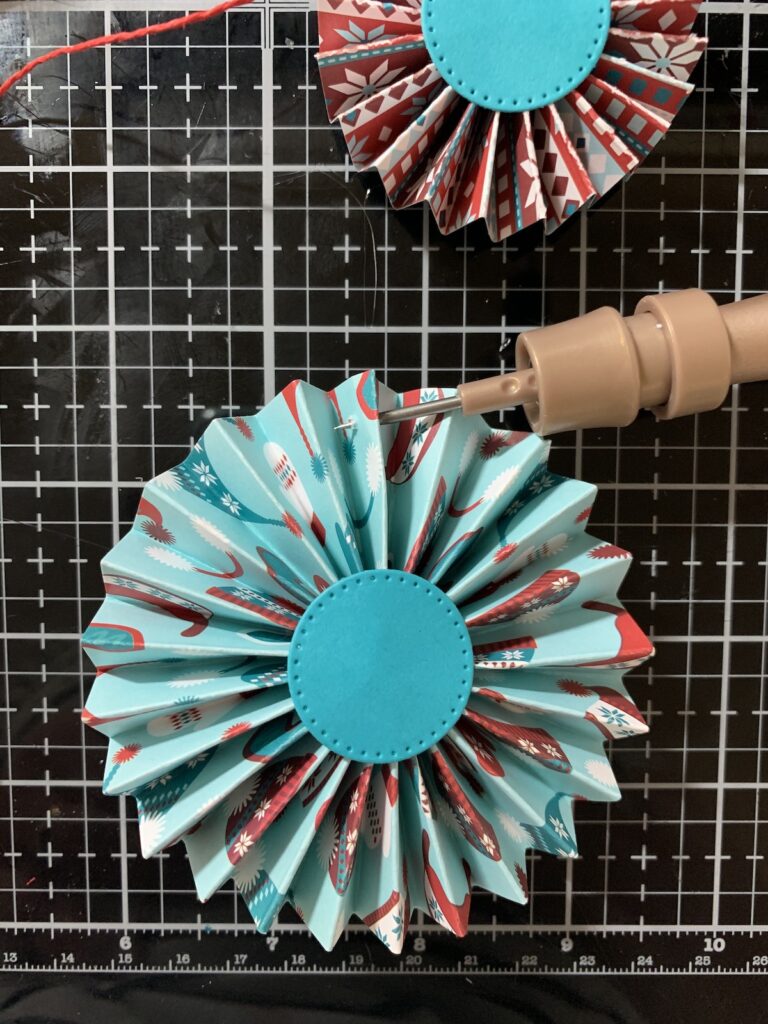
So, I used my paper piercer to create a hole through two layers of paper at what will be the top of my tag.
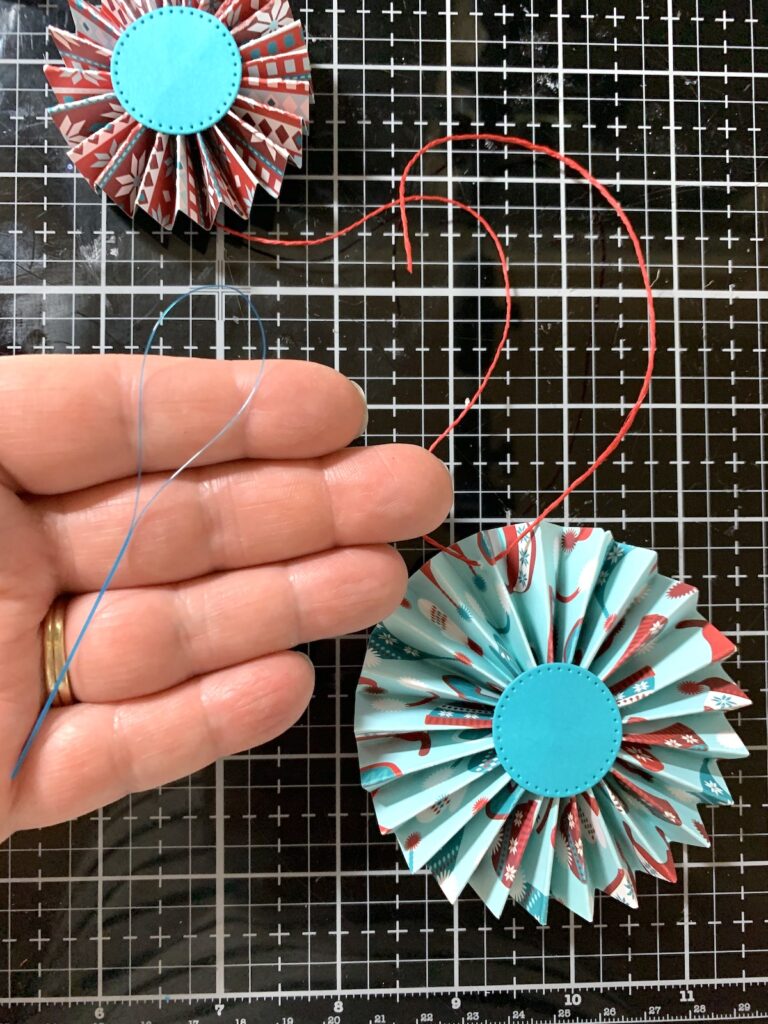
Then I was able to thread some twine through these holes. I find this dental threader to be a very helpful tool in doing this. It is light weight and very flexible. Jut insert the tool through the holes, put the end of the twine in the loop and pull the tool through the holes, threading the holes with the twine.
Now let’s take a look at what I added to my rosettes to dress them up.
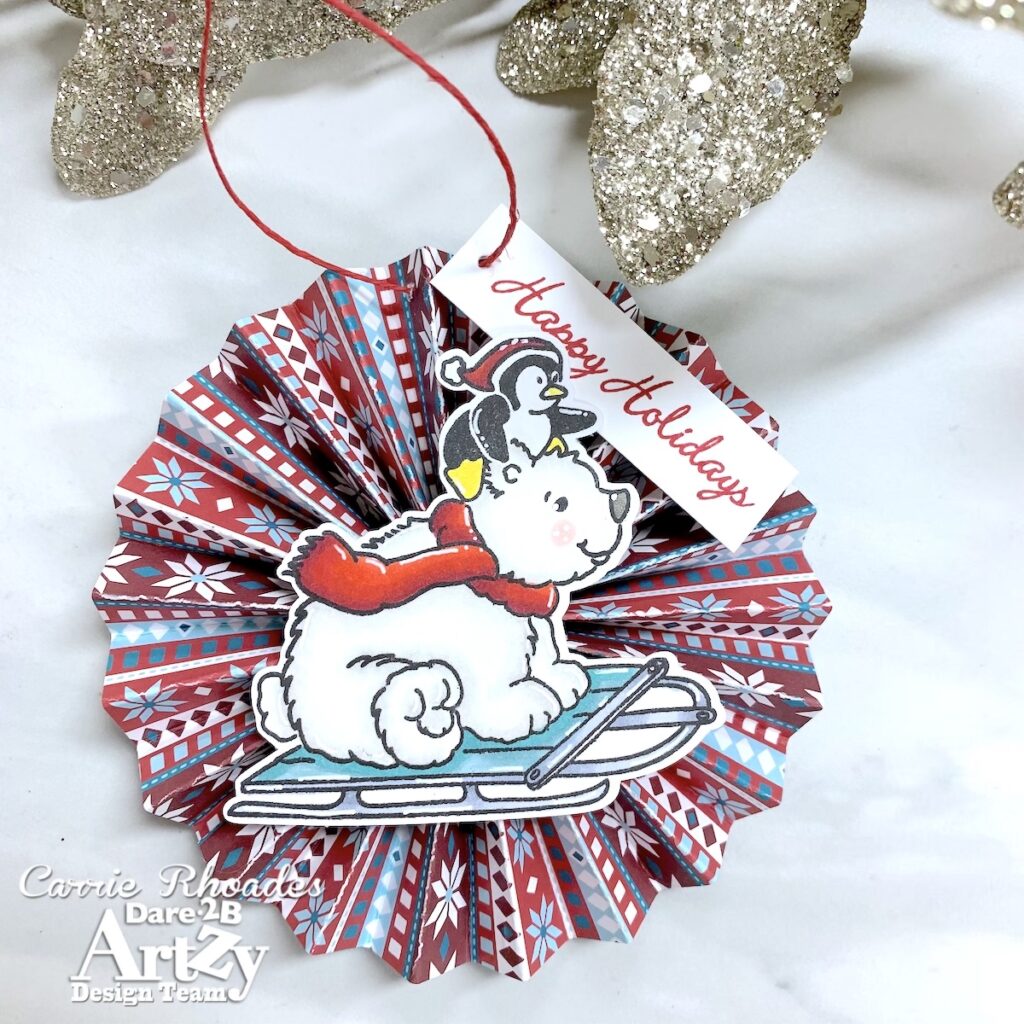
For the largest rosette, I added the largest image from the Just Chillin stamp set. As the paper has such busy pattern I chose to keep the coloring simple and coordinate it with the paper for a cohesive look. Once it was colored and cut out. I popped it on top of the rosette with foam squares. If you are worried about this staying put you could add a dot of liquid glue or hot glue to the foam squares for added security.
I also added a stamped “Happy Holidays” to each of the tags before tying off the twine. I will write my to and from on the back of this smaller tag.
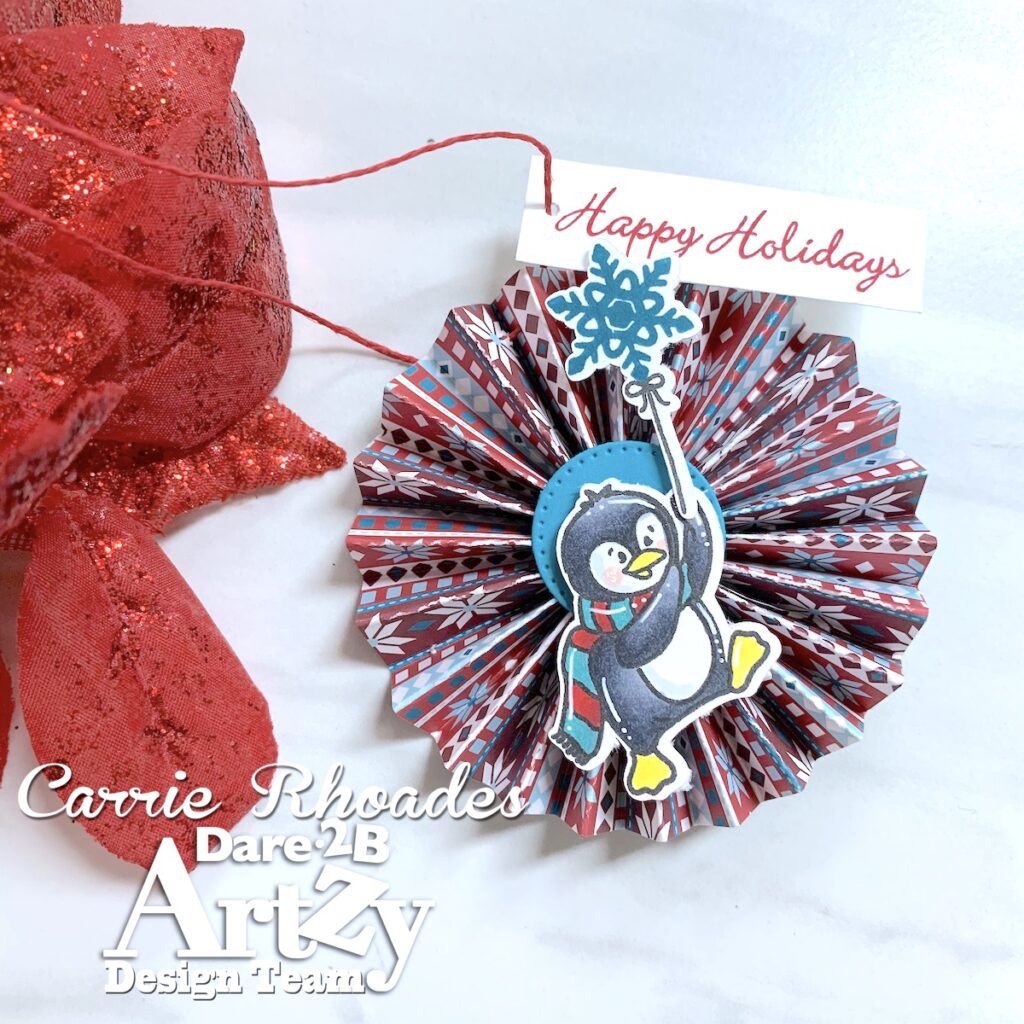
For my medium tag I added one of the penguins holding a snowflake balloon. He is just darling, and I love that the string image is separate from the balloon image in this set, so you can make a snowflake balloon!
On this tag the circle had to show, so I am glad that I used a die to cut the circle and did so from coordinating paper.
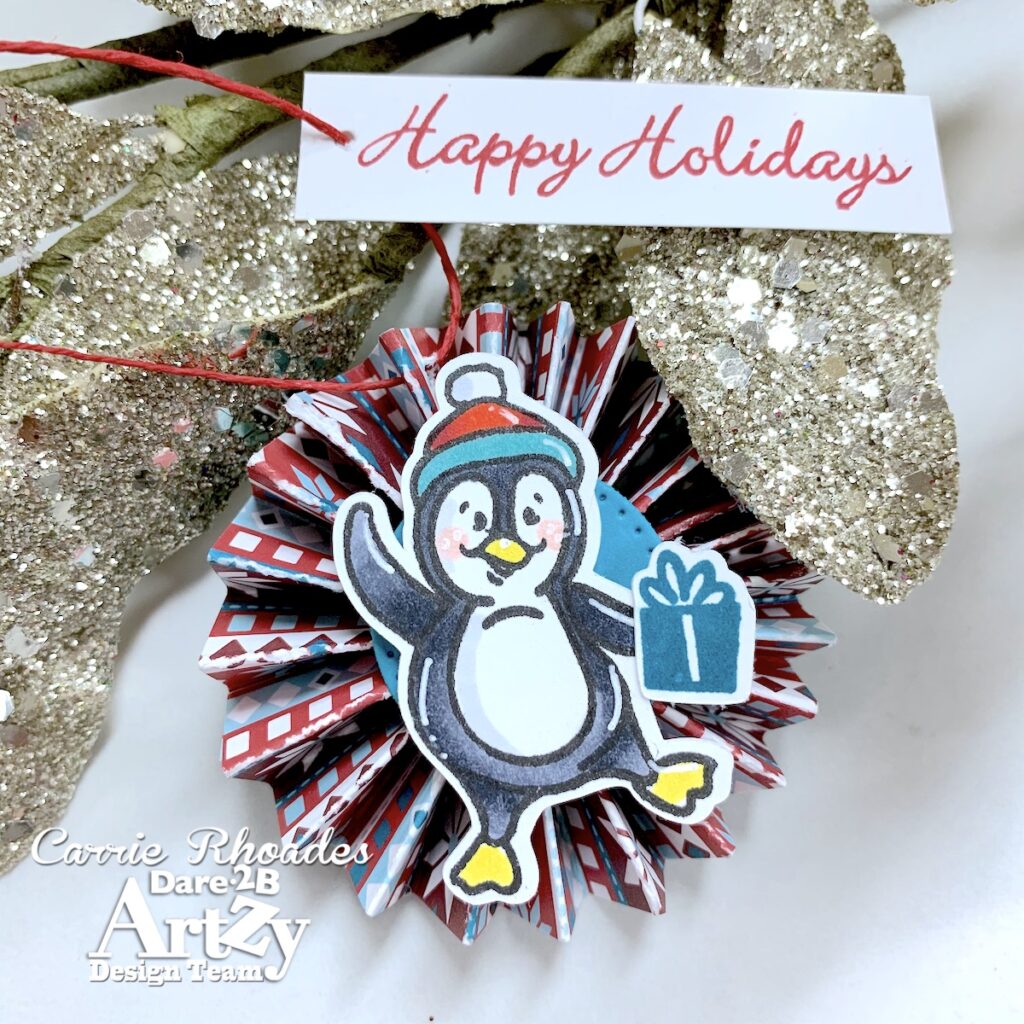
This smallest rosette, has a fun sized feel to it. The circle still shows on this one, but I love how the penguin takes up most of the rosette. A bunch of these small rosettes with something very simple in the center, like a button would make a great filler for a tree.
You can also use these rosettes to make a banner, a wreath, or stack them in decreasing sizes to make a tree. The possibilities are endless.
Thank you so much for stopping by and Happy Stamping!
Carrie
SUPPLIES from the Dare 2B Artzy Shop
Totally Black ink Pad (Copic Safe)
May 12, 2023 0 Comments
May 05, 2023 0 Comments
March 11, 2023 0 Comments