October 25, 2021 0 Comments
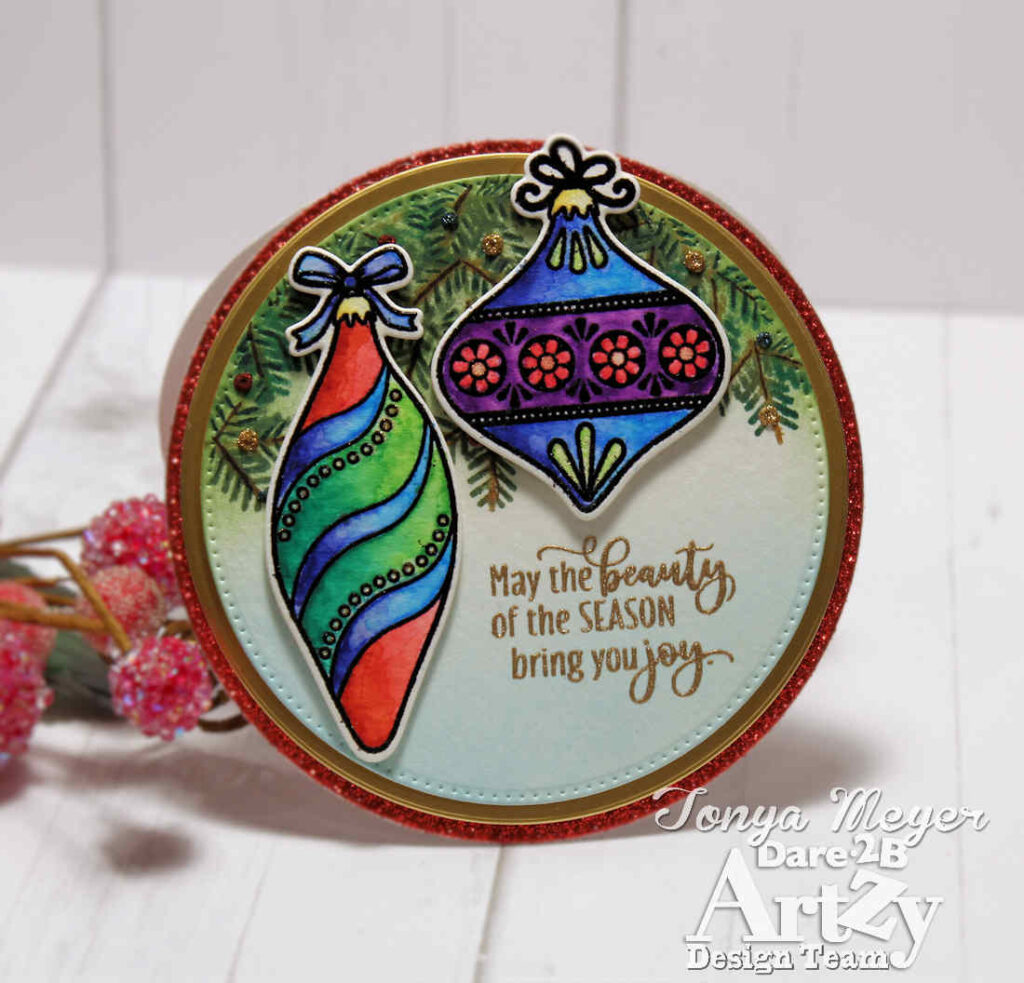
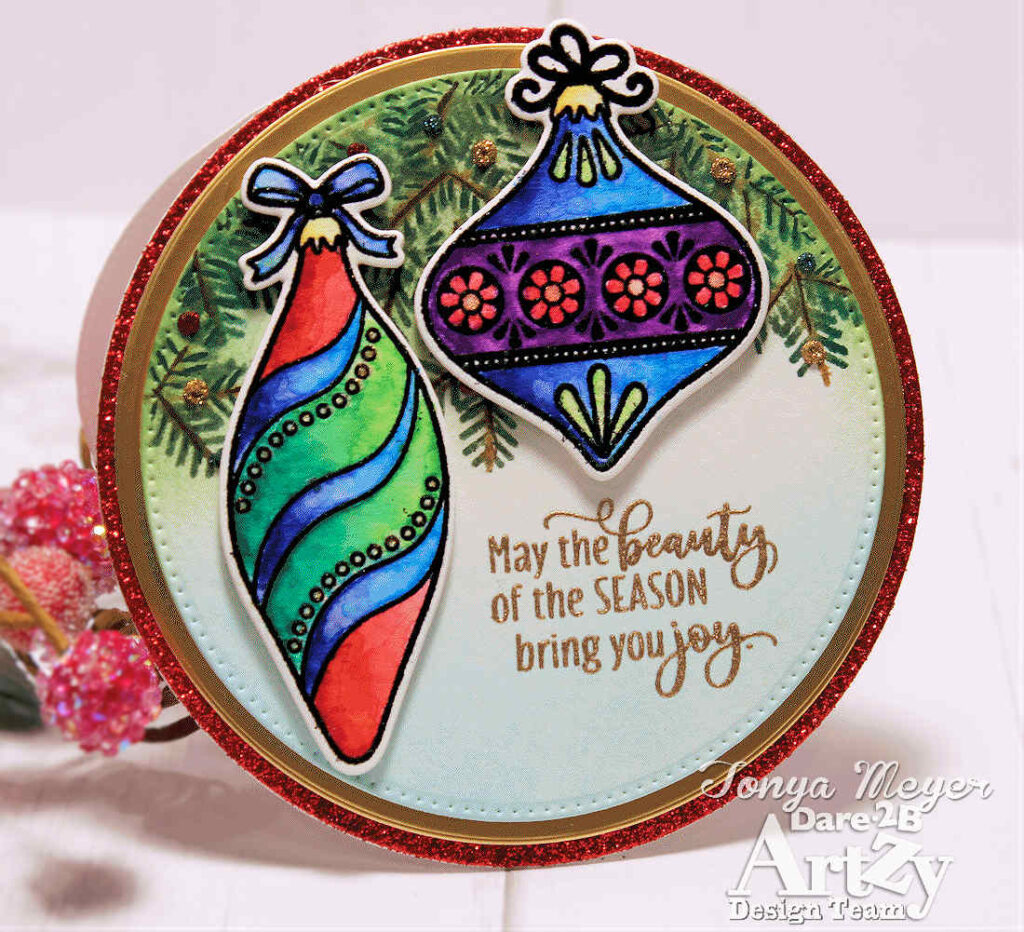
Hello Artzy friends! I’m back today with another holiday card featuring the Deck the Halls stamp set from Dare 2B Artzy!
I am thrilled to be getting a jump start on my holiday cards. The Deck the Halls stamp set is perfect for making all of your Christmas cards and even gift tags. Today I’m using the stamp set to create a fun round-shaped card that measures 4 ¼ inches wide.
To start, I stamped two of the beautiful ornaments from the Deck the Halls stamp set onto some Canson XL 140lb cold press Watercolor paper using Versafine black ink. This ink is safe to use for watercolor and mediums using water based pens. Since I’m using watercolor paper, I did stamp it a few times to get a crisp impression.
I used my Karin Brush markers and scribbled the ink onto my glass media mat at first and picked up the ink with a water brush pen and added a base layer of color to my ornaments. Of course using the water brush to pick up the ink means that the color is more watered down and less vibrant. I wanted my ornaments to be very vibrant so for the second layer, I took the pens directly to the ornament and added dots of color to them and then smoothed out the ink and blended it with the water brush pens. I find that with the Karin Brush markers you can’t color like you would with markers and then add color. It works better when the paper has a bit of water saturated into it already. In some areas on the ornaments, I added a lighter shade of the same color to create a bit of a highlight and then blended that into the darker shade.
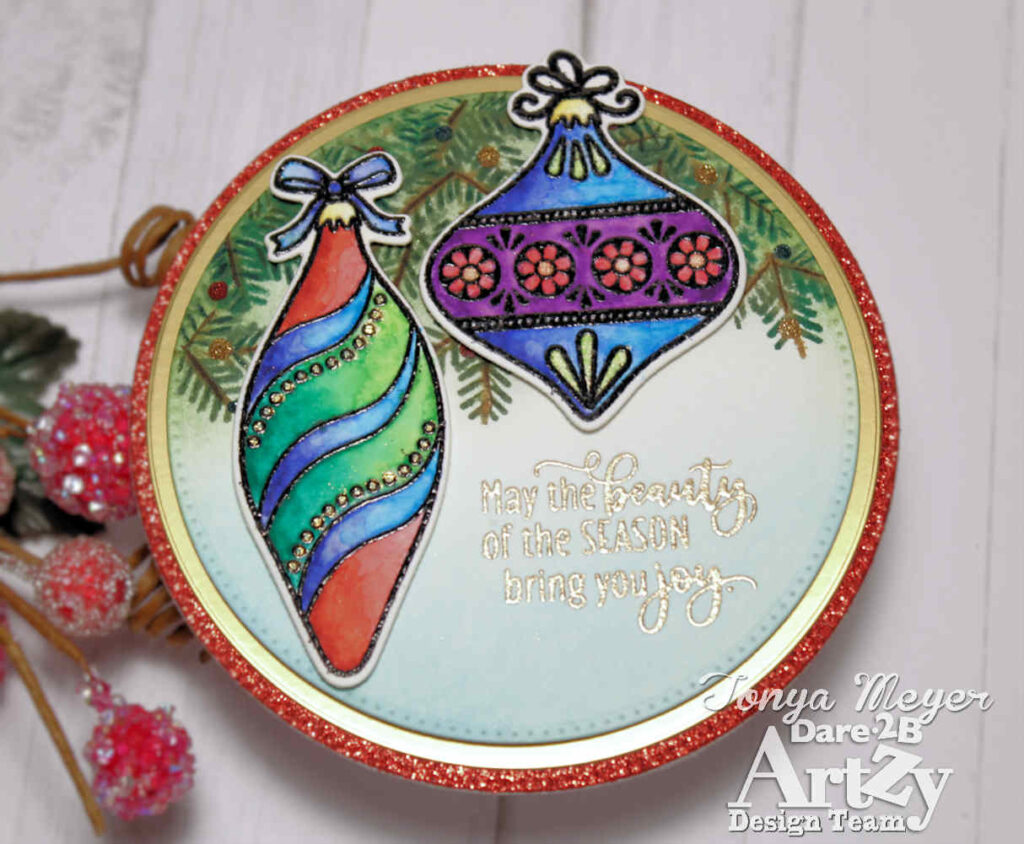
When I was happy with the color for my ornaments, I set them aside to dry. Once they were dry, I put them back into my MISTI where I had kept the stamps and stamped again with some embossing ink and added black embossing powder and heat set it. I like to emboss water colored images as I think it adds a finishing touch to them. Once I was finished embossing the ornament stamps I used the coordinating dies to cut them out.
Next, I used the stitched Double Dot Circle Dies from Dare 2B Artzy and used the 3 ¾ inch circle to cut a piece of the Canson XL watercolor paper. I wanted to create a tree background to have it appear that my ornaments were hanging on.
I wanted to make sure I had my ornament placement in mind before I added the background tree branches. To do that, I placed the ornaments where they would go on the finished panel and used a pencil to trade the top portion of the stamp onto the water color paper. This would give me a better idea of where I would need to add branches.
To create the tree branches, I used an older Dare 2B Artzy stamp set that’s still one of my favorites called Tis the Season. This set has a tiny little tree branch stamp that I reach for every time I want to make trees or wreaths. I pulled out the stamp and added it to a small stamping block. This time, I added my Karin Brush Marker inks directly to the stamp. I used a brown for the center of each one and then a dark green and blue-green ink and added it directly to my branch stamp using the side of the brush marker. I was actually surprised at how well this worked on the stamp. I stamped around the top of the circle and around the pencil marks where my ornaments would be placed on the panel.
So I discovered a side effect of using the Karin brush markers that I didn’t expect. First, the colors were very bold just like with the ornaments. I didn’t want my background stamping to overpower the ornaments which are supposed to be the focal point. I decided to add a bit of ink blending around the edge of my background and into the stamped branches to soften the look of the stamped images. I didn’t realize that the stamped branches would react to the ink blending but they did. I ended up smudging the ink on the branches. I guess the dye ink blending reacted to the water based Karen brush ink. For the ink blending I used the Dare 2B Artzy Margarita Lime ink which is a lighter green and another darker green ink from my stash. Since the ink blending took away some of the definition of the branches, I decided to go back and add some definition back into the branches. To do this, I used some Tombow brush markers and added in the branch centers with a brown marker and then added a bit of definition with a dark green brush marker to bring back some definition on the greenery. While the smudged ink was kind of awful at first overall I think the result turned out good. I was afraid I had ruined my background but thankful that I stuck with it and found a solution.
I wanted to add the look of twinkling Christmas lights to the branches so I used my Bearly Arts Liquid glue with the precision tip and added little bits of glue into the branches and then sprinkled on some ultra-fine glitter in Vintage Teal, Moonbeam (gold) and Rich Red. I did each color separately adding little drops of the liquid glue and then sprinkling on the color. Even though I used an anti-static powder tool on the background I still had glitter sticking to most of the background and had to use a small paint brush to brush off the excess. I had glitter everywhere. Another option would be to add Stickles or Nuvo Crystal drops instead of the glitter. I never seem to have much luck with those so I seem to always brave the glitter.
I let the glue and glitter dry overnight.
Next, I used some Dare 2B Artzy Blue Sky ink and ink blended a bit on the bottom of my background to offset the stark white contrast at the bottom from the top with the green tree branches.
I put the background into my MISTI and used an anti-static powder tool again and then stamped my favorite sentiment from the Deck the Halls stamp set, “May the Beauty of the Season bring you joy” with some Versamark ink and heat embossed it with some antique gold embossing powder.
To mat the panel with my ornaments I cut a slightly larger circle from some matte gold cardstock and then used the largest Double Dot Circle Die from Dare 2B Artzy and cut a piece of red glitter cardstock. I added some dimensional foam to the back of my ornaments background and added it to the gold cardstock and then used score tape to add the layer to my glitter cardstock.
To create my circle card base, I cut a piece of 110lb cardstock to 4 1/2 wide by 11 long and scored it at 5 ½ inches. I used the largest Double Dot Circle die which is 4 ¼ wide and placed it onto my folded cardstock with about ¼ to ½ inch of the circle overhanging from the top of the folded cardstock so that it would not cut when I ran it through my die cutting machine. This would leave the folded edge intact. I ran it through my die cutting machine a few times to make sure it completely cut through my paper.
Once my circle was cut out I added my panel to the front of the circular card base with a bit of liquid glue.
That wraps up my card for today. Thanks so much for stopping by. The products I’ve used in today’s card are listed below.
Hugs,
Tonya
May 12, 2023 0 Comments
May 05, 2023 0 Comments
March 11, 2023 0 Comments