• Log in
  • Cart (0)
  • Checkout
  • Home
  • Shop 
    • What's New
    • Collections 
      • Everything is Blooming
      • Make Waves
      • Space Odyssey
      • Merry & Bright
      • North Pole Holidays
      • Snow Much Fun Collection
      • All the Buzz Collection (NEW)
      • Autumn Oasis Collection
      • Botanical Breeze Collection
      • Fall Harvest Collection
      • Fields of Joy Collection
      • Holiday Bouquet Collection
      • Home Grown
      • Honey Bloom Collection
      • Ice Cream Social
      • In Bloom Collection
      • Lemon Bliss Collection
      • Seas the Day Collection
      • Summertime Petals Collection
      • Artzy Doodles Collection
    • Stamps 
      • Alphabets
      • Animal Lovers
      • Backgrounds
      • Everyday Celebrations
      • Faith Based
      • Florals
      • Holidays
      • Seasonal
      • Sports & School Activities
      • Stamps with Dies
      • Thank you
      • Thinking of You/Encouragement
      • Totally Tracy
    • Hot Foil Plates
    • Artzy Dies 
      • Dies with Stamps
      • Word Dies
      • Framelits
      • Background Dies
      • Specialty Dies
      • Stand Alone Dies
      • Slimline Dies
    • Artzy Papers
    • Artzy Inks
    • Stencils & Mixed Media
    • Card Kits and Bundles
    • Gift Card
    • Sale
    • Digital Stamps
  • About 
    • About Us
    • Contact Us
    • Design Team
  • Wholesale
  • Blog
  • Events 
    • Classes
    • Trade Shows
    • Virtual Trade Shows
    • Artzy Crafting Studio
dare2bartzy.com/blog

Deck the Halls

September 27, 2021 0 Comments

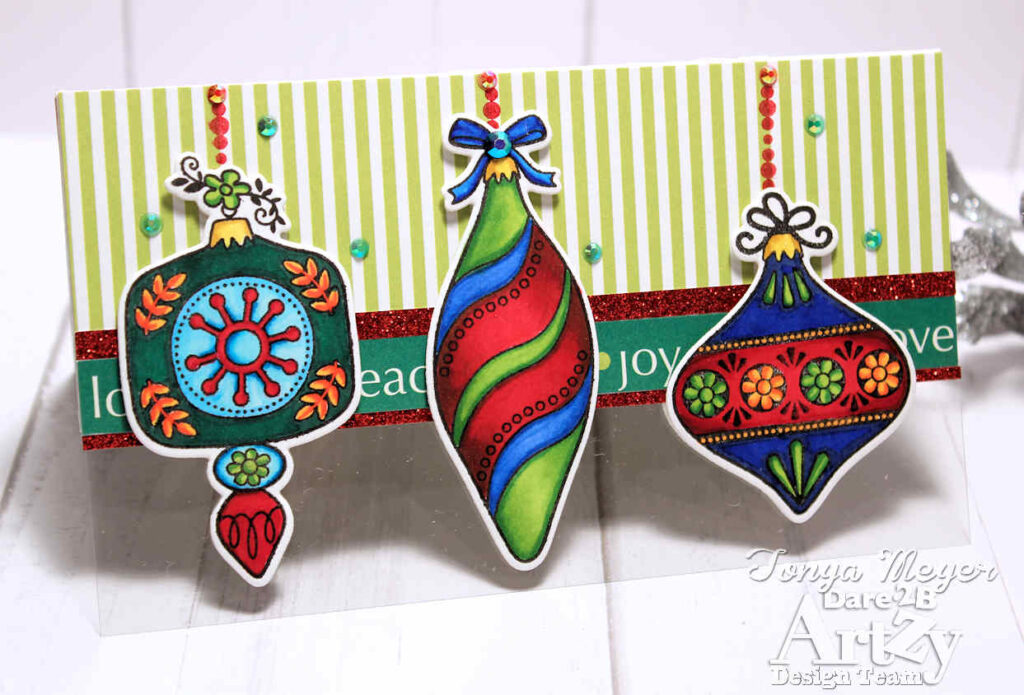
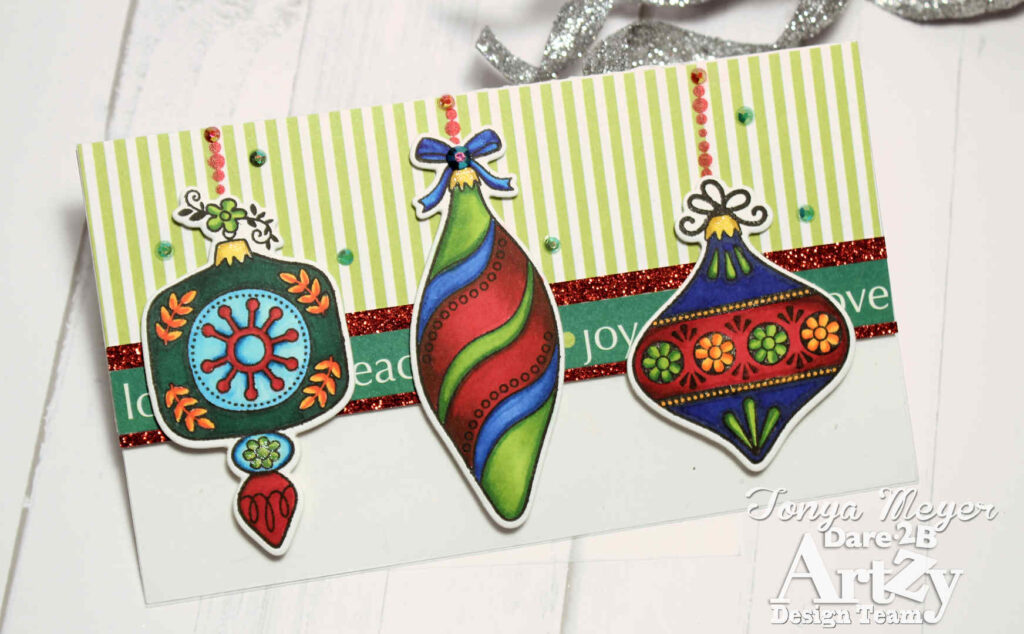
Hello Artzy friends! It’s Tonya and I’m popping in today with a card featuring the ornaments from the Dare 2B Artzy Deck the Halls stamp and die set. I know for some it’s a bit early to be jumping into Christmas cards, but I’m trying to get a jump start on them so I’m not scrambling for cards at the last minute like I typically do.

To start, I cut a mini slimline card base from some 110lb Neenah cardstock.  Using my T-ruler and a pencil, I drew a line 1 ¼ inches from the bottom of the front of my card base. I positioned the coordinating dies from the Deck the Halls set on the front of my mini slimline card base and taped them in place with some removable tape.

I placed the card base with the dies attached onto the platform for my Revolution die cutting machine and placed the top plate so that the edge of the cutting plate was lined up with the pencil line on my card panel. This would mean that only the portion of the dies that were under the plate would cut. This creates a partially die cut edge on the paper.

After I removed the paper and dies from my die cutting platform, I used a paper trimmer to cut the space between the ornaments and towards the outer edges of the paper leaving just the bottom half of the ornaments hanging off the edge of the paper.

Next, I cut a piece of the O’ Christmas Tree paper to 2 inches x 6 inches and added it to the top half of the front of the card. I also used the little decorative edge strip from the paper that has peace, joy and love printed on it. I cut that down and placed it at the bottom of my striped paper with some score tape. For a pop of color, I cut two thin strips of red glitter paper and added those at the top and bottom of the printed decorative paper with a little liquid glue.

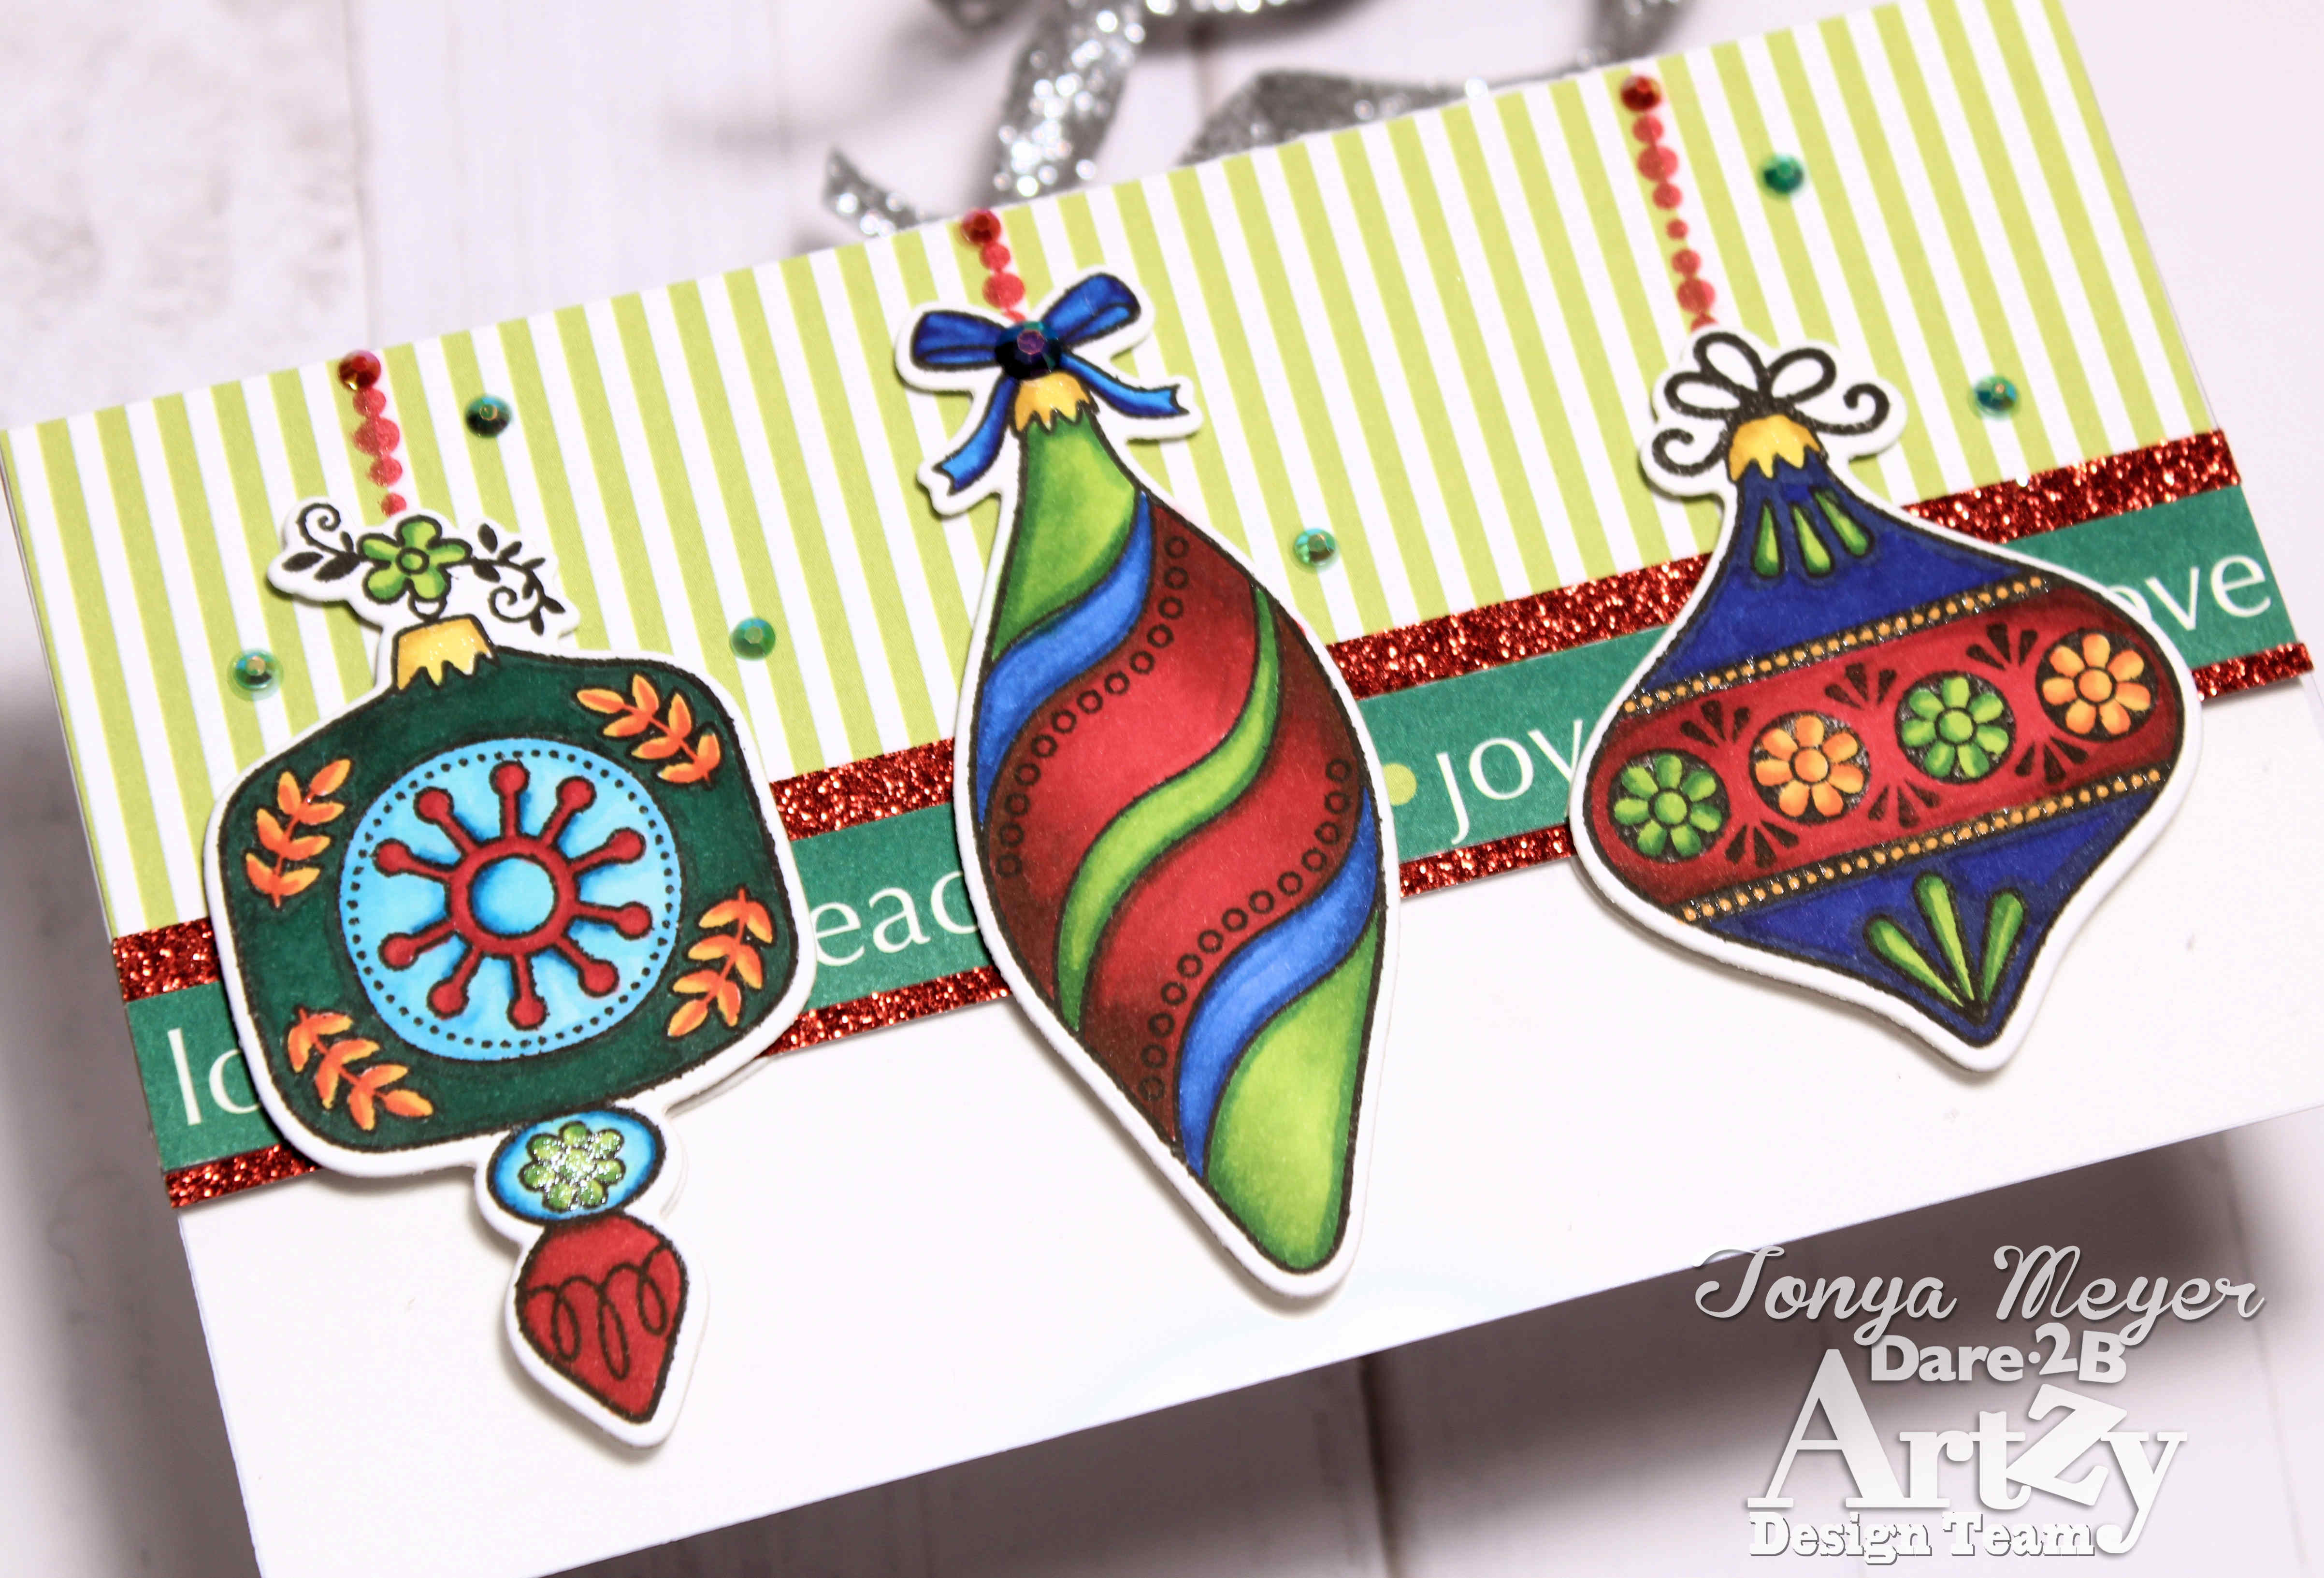
I colored my ornaments using my Shinhan Touch alcohol markers keeping to primary holiday colors in red, greens and blues with a bit of orange and a hint of yellow/gold color for the tops of the ornaments.

Once colored, I cut them out using the coordinating dies once again.

I used the little decorative string or bead stamp from the Deck the Halls stamp set and positioned the stamp so that it would look like the ornaments were hanging from it. I stamped it with some Delicata Ruby Red pigment ink. Since Pigment ink tends to stay wet, I heat set it so that I wouldn’t accidently smudge or smear the ink.

Since I cut the front of the card panel with a decorative edge, I needed to add some acetate on the inside to create a base in order for the card to be able to stand upright. I cut a piece of heavy weight acetate to just under 3 ½ inches x 6 inches. I added the acetate on the inside flap of the card panel with a 3 inch piece of score tape.

In order to hide the score tape, I cut a piece of polka dots side of the Artzy Daisy paper to 2 inches x 6 inches and added it over the acetate nestled up against the fold in my card base. I added a slim strip of the red glitter cardstock at the bottom.

For the sentiment, I stamped the Deck the Halls on the inside of the card using some Dare 2B Artzy Pomegranate Ink.

To add a touch of bling, I added some red gems to the tops of my ornament strings and some green gems scattered throughout the background.  I also added a larger blue gem to the center of the bow on the middle ornament because I realized that I’d forgotten to color the center of the blow. The gem was the perfect solution to hide the white center on the bow.

I added a small amount of Nuvo glitter gloss to the tops of the ornaments and a small amount on the ornaments. I didn’t add too much as there is lots of sparkle from the glitter cardstock and  gems on the card. It looks perfectly festive.

Hope you’ve enjoyed my card for today. You can follow the link below to my YouTube video for this card below.

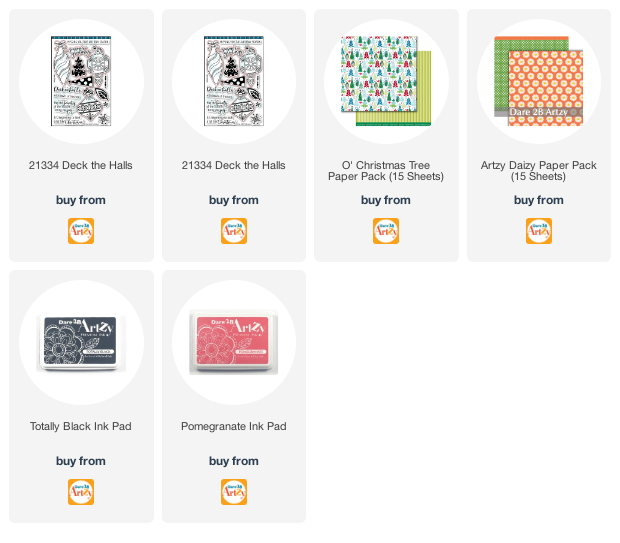
As always, I’ve linked the products I’ve used in today’s card below for your convenience.

Have a wonderful day!

Hugs

Tonya

YouTube Link to Card: Deck the Halls


Tweet Share Pin It Email

Also in dare2bartzy.com/blog

Sending You a Little Wave with Dare 2B Artzy!

June 24, 2022 0 Comments

Happy Friday!I may not live near the ocean, but I can still send you a little wave just because you’re so mermazing! Today’s card features the Ocean Floor Die from D2BA as well as the gorgeous Make Waves Hot Foil Plate! I’ve tried to take pictures from different angles to show the hot foil background, but it’s even...

Continue Reading

Three Cards with Potted Posies Paper

June 22, 2022 0 Comments

Hello and welcome Artzy fans. I have a couple of cards I made today. With 2 of them, I used “Everything’s Blooming” paper pack (I used Potted Posies page) with the “Potted Poisies Dies” set. For the 3rd card, I just used the paper pad for a really quick card. Here’s another look at my...

Continue Reading

Coffee Date

June 16, 2022 0 Comments

 Hi Artzy friends – Who wants to go out for coffee? I prefer iced anytime, (iced mocha!), but especially when the weather is in the 90’s, as it’s been here in Ohio for the past few days! I created this card inviting a friend to get together using the Center Step die set from Dare 2B Artzy. I...

Continue Reading

Customer Service
  • Search
  • About Us
  • Angel Policy
  • Privacy Policy
  • Refund Policy
  • Publication Incentive/Affiliate Program
  • Studio Hours
Sign up for our newsletter

Sign up to get the latest on sales, new releases and more…

who we are

 Our family-owned business began out of a passion for designing little pieces of art. Our products are designed to help you unleash your creativity as you connect, commemorate, inspire and uplift. We encourage you to be "ARTZY". Thank you for being a part of our story.


  • Search
  • About Us
  • Angel Policy
  • Privacy Policy
  • Refund Policy
  • Publication Incentive/Affiliate Program
  • Studio Hours

© 2022 Dare 2b Artzy. POS and Ecommerce by Shopify

Sign Up for Newsletter

Sign Up for Newsletter