October 10, 2022 0 Comments
Hello and welcome back Artzy friends!
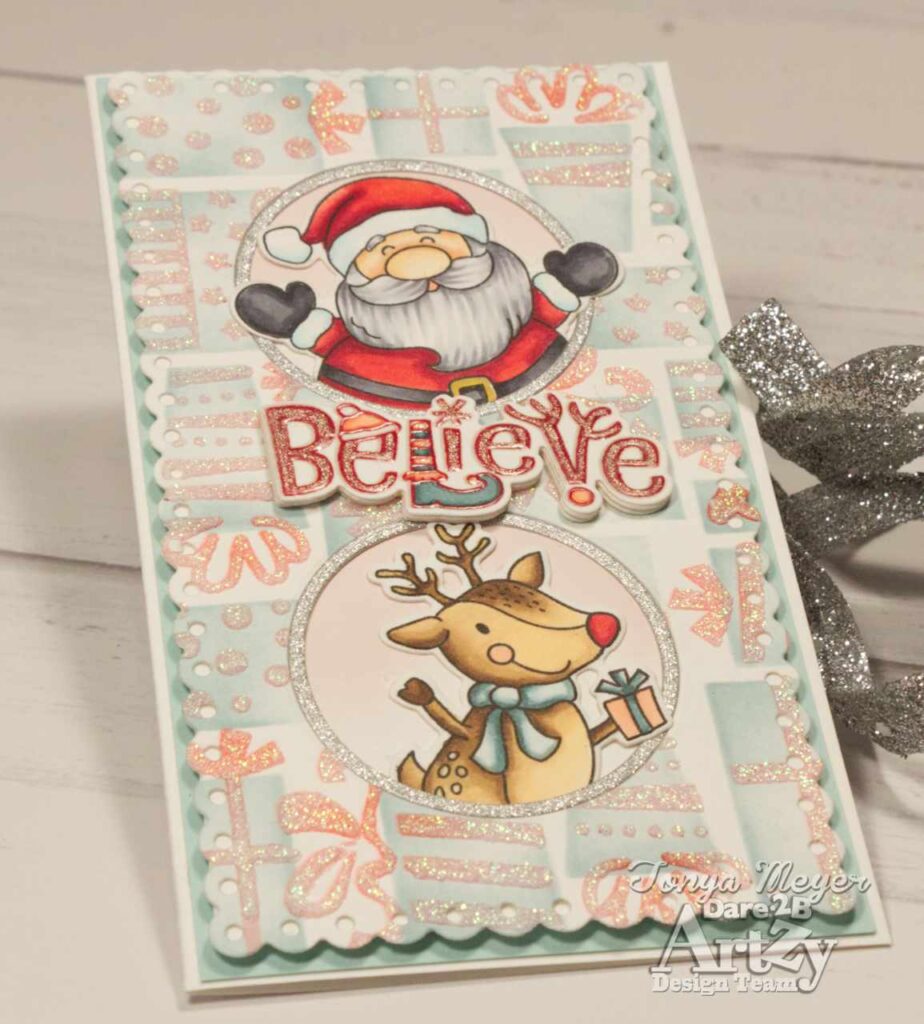
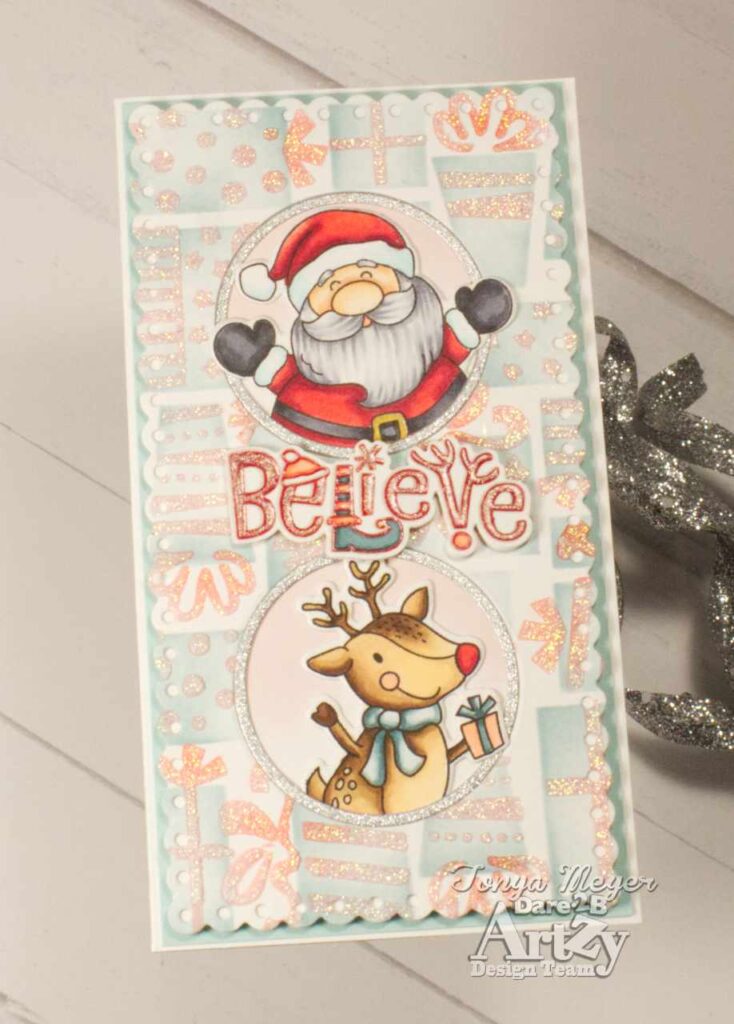
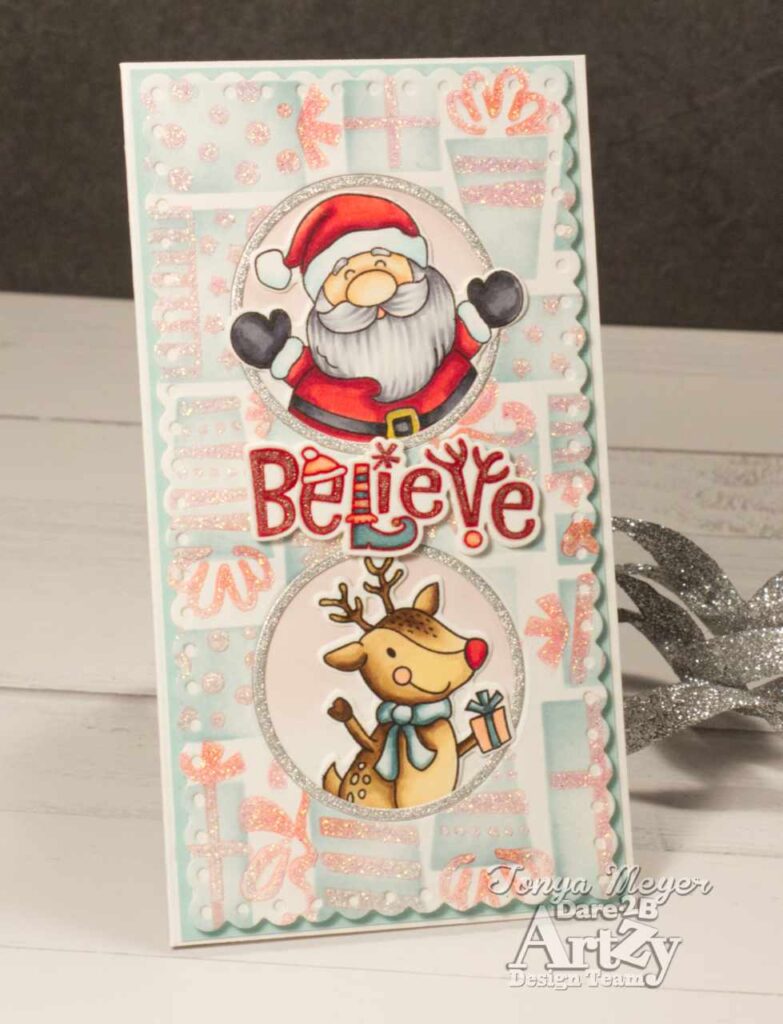
I am back today with another fun card featuring several Dare 2B Artzy products. I have been trying to get ahead of the holiday’s by squeezing in some Christmas Card making. It seems every year that I tell myself I will start my cards in August but the days get away from me with other projects and it’s Christmas before I know it. This year I have vowed that I will not wait until the last minute, LOL!
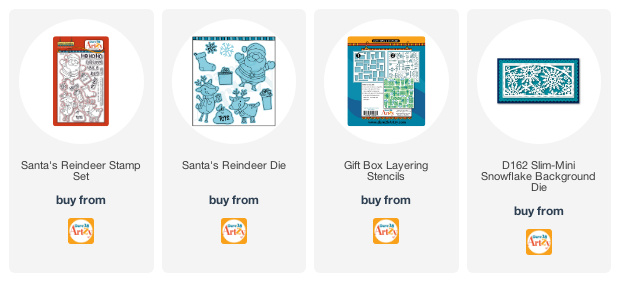
My card started out with me playing with the new Gift Box Layering Stencil. This is a two layer stencil that creates a fun background made up of gift boxes with bows on them. When I took my stencil out of the package, I used a black sharpie marker and made a little “T” mark at the top side of each stencil, this will just help me figure out which side is the top in the event that they get turned around so that all my bows will line up with the correct package.
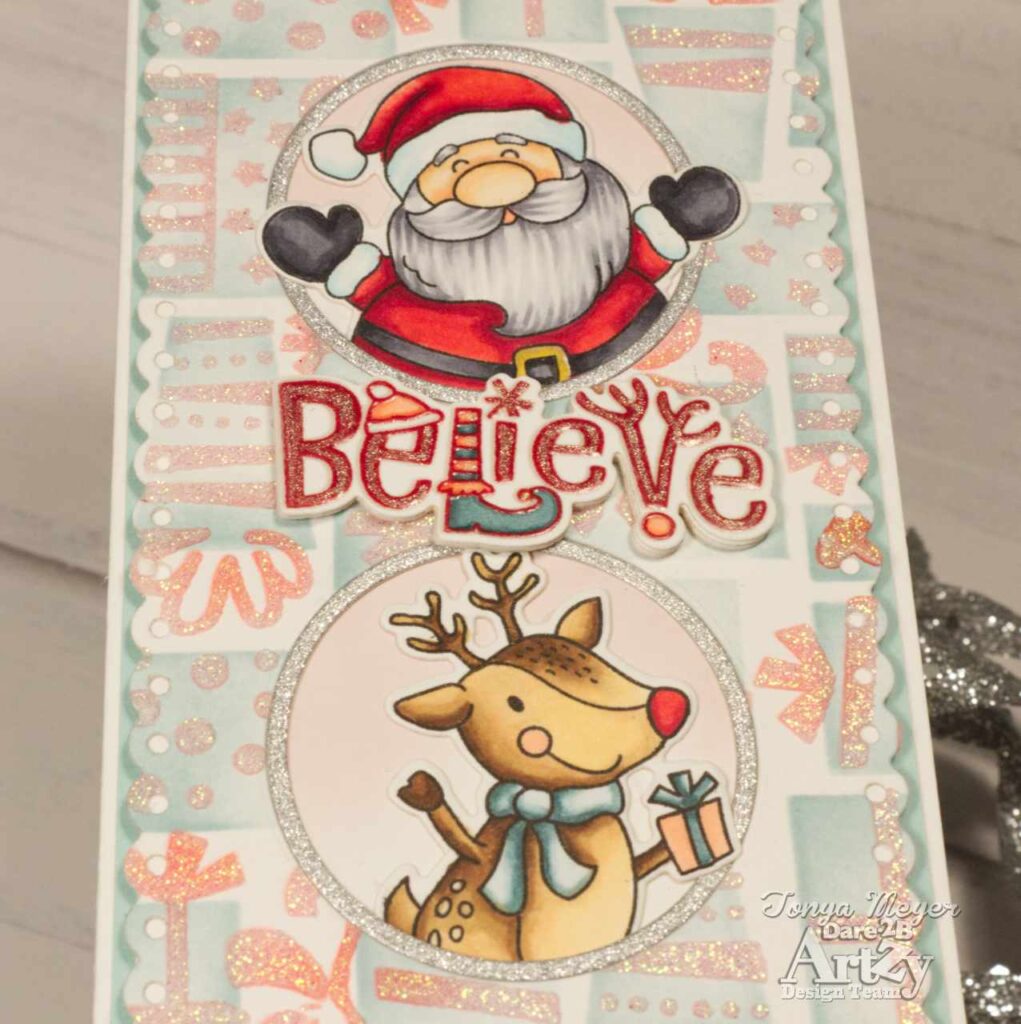
I stenciled the package portion of the die with some Speckled Egg Distress Ink onto 110 lb Neenah cardstock. I kept the stenciling lighter in the center of each package and added more ink at the edges to give the packages more depth. For the 2nd stencil that has the bows, I used some Candied Apple Distress Ink and a bit heavier hand to ink blend the bows onto the packages. Once I had ink blended all of the bows, I went in with some Festive Berries Distress Ink and added a bit of depth to the center of each bow with a detail blending brush.
Once all of my ink blending was completed and the ink was removed from my stencil, I put it back into place on my background, Next, I used some Moonstone glitter paste on the bow stencil. The glitter paste softened the red bows and gave the ink blended background a bit of a retro look which I really loved.
I quickly cleaned off my stencil and pallet knife with warm soapy water and let my background with the glitter paste dry completely.
While I was waiting for the background to dry, I stamped and colored the Santa and one of the reindeer from the Santa Reindeer stamp set. My images were stamped onto Neenah 110 lb white card stock with Dare 2B Artzy Totally Black ink and colored with my Copic markers and I used the coordinating dies to cut them out.
From the new Believe stamp set, I stamped the Believe with some red ink. I actually stamped it 3 or 4 times to get a nice dark image. I colored in the little areas of the hat on the “E” and stocking on the “L” and the little reindeer nose at the bottom of the “V” to coordinate with the colors on my ink blended background. Once everything was colored, I used a Sakura Jelly Roll Stardust pen to add some shimmer to the red letters in my stamped image. Once finished, I put the stamped image back into my MISTI and restamped over it with embossing ink and heat set it with clear embossing powder. and repeated it again to have a nice clear embossed sentiment.
I die cut the Believe using the coordinating die along with several extra’s so that I could glue them together to create some dimension for my sentiment.
Once my background was dry, I die cut it using the scalloped background die from the Slim Mini Snowflakes Die set.
Next I used a circle die to cut two holes into my mini slimline background. I also cut another set of circles using two dies that were a bit larger than the one’s cut into my background using some silver glitter paper. This created a nice border for my circle windows.
I cut a piece of white card stock that was slightly smaller than my Slim Mini Scalloped background die. I lined it up behind my ink blended background and used a pencil to mark where the openings were in my panel.
Using the pencil marks as a guide, I used a soft pink die ink in to blend onto the penciled circles. I just wanted a soft color that would be behind my stamped and colored images.
Finally, I placed and positioned my Santa and the Reindeer into the circles and adhered their legs behind the panel with some glue. I glued the front panel in place with the back so that my images would have a soft pink glow behind them. The entire card panel was added to a pastel blue-green card stock with some dimensional foam and added to a mini slimline card base.
I added some glue to the stacked Believe sentiment and placed it between the top and bottom circle on the card front.
On the inside of the card, I stamped the sentiment, Enjoy the Magic of the season and Merry Christmas.
I love the retro feel of this card, it turned out so cute! I hope you are inspired to play with this fun stamp set and layering stencil from Dare 2B Artzy to create your own Christmas cards. I have linked all of the products used in today’s card below for your convenience.
Thanks for stopping by! Have a wonderful day!
Hugs,
Tonya
May 12, 2023 0 Comments
May 05, 2023 0 Comments
March 11, 2023 0 Comments