February 13, 2023 0 Comments
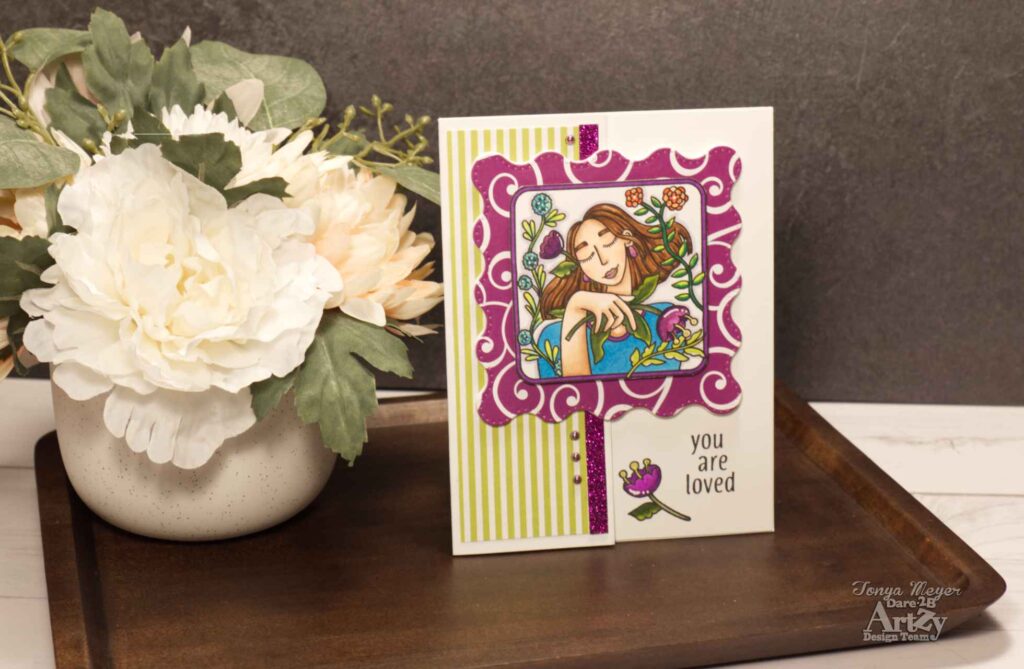
Hello and welcome Artzy friends! I have a new card to share today featuring the You’re Glowing stamp set.
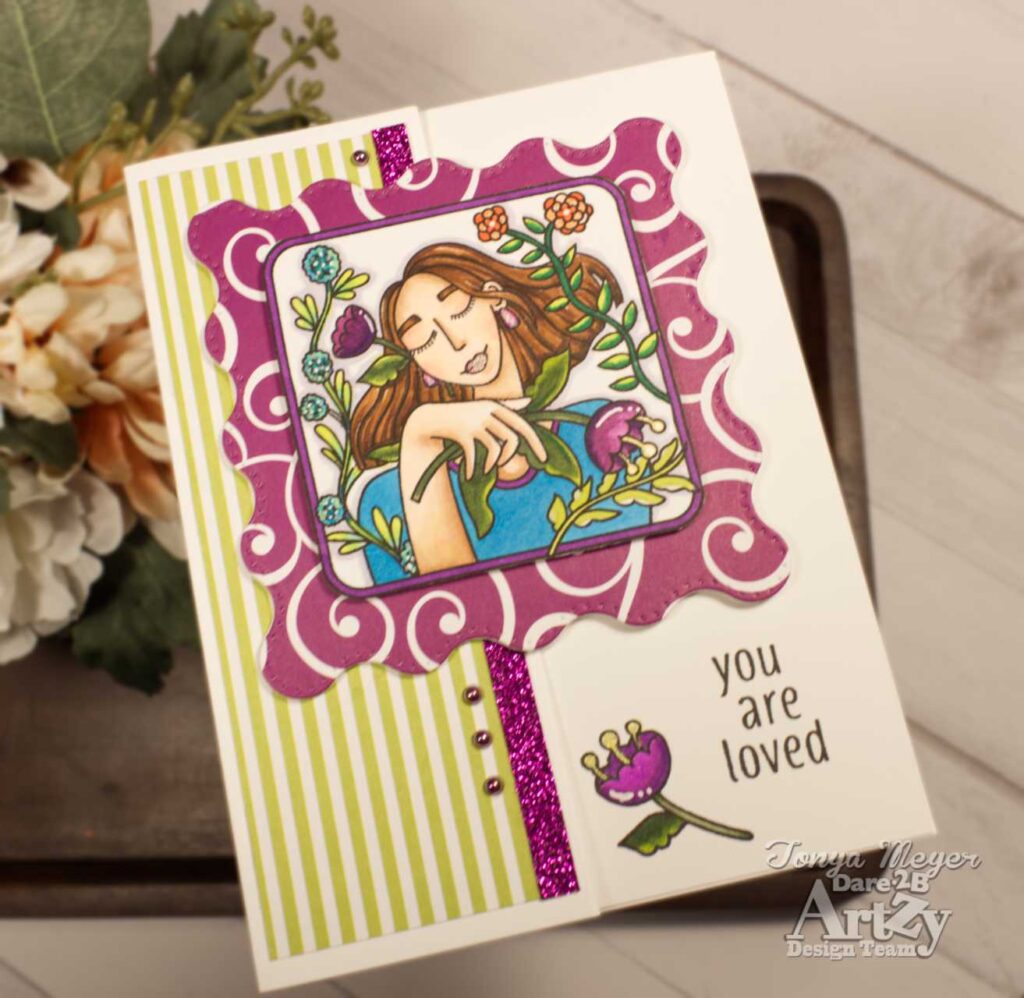
I decided to make a “funky front” card. No, that’s not the technical term for it. I actually don’t know what it would be called so I made up the name, LOL!
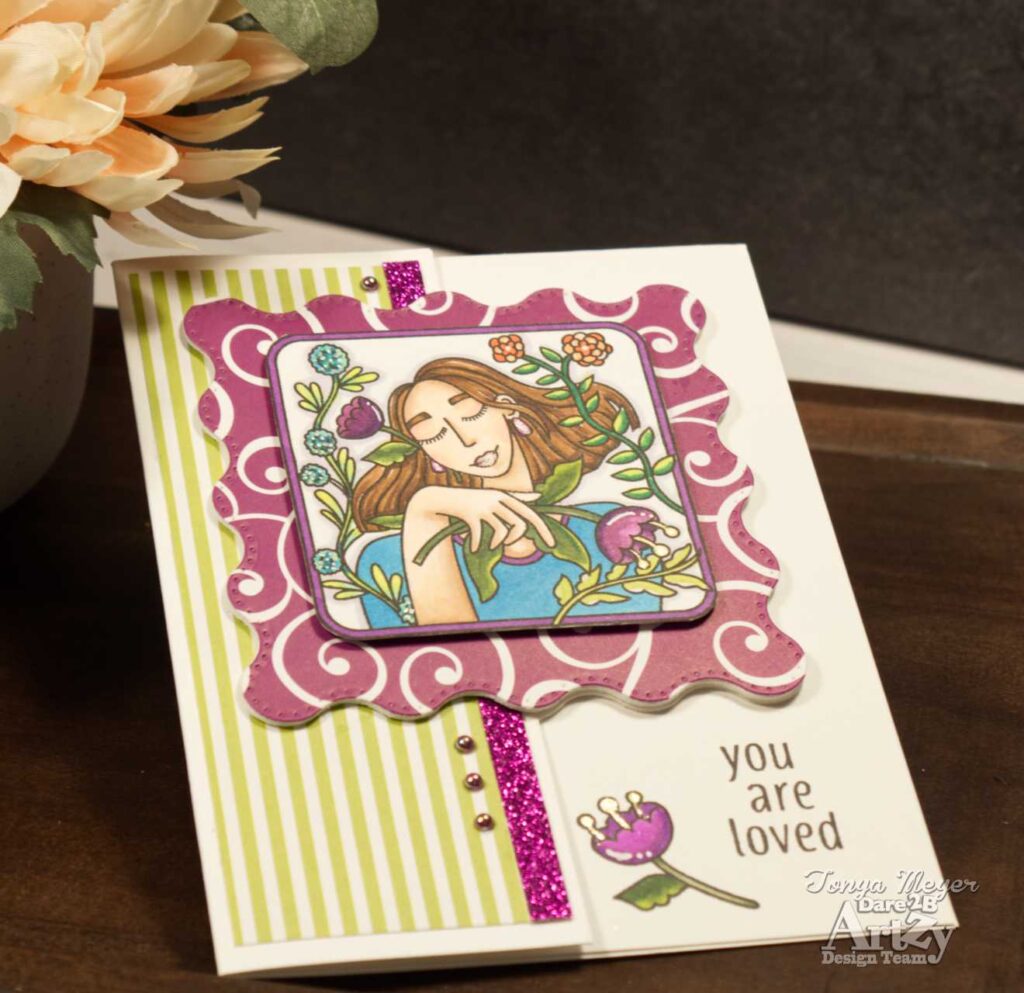
To start, I stamped the main image from the You’re Glowing stamp set which is the beautiful girl surrounded by the flowers and leaves. I colored the image using my OLO Alcohol Markers and then fussy cut it out. NOTE, you can use the Square Framelets Die from Dare 2B Artzy to die cut the image perfectly but it’s also very easy to fussy cut it.
Next, I cut a piece of the Artzy Doodle paper using the Wavy Squares Framelet Die. I cut some extra Wavy Squares from some scrap cardstock because I wanted it to have a bit of dimension. I glued the pieces together and layered my colored image in the center of the Wavey Square using some dimensional foam.
To create the card base, I made an A2 size card. I scored the front of the card lightly at 2 1/8 inches. On the front of the card, I centered the 2nd largest Wavy Squares using my score line as a guide for the center.
When I placed the card in my die cutting machine, I placed it so that my top plate only covered the open edge of the card. This would mean that only that leading edge would get die cut and the rest of the panel would still be intact. This gives me a card front that is only half-cut. Of course, I did have to use a trimmer and cut along the score line to the edge where the die cut the paper from the top and the bottom of the card. This left me with a folded edge of the card that measures 2 1/8 and then a Wavy Square off to the right of that edge. Of course, Dare 2B Artzy does have a Wavy Square Fun Fold die that would have done the same thing. I’ll link to that below so you can create this card the easy way, LOL.
I added a piece of paper from the O’ Christmas Tree paper pack that measured 5 3/16 x 1 ¾ inches along the folded edge of the card. I added a strip of purple glitter paper to the edge for a bit of sparkle.
Next, I added my stack of Wavy Squares with my colored image and lined them up with the die cut edge of the card front.
I cut a piece of cardstock that measured 4 ¼ x 5 ½ and put it in my MISTI and stamped the single flower image from the You’re Glowing stamp set along with the sentiment, You Are Loved from the Boho Prints stamp set. I stamped them with the Dare 2B Artzy Totally Black Ink in the lower right corner so that they would show below my colored image.
The flower was colored with OLO markers to match the flowers on the main image.
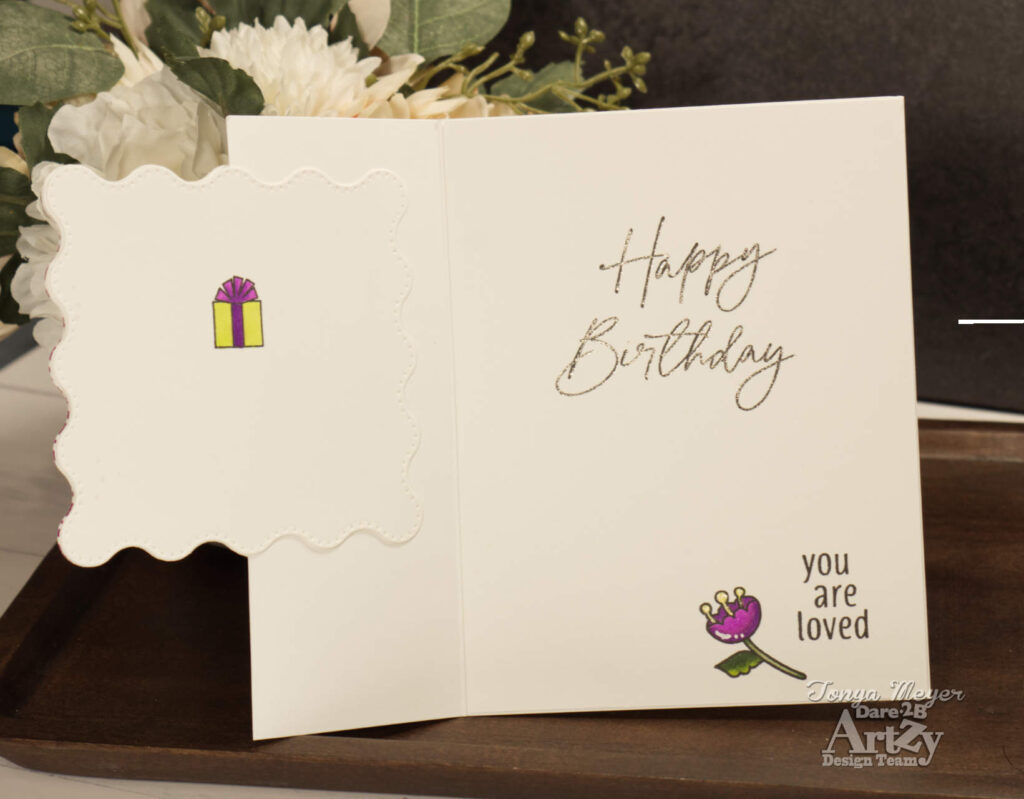
I also stamped the beautiful, scripty Happy Birthday sentiment from the Simply Birthday stamp set.
Once the sentiments were stamped, I glued the panel to the inside of the card. This added layer provides a bit of counter-weight to the front of the card’s layers so that it makes sure it will stand up.
For the inside of my card behind the focal image, I added another Wavy Square of the same size to cover up the back edge of the card. This just creates a finished look and also creates a space for a personal sentiment. I did stamp the little package from the Simply Birthday set onto the panel.
As a finishing touch, I used a Jelly Roll pen in white to add some details to the flowers and a Stardust pen to add some glittery accents to the card front as well as to the inside as I traced the Happy Birthday sentiment with the pen. This gives a nice sparkle and shine when the light hits it.
I added 4 small purple iridescent pearls to the card front along the edge of my glitter strip of paper and that finished my card.
It’s a quirky card with lots of interest from the shape, but it will also be a fun Birthday card for someone loved.
Speaking of LOVE, don’t forget the Love Challenge going on this month over at Dare 2B Artzy. There is still time to link up your project to be included for your chance to win a Gift Certificate to the Dare 2B Artzy store. You can add your link in the February Challenge Post here: https://blog.dare2bartzy.com/february-challenge-love-5/
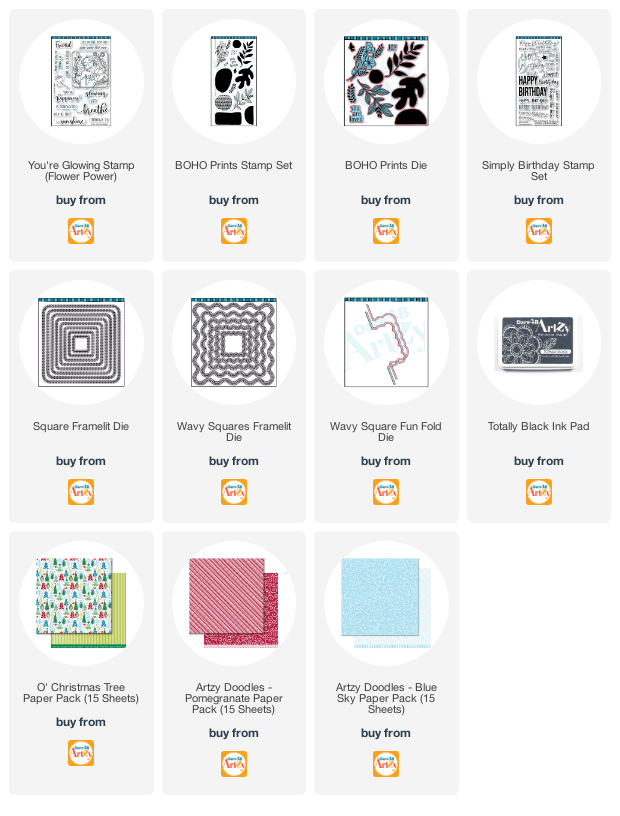
I have linked all of the products used in today’s card below for your convenience.
Thank you so very much for stopping by!
HUGS,
Tonya
May 12, 2023 0 Comments
May 05, 2023 0 Comments
March 11, 2023 0 Comments